Sep
Chants of Sennaar Walkthrough – Part 6 (Ringing the Bells)
Chants of Sennaar Walkthrough
- Part 1 (Entering the Abbey)
- Devotee Glyphs: open, close, door, greetings, you, me, man, devotee, warrior, god, hide, seek, go
- Part 2 (Coin and Lens)
- Devotee Glyphs: up, not, free, preacher, death, plant
- Part 3 (Church and Cemetery Puzzles)
- Devotee Glyphs: key, pot, lens, potion, music, instrument, make, abbey, church, cemetery, garden, talk, help, love, see
- All Devotee Glyphs
- Part 4 (Frontier - Disguise)
- Warrior Glyphs: warrior, not, love, death, wait, go, plural, protect, chosen, impure, carry, lay, push
- Part 5 (Observatory, Treasury)
- Warrior Glyphs: duty, weapon, trolley, fortress, treasure, call, help, seek, scientist (+ bottle, crate, small, big)
- Part 6 (Ringing the Bells)
- Warrior Glyphs: big, small, bottle, crate, vessel, instrument, balance, key, sun, moon, bellman, build, music, fear
- All Warrior Glyphs
- Part 7 (Bards' Gardens, Fruits)
- Bard Glyphs: plural, warrior, go/pass, not, beauty, be, love/like, greetings, question, bard, weapon, have, idiot, you, me, seek, find, instrument, music, comedy
- Part 8 (Windmill, Games)
- Bard Glyphs: hammer, pliers, saw, play, ascend, fire, path, windmill, theater, agora
- Part 9 (Theater, Compass)
- Bard Glyphs: book, monster, brother, compass, north, east, south, west, man, free, abbey, fortress
- All Bard Glyphs
- Part 10 (Tunnels, Laboratories)
- Alchemist Glyphs: me, you, plural, find, seek, 1, 2, 3, 4, 5
- Part 11 (Library, Mines)
- Alchemist Glyphs: door, fairy, book, alchemist, bard, brother, gold, silver, copper, carbon, library, refectory, laboratory, mine, death, open, close
- Part 12 (Formula, Transforming)
- Alchemist Glyphs: not, warrior, plant, make, fire, help, 6, 7, 8, 9, 0, transformation, formula, monster, fear
- All Alchemist Glyphs
Stuck in Chants of Sennaar? Check out our walkthrough of Chants of Sennaar to find out how to ring the fortress bells in the right order.
Welcome to the Into Indie Games walkthrough for Chants of Sennaar. This is a story-oriented guide, and while we do cover validating glyphs, we will not always state what a glyph is until it is time to validate it.
For more information on Chants of Sennaar beyond this walkthrough, check out the official website here.
Part 6
Return to the observatory by taking the west exit past the talkative guards. Inside the observatory, put your lens in the lens apparatus and then look through the telescope.

You’ll behold some constellations, which you will also note down in your notebook.
Armed with all this knowledge, exit the observatory and return to the room with the talkative guards and take the north exit this time.
In the room with the giant sword, look in the southeast corner for a small elevator. Use this elevator to go down to the storehouse area. You may pull out your notebook here. Fill it up as shown below.
Warrior language: big, small, bottle, crate

Now go all the way east and pick up a bottle. Then, go back to the far west and take the elevator back up the room with the giant sword sculpture.
In this room, take the north exit and go all the way up the stairs into the next area. Continue along the causeway until you reach a path going perpendicular to the right. Take this path and go through the door to the north.

On the bell platform, go left and Look through the little slit window to find the bellman and his book inside. Outside the bellman’s little lodgings, interact with the red bench to put your bottle there.
Exit the area by going south and then re-enter it immediately. You’ll find that you can now enter the bellman’s chamber. Do so.

Interact with the book to find several unknown glyphs… except they’re not unknown at all – they’re the constellations you saw through the telescope.
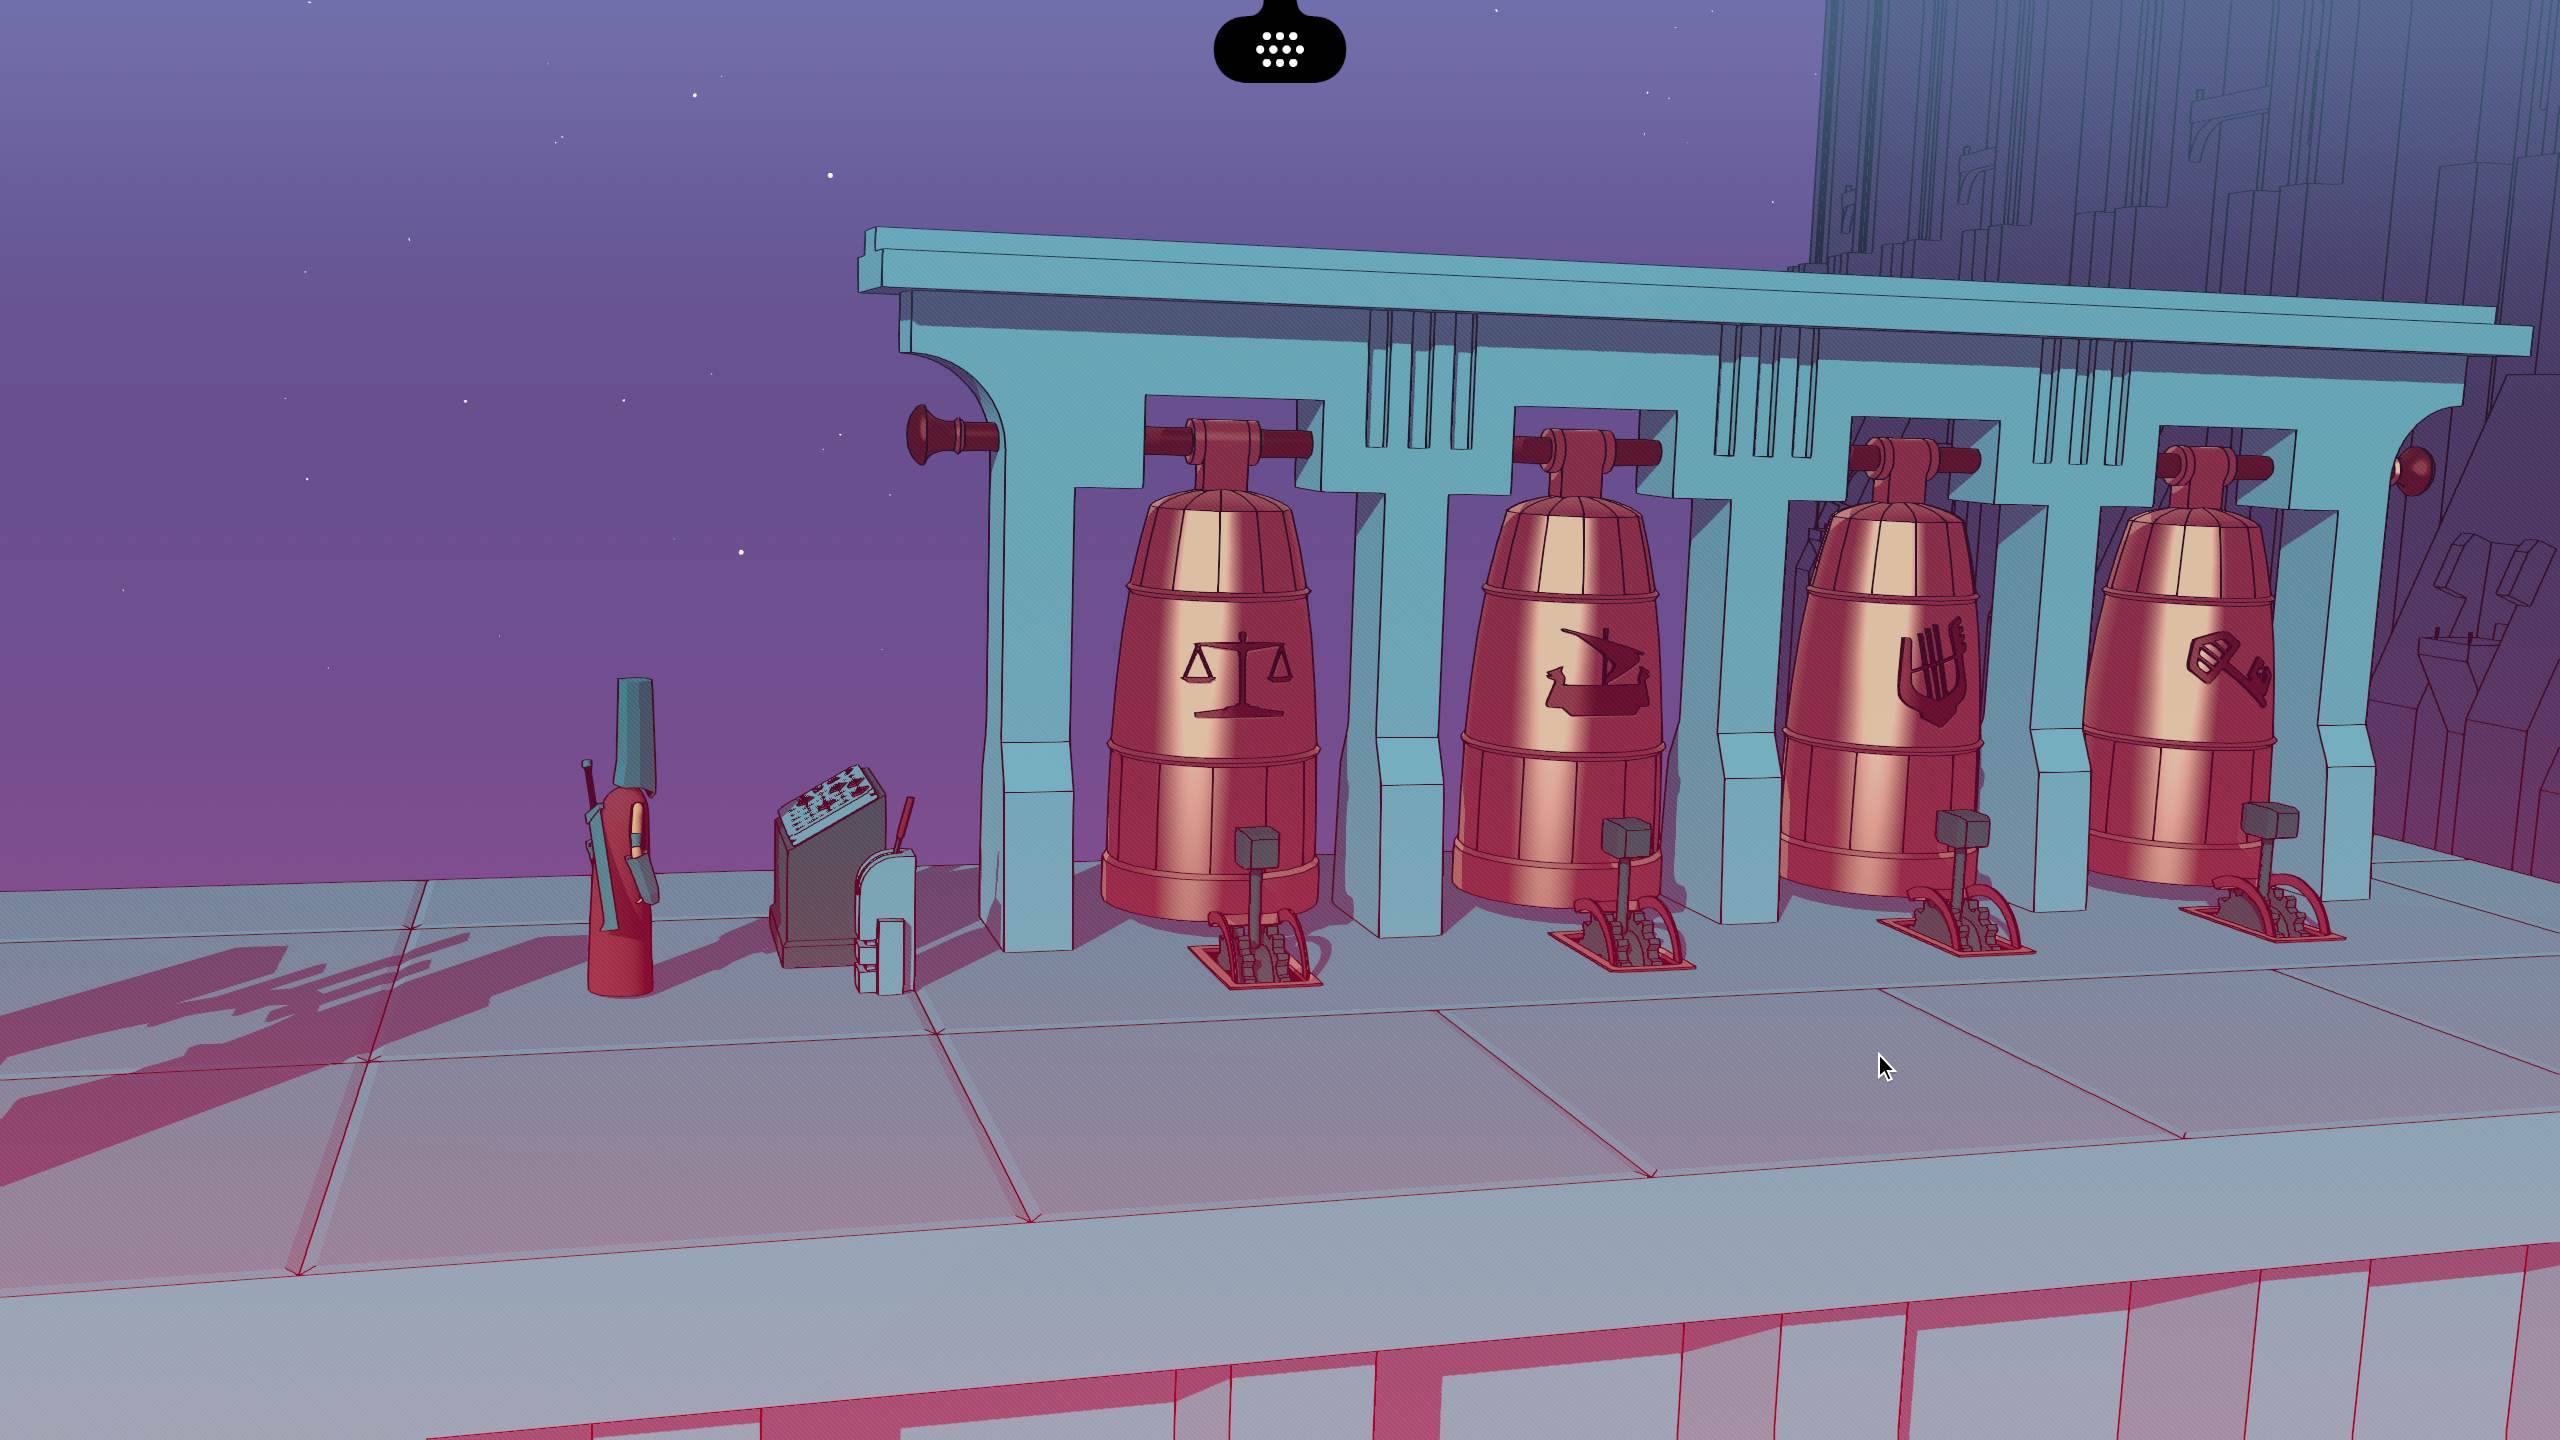
Pull out your notebook and go to the page with the boat, harp, scales, and key.
It’s time to fill it up. (Don’t mind that all the glyphs are validated in the screenshot: we forgot to take the screenshot the first time around!)
Warrior language: vessel, instrument, balance, key

You’ll find that the book actually shows you the order of bells that need to be rung for each ‘call’. We know by now that the warriors are awaiting “the chosen ones”, so that’s the only call we need to memorize.
After putting the book down, you’ll pull out your notebook again. Fill it up as shown below.
Warrior language: sun, moon, bellman

Now exit the bellman’s chamber and go to the far right of this platform to find the bells and their associated mechanism. Interact with the mechanism and enter the call for the chosen ones in the correct order: Balance, Instrument, Key, Vessel, Key.

Now go south from the bell platform to find the entire fortress in a state of chaos. Go west from the walkways, up the stairs and through the door going west.
Interact with the inscriptions on each of the three sculptures in this area, and then go up the next flight of stairs to the west.

You may pull up your notebook here, but if you’re missing the final glyph, you won’t be able to validate that page. Put down the notebook and examine the inscriptions on the giant elevator with the image of a harp on it. This will get you your final glyph.
Now fill up the final pages as shown below.
Warrior language: build, music, fear

Now that you’ve mastered the language of the warriors, it’s time to move on. Interact with the lever on the giant elevator to go up to… the Garden.
Proceed to the next part of our walkthrough of Chants of Sennaar here!
Thank you for reading this walkthrough of Chants of Sennaar! Also be sure to check out our coverage of other indie games from 2023!
- Into Indie Games Homepage
- Best Indie Horror Games of 2023
- Best Indie Adventure Games of 2023
- Best Indie Games of 2023
- Best Indie Games like Resident Evil in 2023