Sep
Chants of Sennaar Walkthrough – Part 5 (Observatory, Treasury)
Chants of Sennaar Walkthrough
- Part 1 (Entering the Abbey)
- Devotee Glyphs: open, close, door, greetings, you, me, man, devotee, warrior, god, hide, seek, go
- Part 2 (Coin and Lens)
- Devotee Glyphs: up, not, free, preacher, death, plant
- Part 3 (Church and Cemetery Puzzles)
- Devotee Glyphs: key, pot, lens, potion, music, instrument, make, abbey, church, cemetery, garden, talk, help, love, see
- All Devotee Glyphs
- Part 4 (Frontier - Disguise)
- Warrior Glyphs: warrior, not, love, death, wait, go, plural, protect, chosen, impure, carry, lay, push
- Part 5 (Observatory, Treasury)
- Warrior Glyphs: duty, weapon, trolley, fortress, treasure, call, help, seek, scientist (+ bottle, crate, small, big)
- Part 6 (Ringing the Bells)
- Warrior Glyphs: big, small, bottle, crate, vessel, instrument, balance, key, sun, moon, bellman, build, music, fear
- All Warrior Glyphs
- Part 7 (Bards' Gardens, Fruits)
- Bard Glyphs: plural, warrior, go/pass, not, beauty, be, love/like, greetings, question, bard, weapon, have, idiot, you, me, seek, find, instrument, music, comedy
- Part 8 (Windmill, Games)
- Bard Glyphs: hammer, pliers, saw, play, ascend, fire, path, windmill, theater, agora
- Part 9 (Theater, Compass)
- Bard Glyphs: book, monster, brother, compass, north, east, south, west, man, free, abbey, fortress
- All Bard Glyphs
- Part 10 (Tunnels, Laboratories)
- Alchemist Glyphs: me, you, plural, find, seek, 1, 2, 3, 4, 5
- Part 11 (Library, Mines)
- Alchemist Glyphs: door, fairy, book, alchemist, bard, brother, gold, silver, copper, carbon, library, refectory, laboratory, mine, death, open, close
- Part 12 (Formula, Transforming)
- Alchemist Glyphs: not, warrior, plant, make, fire, help, 6, 7, 8, 9, 0, transformation, formula, monster, fear
- All Alchemist Glyphs
Stuck in Chants of Sennaar? Check out our walkthrough of Chants of Sennaar to find out how to access the observatory and the treasury.
Welcome to the Into Indie Games walkthrough for Chants of Sennaar. This is a story-oriented guide, and while we do cover validating glyphs, we will not always state what a glyph is until it is time to validate it.
For more information on Chants of Sennaar beyond this walkthrough, check out the official website here.
Part 5
We’re now ready to explore the inner part of the fortress. Return to the weapons room and exit southwest.
In this area, take the exit to the northwest. Then, go in the northwest direction and listen to the warriors. You may take your notebook out here. Fill it up as shown below.
Warrior Language: duty, weapon, trolley

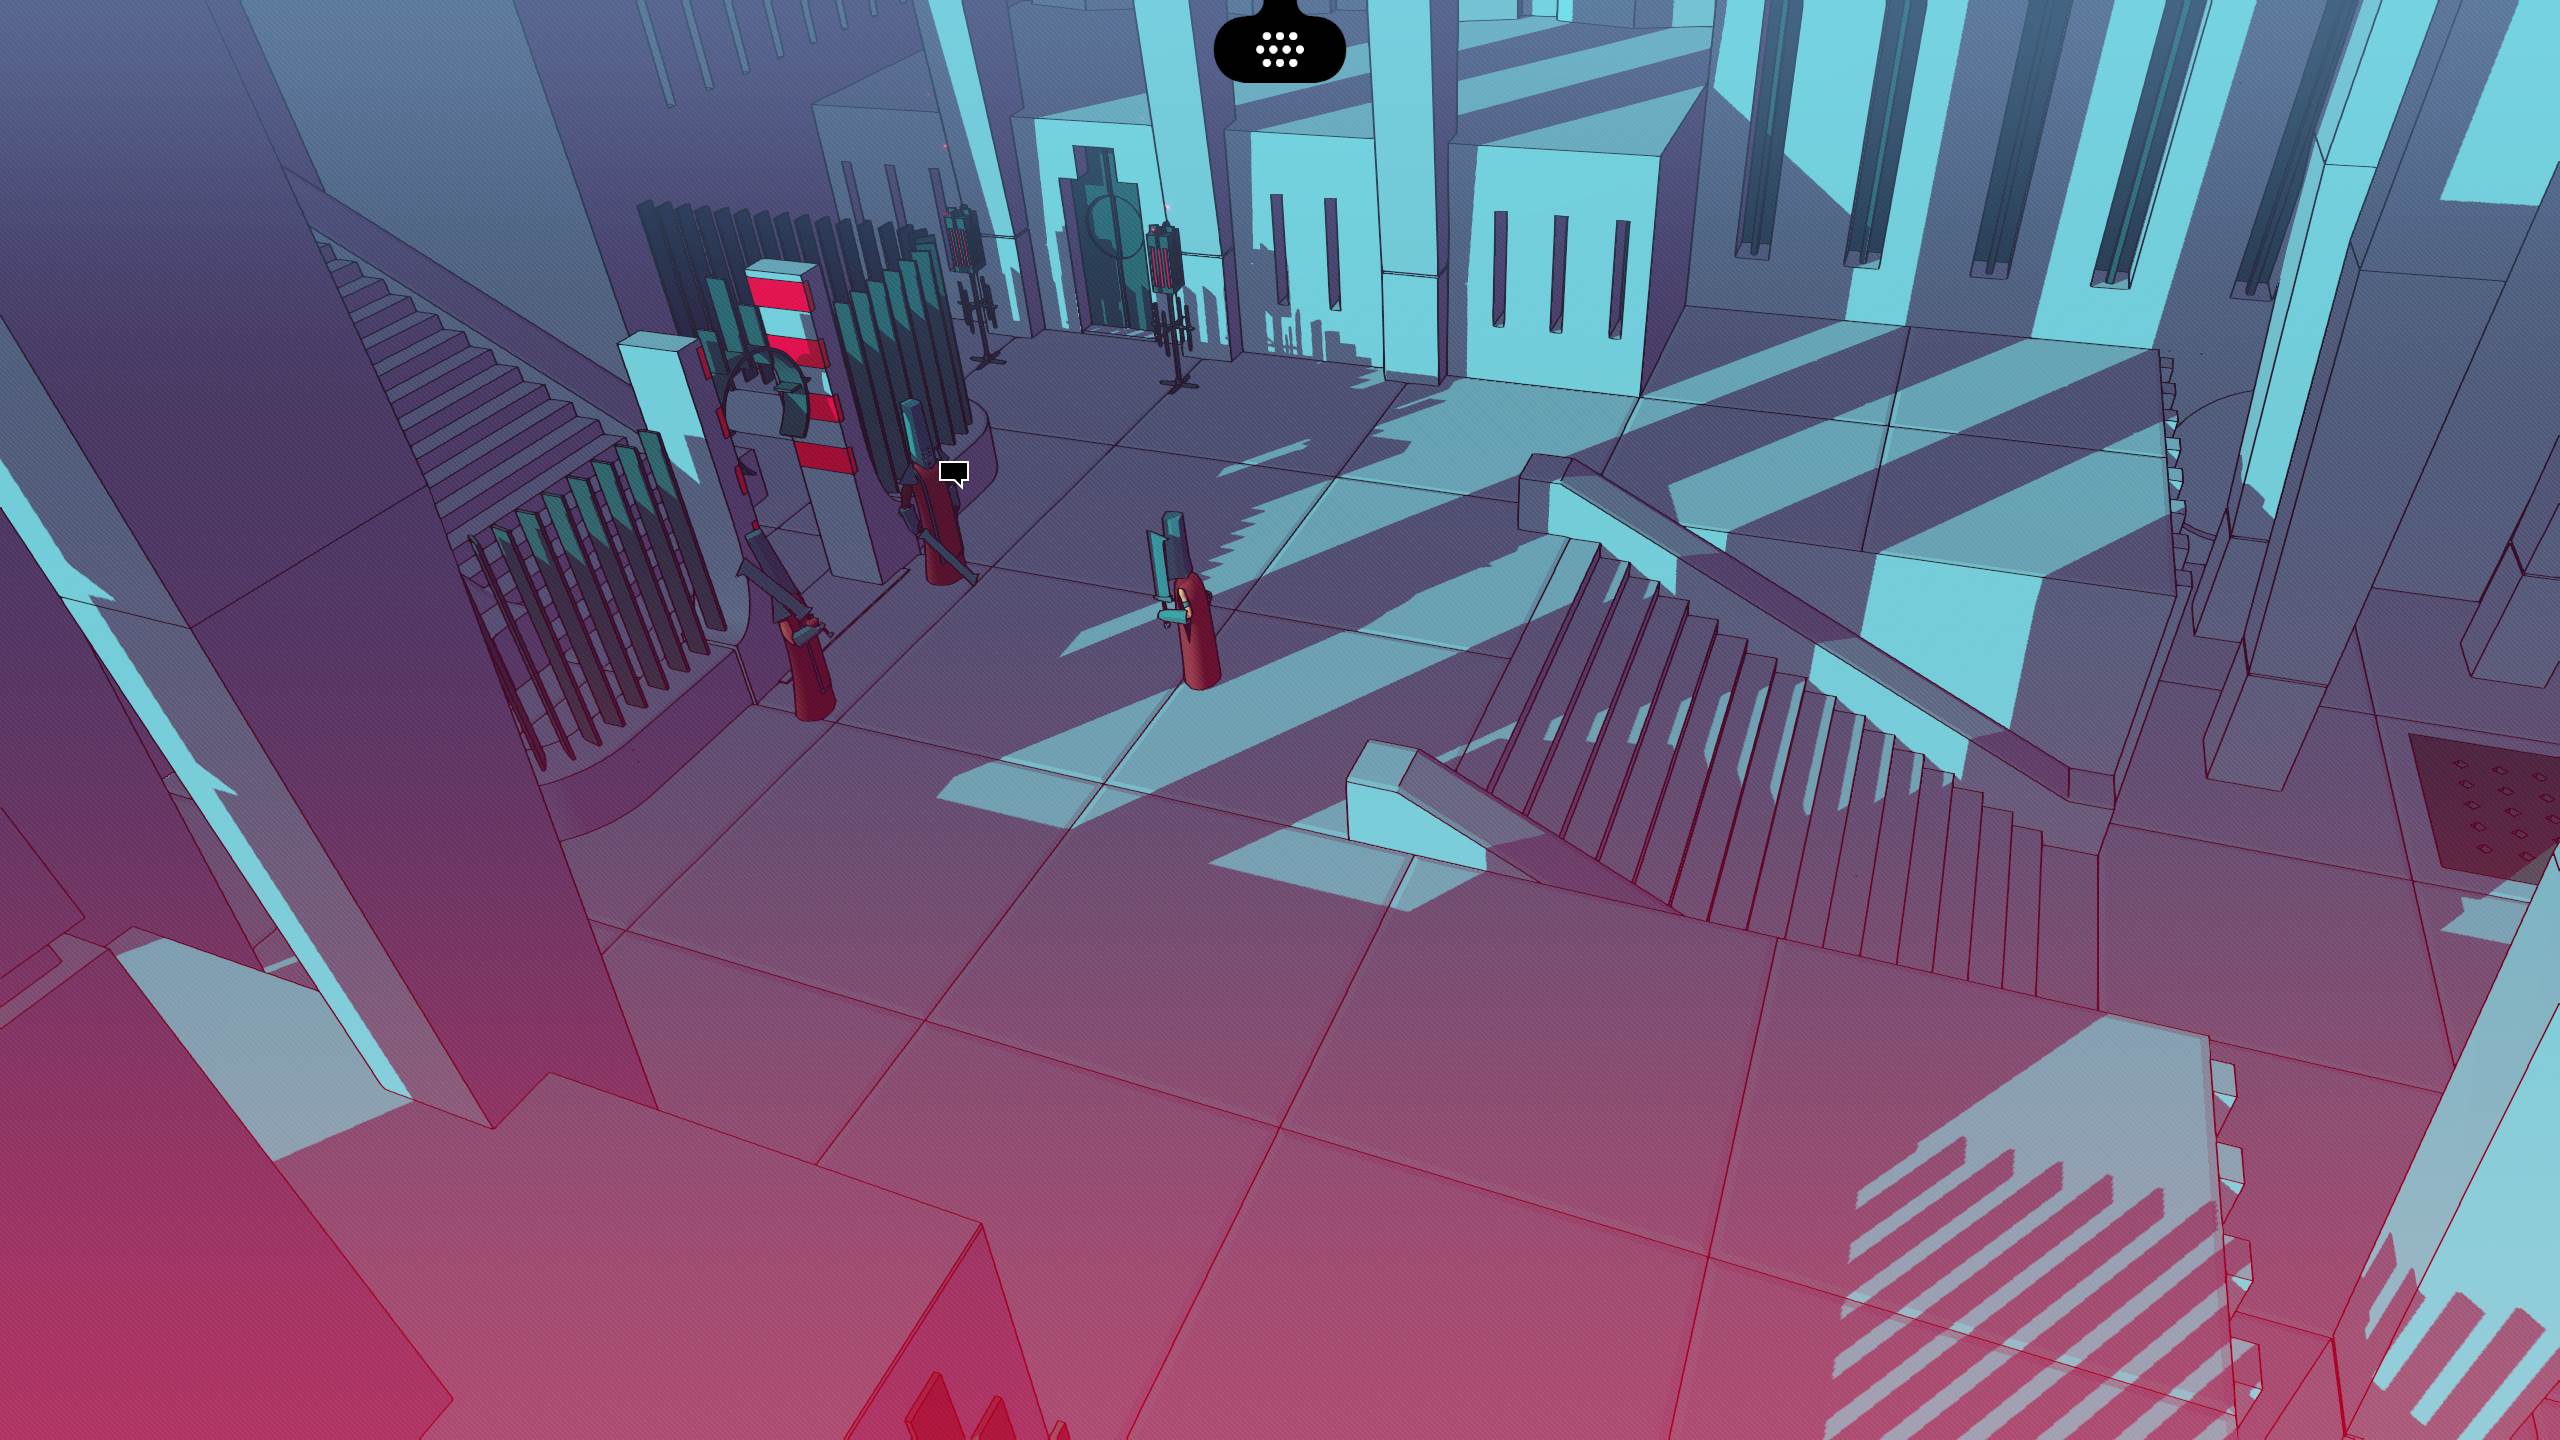
Proceed northwest into the next area. Here, go down the stairs and examine the giant sword sculpture in the center of the room. Proceed south after this. Note that there is a sign on the wall just next to the stairs going south.
In the next area, go west to find a couple of guards you can talk to. Talk to them to learn a new glyph, and then pass through them to go up the stairs.

Now go all the way up the stairs to the observatory. Inside, go up the steps and examine the diagram on the board to the north. You’ll learn a couple new glyphs with this.
Now interact with the telescope to see some stars, and then interact with the lens apparatus on the telescope. Finally, examine the table to the bottom of the screen to find a diagram of the lens you need to put in the telescope.

Exit the observatory and return to the room with the talkative guards.
Go south to reach an area where a group of unarmed warriors are marching. Go to the far west and put your weapon on the rack. Then, blend in with the unarmed marching warriors to pass through the guarded area.

Wait for the taskmaster to command you, and then go pick up the bottle, big crate, or small crate, depending on what the taskmaster has said. Blend in with the marching warriors again.
(If you cannot figure out which item to pick up, refer to the notebook entry below – the glyphs are, in clockwise order, bottle, crate, small, big).

Continue following the warriors and then, when the taskmaster commands you, place your item on the trolley. This will come right after the taskmaster instructs the second warrior to march.
You will then be instructed to push the trolley. Do as you are asked.

Once the trolley stops, go through the door to the northeast, which you now have access to.
Check out the mural here for a couple of new glyphs. Go to the far right of the mural and then go down the stairs to the left. At the very bottom of the stairs is a door with red stripes – go through it.
In the next area, pick up the burning blue torch and go to the far right to find another door. Go through this door.

Place the torch on any of the holes in the ground and then go up the steps to find a mechanism with a handle around it. Rotate this mechanism exactly four times.

Now go through the opening in the north to find your next teleportation terminal. Return to the previous room and pick up the blue torch again. Go up the stairs to the upper floor.
You may notice that the pinhole projector in the center of this room has been rotated 180 degrees – a result of your moving the mechanism on the lower floor. Place your blue torch in the middle of the projector.

The door opens, but don’t go through it just yet. Examine the reliefs on the wall and you’ll pull out your notebook. You can’t fill up any of these just yet, so put down your notebook again.
Now go through the door and you’ll put your notebook again. This time we can fill it up, so fill it up according to the screenshot below.
Warrior language: fortress, treasure, call

You are now in the treasury. Go to the shelf with many assorted treasures on it. Our objective here is to get the square lens, located at the second row from the top and second column from the left.
Move the trolley so that it’s aligned with the second column. Then, interact with the wheel exactly four times. Return to the trolley and pull the lever to go right up to the square lens. Pick up the square lens.

Use the trolley lever again to go down. Go west now and examine the giant tablet with a bilingual inscription on it. Although part of it is unreadable, you can correspond the glyphs to the ones you already know from the Devotees’ language.
Fill up your notebook as shown below.
Warrior language: help, seek, scientist

Now exit the treasury and go all the way up the stairs, back to where the marching warriors are waiting. Blend in with them to exit the guarded area.
Pick up your sword from the weapons rack, and then take the north exit out of this area.
Proceed to the next part of our walkthrough of Chants of Sennaar here!
Thank you for reading this walkthrough of Chants of Sennaar! Also be sure to check out our coverage of other indie games from 2023!
- Into Indie Games Homepage
- Best Indie Horror Games of 2023
- Best Indie Adventure Games of 2023
- Best Indie Games of 2023
- Best Indie Action Games of 2023