Sep
Chants of Sennaar Walkthrough – Part 10 (Tunnels, Laboratories)
Chants of Sennaar Walkthrough
- Part 1 (Entering the Abbey)
- Devotee Glyphs: open, close, door, greetings, you, me, man, devotee, warrior, god, hide, seek, go
- Part 2 (Coin and Lens)
- Devotee Glyphs: up, not, free, preacher, death, plant
- Part 3 (Church and Cemetery Puzzles)
- Devotee Glyphs: key, pot, lens, potion, music, instrument, make, abbey, church, cemetery, garden, talk, help, love, see
- All Devotee Glyphs
- Part 4 (Frontier - Disguise)
- Warrior Glyphs: warrior, not, love, death, wait, go, plural, protect, chosen, impure, carry, lay, push
- Part 5 (Observatory, Treasury)
- Warrior Glyphs: duty, weapon, trolley, fortress, treasure, call, help, seek, scientist (+ bottle, crate, small, big)
- Part 6 (Ringing the Bells)
- Warrior Glyphs: big, small, bottle, crate, vessel, instrument, balance, key, sun, moon, bellman, build, music, fear
- All Warrior Glyphs
- Part 7 (Bards' Gardens, Fruits)
- Bard Glyphs: plural, warrior, go/pass, not, beauty, be, love/like, greetings, question, bard, weapon, have, idiot, you, me, seek, find, instrument, music, comedy
- Part 8 (Windmill, Games)
- Bard Glyphs: hammer, pliers, saw, play, ascend, fire, path, windmill, theater, agora
- Part 9 (Theater, Compass)
- Bard Glyphs: book, monster, brother, compass, north, east, south, west, man, free, abbey, fortress
- All Bard Glyphs
- Part 10 (Tunnels, Laboratories)
- Alchemist Glyphs: me, you, plural, find, seek, 1, 2, 3, 4, 5
- Part 11 (Library, Mines)
- Alchemist Glyphs: door, fairy, book, alchemist, bard, brother, gold, silver, copper, carbon, library, refectory, laboratory, mine, death, open, close
- Part 12 (Formula, Transforming)
- Alchemist Glyphs: not, warrior, plant, make, fire, help, 6, 7, 8, 9, 0, transformation, formula, monster, fear
- All Alchemist Glyphs
Stuck in Chants of Sennaar? Check out our walkthrough of Chants of Sennaar to find out how to escape the monster and explore the laboratories.
Welcome to the Into Indie Games walkthrough for Chants of Sennaar. This is a story-oriented guide, and while we do cover validating glyphs, we will not always state what a glyph is until it is time to validate it.
For more information on Chants of Sennaar beyond this walkthrough, check out the official website here.
Part 10
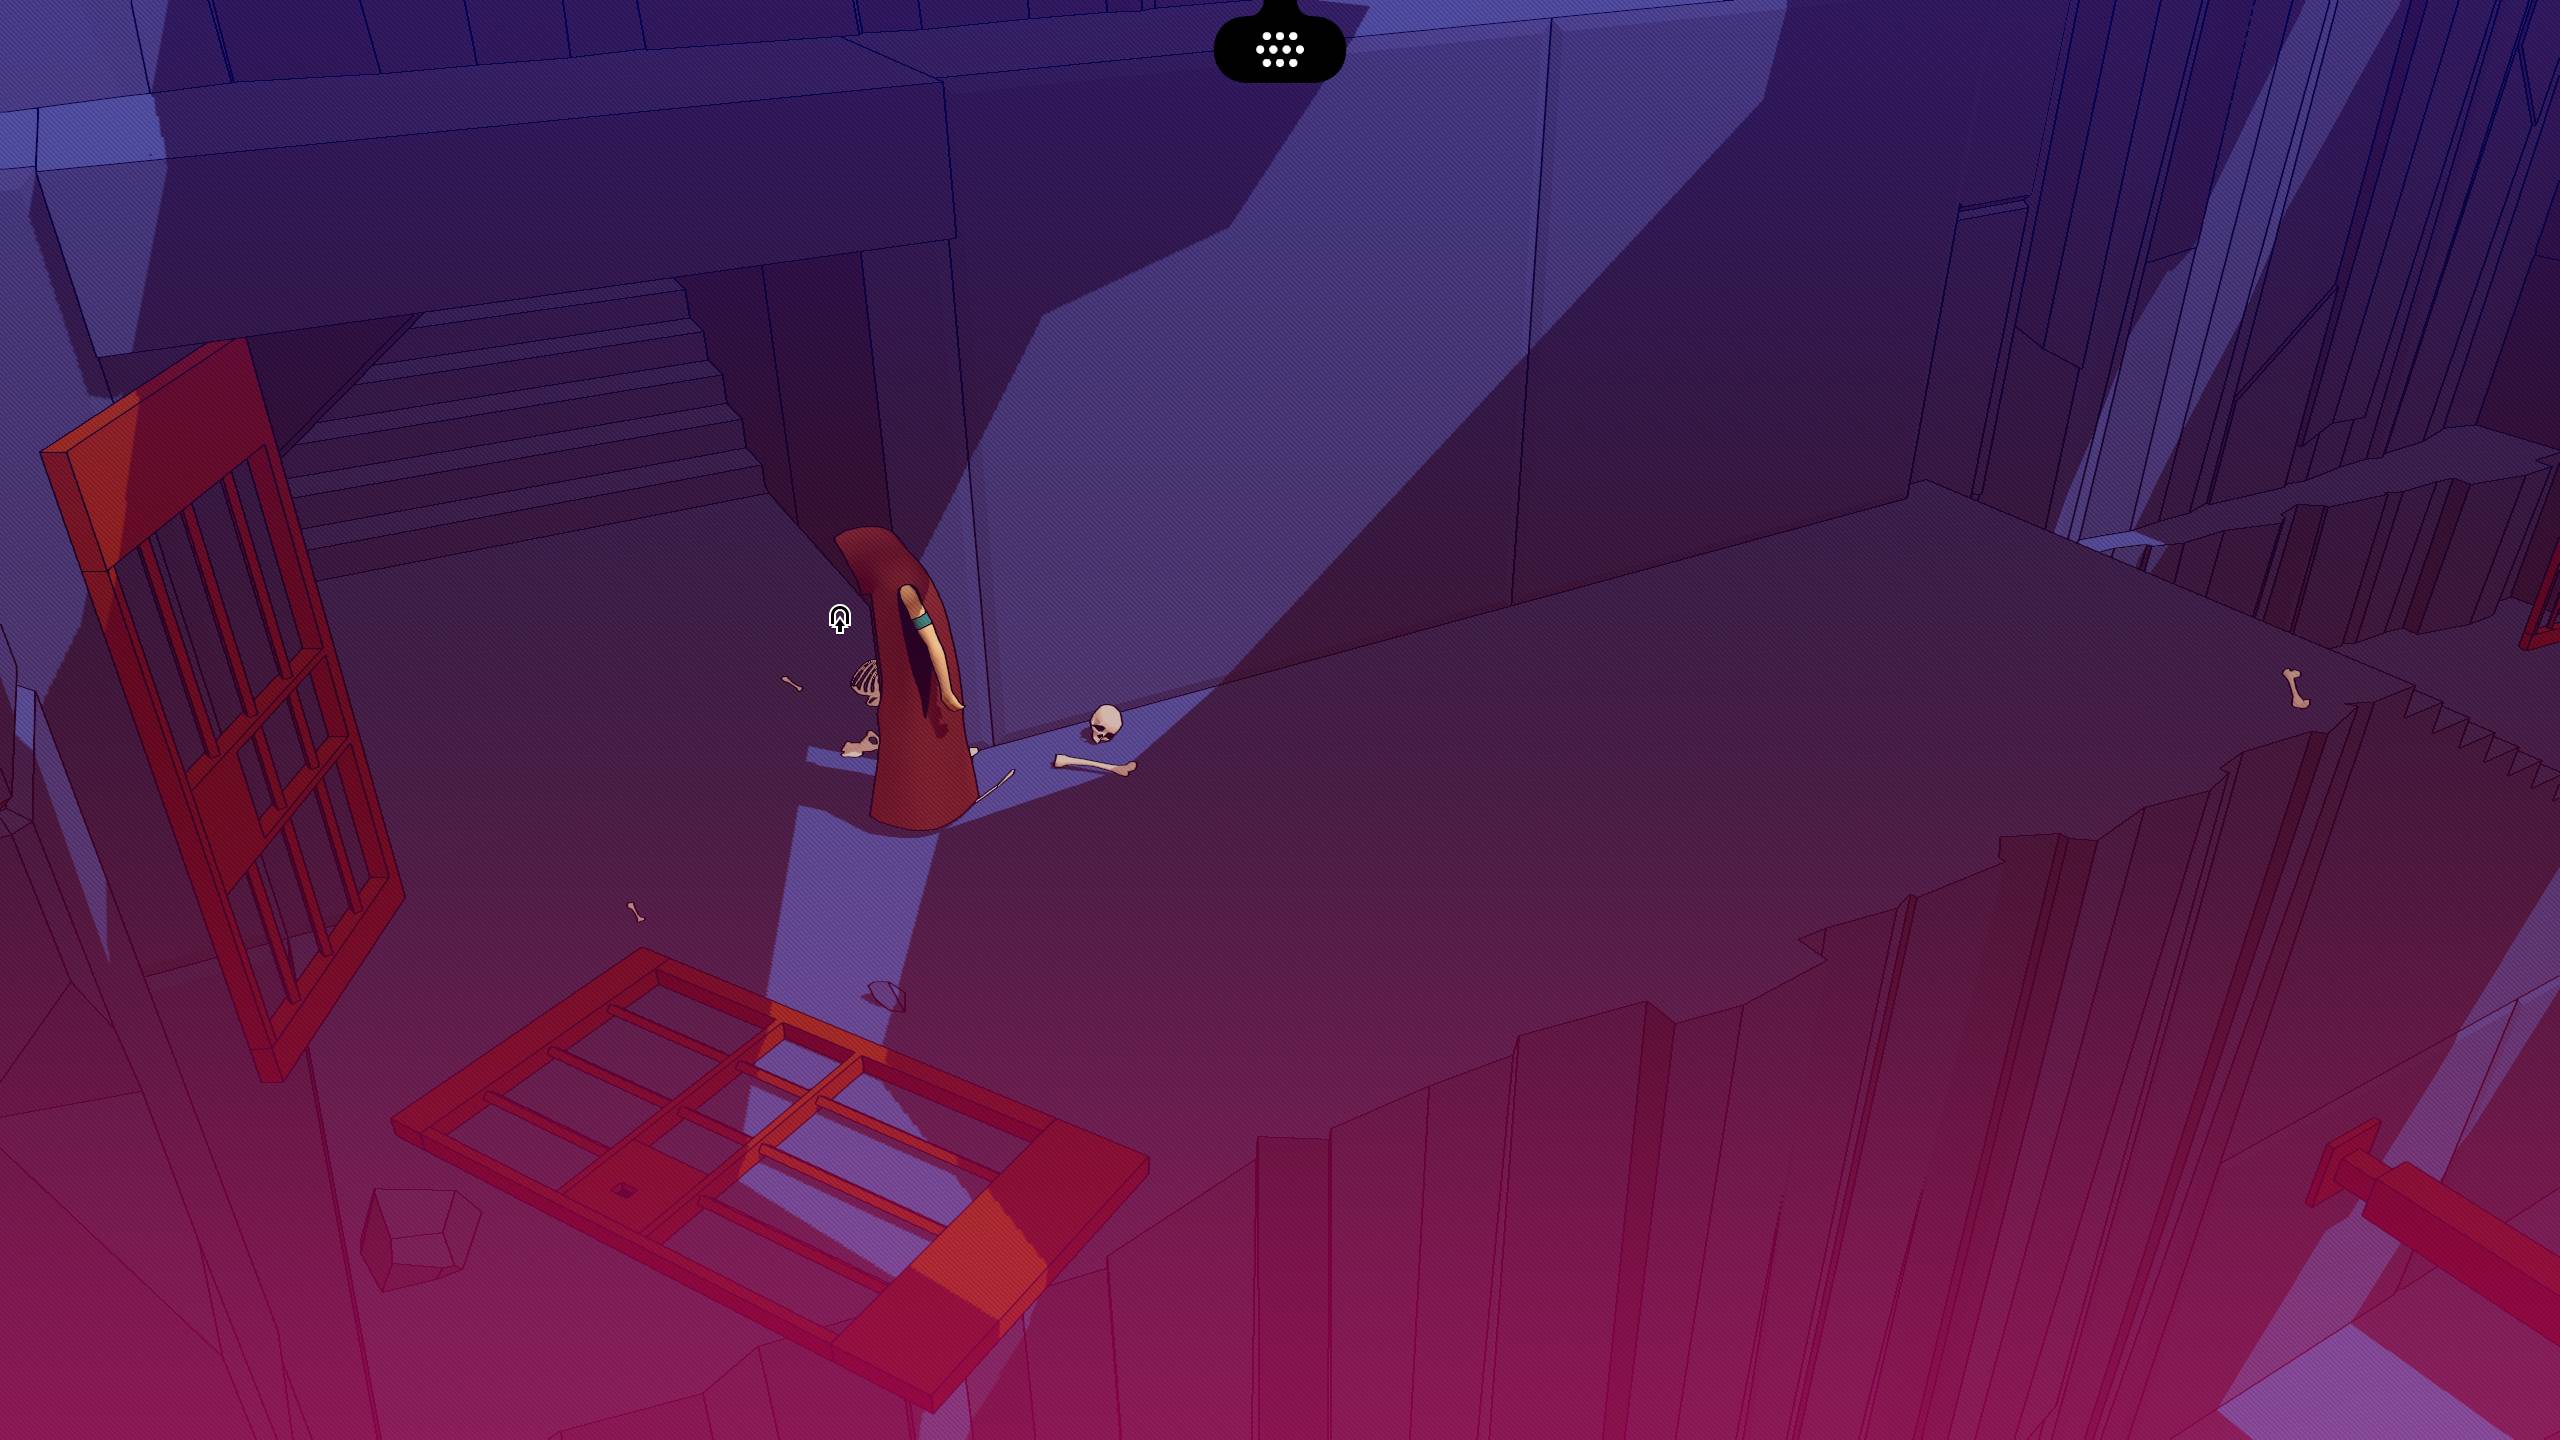
As you enter the Tunnels, go up the stairs and through the broken gate. Continue up the stairs, through the gate. In the next screen, go west through the open gate.

As you do this, a monster will attack you – but if you pay attention, you’ll find that the monster is afraid of light. Proceed westwards.
On the next screen, the monster will be back, and both open exits are shrouded in darkness. Look to the southwest for a lever and interact with it. This will cause some of the shadow to recede, allowing you to pass through the gate to the west.

The next screen is a stealth section. Sneak west when the monster has its back turned to you. Your goal is to move counterclockwise in this room, hiding behind the low walls, so that you get to the orange mound of dirt in the northern area of the room.
Don’t bother with the north gate – it leads you back to the previous screen.
When you’re at the orange mound and the monster has its back to you, pick up a stone from the mound. Now throw the stone at the cart in the southwest corner of the screen.

Very quickly use the lever by the north wall of the screen and then, without pause, run east into the shadow-less area.
Once you’re in the light, use the lever to the east side of the room and pass through the opened gate.
In the next screen, you must quickly run east, interact with the cart there, and then pull the lever to close the large door. This will permanently trap the monster, allowing you to saunter about as you please.

Go east now to find an orange elevator. Before using the elevator, go through the opening in the northeast wall. (There is an exit to the southeast too, but it takes you back to a previous screen).
Through the opening, you’ll find a teleportation terminal and a broken mural. Activate the terminal, which makes this your seventh terminal so far. Then, interact with the mural.

Push the cart so that you can view some of the glyphs behind it, and interact with the mural once more. This is again a bilingual inscription, which gives you some idea of what the next language is like.
Exit the screen to pull out your notebook and fill it up as below.
Alchemist Language: me, you, plural, find, seek

Return to the elevator room and interact with the large orange control panel for the elevator. There are five new glyphs here, which are easy to determine: they’re numbers representing the order in which you have to use the controls to power up the elevator.
This is the order you must follow:
- Leftmost blue button
- Lever
- Leftmost dial
- Third blue button from the left
- Rightmost dial
If you get the order wrong, you’ll have to start over.

Once the elevator’s powered on, you’ll pull out your notebook again. Fill it up as shown below.
Alchemist language: 1, 2, 3, 4, 5

Use the elevator to go up to the Alchemists’ domain. Here, we’ll be grabbing a very large number of glyphs first and figuring them out later.
Here, go up the stairs and inspect the map near the next flight of stairs. This will net you a very large number of glyphs that you can’t make head nor tails of right now.

Go east up the stairs and talk to the red and blue alchemists who are conversing near the elevator, which will get you some new glyphs. Then, proceed through the round doorway to the far east of this room.
Go east and then go through the door in the north wall. Examine the big board on the wall for a new glyph. Then, talk to the blue and green alchemists in this room for more glyphs.

Proceed through the doorway to the east. Ignore this room for now and go east again. View the graffiti on the wall to gain new glyphs. Now go down the stairs to the southeast.
In the next screen, run all the way west, and then west once more to return to the room with the two elevators.
Use the elevator next to the red and blue alchemists to go up to the second floor.
Talk to the alchemist to the east of the elevator to get even more glyphs. Then, run west and go through the doorway there.

View the signboard on the top of the screen for a new glyph, and then enter the building across the street.
Proceed to the next part of our walkthrough of Chants of Sennaar here!
Thank you for reading this walkthrough of Chants of Sennaar! Also be sure to check out our coverage of other indie games from 2023!
- Into Indie Games Homepage
- Best Indie Horror Games of 2023
- Best Indie Adventure Games of 2023
- Best Indie Games of 2023
- Best Indie Action Games of 2023