Sep
Chants of Sennaar Walkthrough – Part 4 (Finding the Disguise)
Chants of Sennaar Walkthrough
- Part 1 (Entering the Abbey)
- Devotee Glyphs: open, close, door, greetings, you, me, man, devotee, warrior, god, hide, seek, go
- Part 2 (Coin and Lens)
- Devotee Glyphs: up, not, free, preacher, death, plant
- Part 3 (Church and Cemetery Puzzles)
- Devotee Glyphs: key, pot, lens, potion, music, instrument, make, abbey, church, cemetery, garden, talk, help, love, see
- All Devotee Glyphs
- Part 4 (Frontier - Disguise)
- Warrior Glyphs: warrior, not, love, death, wait, go, plural, protect, chosen, impure, carry, lay, push
- Part 5 (Observatory, Treasury)
- Warrior Glyphs: duty, weapon, trolley, fortress, treasure, call, help, seek, scientist (+ bottle, crate, small, big)
- Part 6 (Ringing the Bells)
- Warrior Glyphs: big, small, bottle, crate, vessel, instrument, balance, key, sun, moon, bellman, build, music, fear
- All Warrior Glyphs
- Part 7 (Bards' Gardens, Fruits)
- Bard Glyphs: plural, warrior, go/pass, not, beauty, be, love/like, greetings, question, bard, weapon, have, idiot, you, me, seek, find, instrument, music, comedy
- Part 8 (Windmill, Games)
- Bard Glyphs: hammer, pliers, saw, play, ascend, fire, path, windmill, theater, agora
- Part 9 (Theater, Compass)
- Bard Glyphs: book, monster, brother, compass, north, east, south, west, man, free, abbey, fortress
- All Bard Glyphs
- Part 10 (Tunnels, Laboratories)
- Alchemist Glyphs: me, you, plural, find, seek, 1, 2, 3, 4, 5
- Part 11 (Library, Mines)
- Alchemist Glyphs: door, fairy, book, alchemist, bard, brother, gold, silver, copper, carbon, library, refectory, laboratory, mine, death, open, close
- Part 12 (Formula, Transforming)
- Alchemist Glyphs: not, warrior, plant, make, fire, help, 6, 7, 8, 9, 0, transformation, formula, monster, fear
- All Alchemist Glyphs
Stuck in Chants of Sennaar? Check out our walkthrough of Chants of Sennaar to enter the Warriors’ fortress and secure a disguise.
Welcome to the Into Indie Games walkthrough for Chants of Sennaar. This is a story-oriented guide, and while we do cover validating glyphs, we will not always state what a glyph is until it is time to validate it.
For more information on Chants of Sennaar beyond this walkthrough, check out the official website here.
Part 4
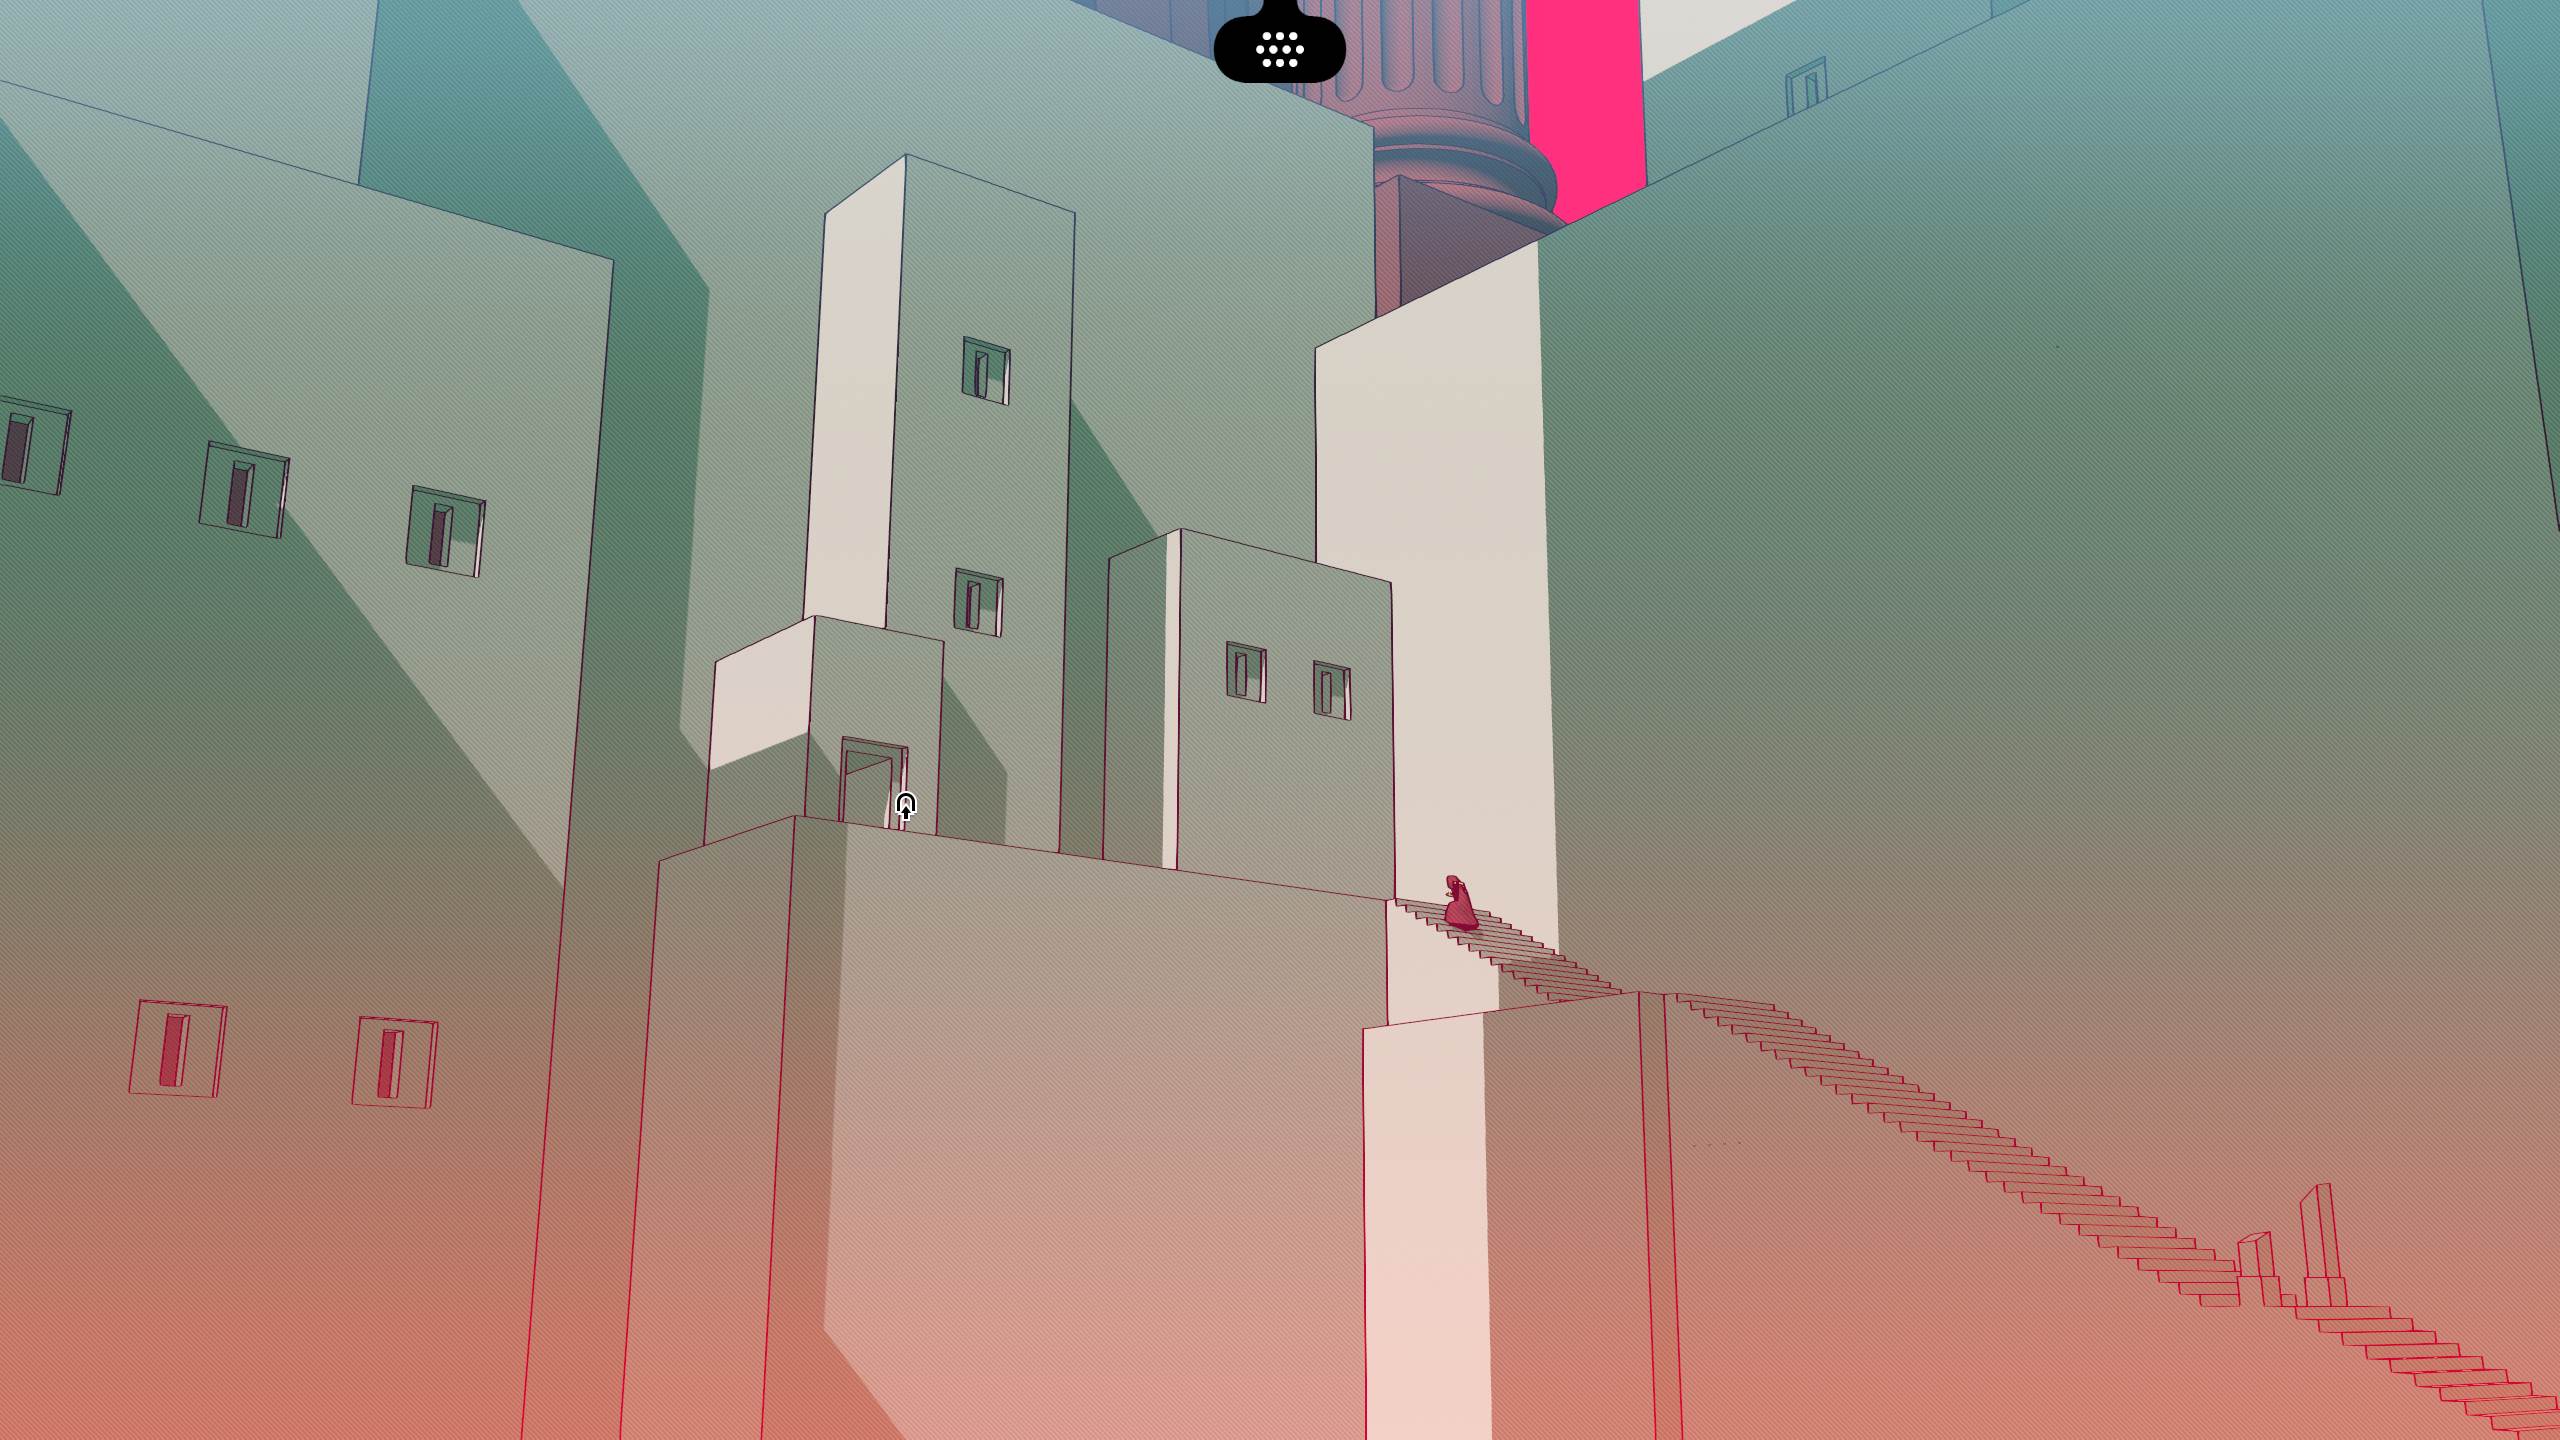
Upon entering the Frontier, go up the steps and through the only accessible door. Continue going to the left of the screen on the next screen and then further left to find the fortress of the warriors.

Upon gaining control, do *not* go down the steps, as the warriors are hostile and will attack you on sight. Instead go to the right and proceed through the crack in the red wall to the right side of the screen.

Here, you’ll find a teleportation terminal that you can use to return to the devotees’ town or the abbey. You’ll also find a shield with several glyphs inscribed on it.
This is a translation. As you can already read the Devotees’ language, you can use that as a hint to decipher some of the Warriors’ language as well.
After you’re done with the shielf, pick up the spear lying on the ground.
You will then be presented with the notebook. Fill it up as shown below.
Warrior Language: Warrior, Not, Love, Death

Then, proceed forward, through the hallway leading to the stairs. Then, go to the right and interact with the broken pillar to topple it.
Proceed north by crossing the gap to enter the fortress proper. You will be presented with the notebook here – fill it up as shown below.
Warrior Language: Wait, Go, Plural

Once done, go down the exit to the top-right of the screen. Then, go down the stairwell and through the exit at the bottom.
Before moving on, let us pick up some glyphs. First of all, inspect the red banners hanging down on either side of the giant sculpture.
Then, inspect the glyphs at the foot of the giant sculpture. After this, go through the door to the left of the sculpture.

This takes you to a gallery next to the sculpture. Interact with the wooden wheel here and then use the lever. This rotates the sculpture once, allowing you to view another set of glyphs.
Repeat the wheel and lever procedure one more time to rotate the sculpture once again. This gives you your final set of glyphs from the sculpture.
The three ‘faces’ of the sculpture will be inscribed in your notebook, and you’ll pull out your notebook one more time. Fill it up as shown below.
Warrior Language: Protect, Chosen, Impure

Now go down the stairs. Proceed through the door with the red stripes, located to the bottom-left of the screen.
We now enter a stealth area. Hide behind one of the patrolling guards and follow them, making sure that the guard behind you cannot see you. Continue following the guards counter-clockwise until you can slip through the door to the left of the screen.

On the next screen, hide behind the low wall. Wait for the marching warriors to pass the guard who has their back to you. Then, proceed left past that guard.
Go left to the next gap in the wall and wait for the marching warriors to block the sight of the guards on the other side of the hallway. This way, those guards won’t spot you as you sneak to the left.

Now once the marching warriors have passed you by, interact with the gong to attract the guards looking your way. Go right and sneak to behind where the guards were stationed, i.e. crossing the path the marching warriors took.

Wait for the guards to retake their positions, and then go left to the next gap in the wall. Now wait for the next batch of warriors to go past you. Once the doors open for these warriors and they march forwards, sneak to the closer side of the hallway and proceed left down the stairs. The marching soldiers will block the guards’ sight, allowing you to sneak through.
Go down the stairs to the next area. Here, wait and listen to the taskmaster to get some glyphs. Observe what the warriors do to get an idea of what the glyphs might mean.
After listening to the warriors, you’ll be presented with the notebook. Fill it up as shown below.
Warrior Language: Carry, Lay, Push

Continue sneaking to the left and interact with the elevator. (Note that to use the elevator to get back up, you’ll first have to run on the wheel, and then use the elevator).
Go through the door next to the elevator and then go left up the stairs. Here, look at the very right of the screen, where there’s a storehouse of bottles and crates. Interact with the big red glyphs to add them.

When you’re done, go left and interact with the lever next to the elevator to send the elevator up. Do *not* get on the elevator.
Go up the stairs and hide behind the gray boxes. Wait for the guard here to turn their back on you, and then go right onto the elevator. Stand still while on the elevator and you won’t be noticed.

Once again, wait for the guard to turn their back on you and then slip through the door to their right.
The next area is quite big and requires quite a bit of sneaking. You’ll make your way north, near where the trolleys are being pushed, then south to the middle of the area. Cross the gap here when the trolley is blocking the view of the guard to the far north.

When you make it to the position shown below, interact with the junk to acquire a stone.

Throw it at the gong just before the trolley passes the guard to the north. When the guard to your south is distracted, sneak past them. Provided the trolley is blocking the north guard’s view, you will sneak past both guards without a problem.

Inspect the glyphs above the door on the northeast side, and wait for the patrolling guard to turn their back on you. Go right and hide behind the furthest pillar, then behind the closer pillar, and finally, sneak through the door leading to the weapons room.
Interact with the weapons racks. You will have to disguise yourself as a regular warrior in order to pass amongst them without attracting attention. Wear the tall helmet (left side) and the bracers (center), and equip the sword (center).

You can test your outfit by exiting the room to the right – a jingle will play if you disguised yourself correctly. If not, the warriors will attack you.
We can now explore the fortress freely, but be careful not to stand too close to a warrior, or they’ll see through your disguise.
Proceed to the next part of our walkthrough of Chants of Sennaar here!
Thank you for reading this walkthrough of Chants of Sennaar! Also be sure to check out our coverage of other indie games from 2023!
- Into Indie Games Homepage
- Best Indie Horror Games of 2023
- Best Indie Adventure Games of 2023
- Best Indie Games of 2023
- Best Indie Games like Zelda in 2023