Apr
Bramble: The Mountain King Walkthrough – Plague Village
Bramble: The Mountain King Walkthrough
Check out our Bramble: The Mountain King walkthrough to find out how to get past the Plague Village chapter of the game.
Welcome to Into Indie Games’ Bramble: The Mountain King walkthrough, where you’ll learn how to clear the game’s puzzles and make progress throughout the game.
For more information on Bramble: The Mountain King beyond this walkthrough, check out the official website here.
Plague Village
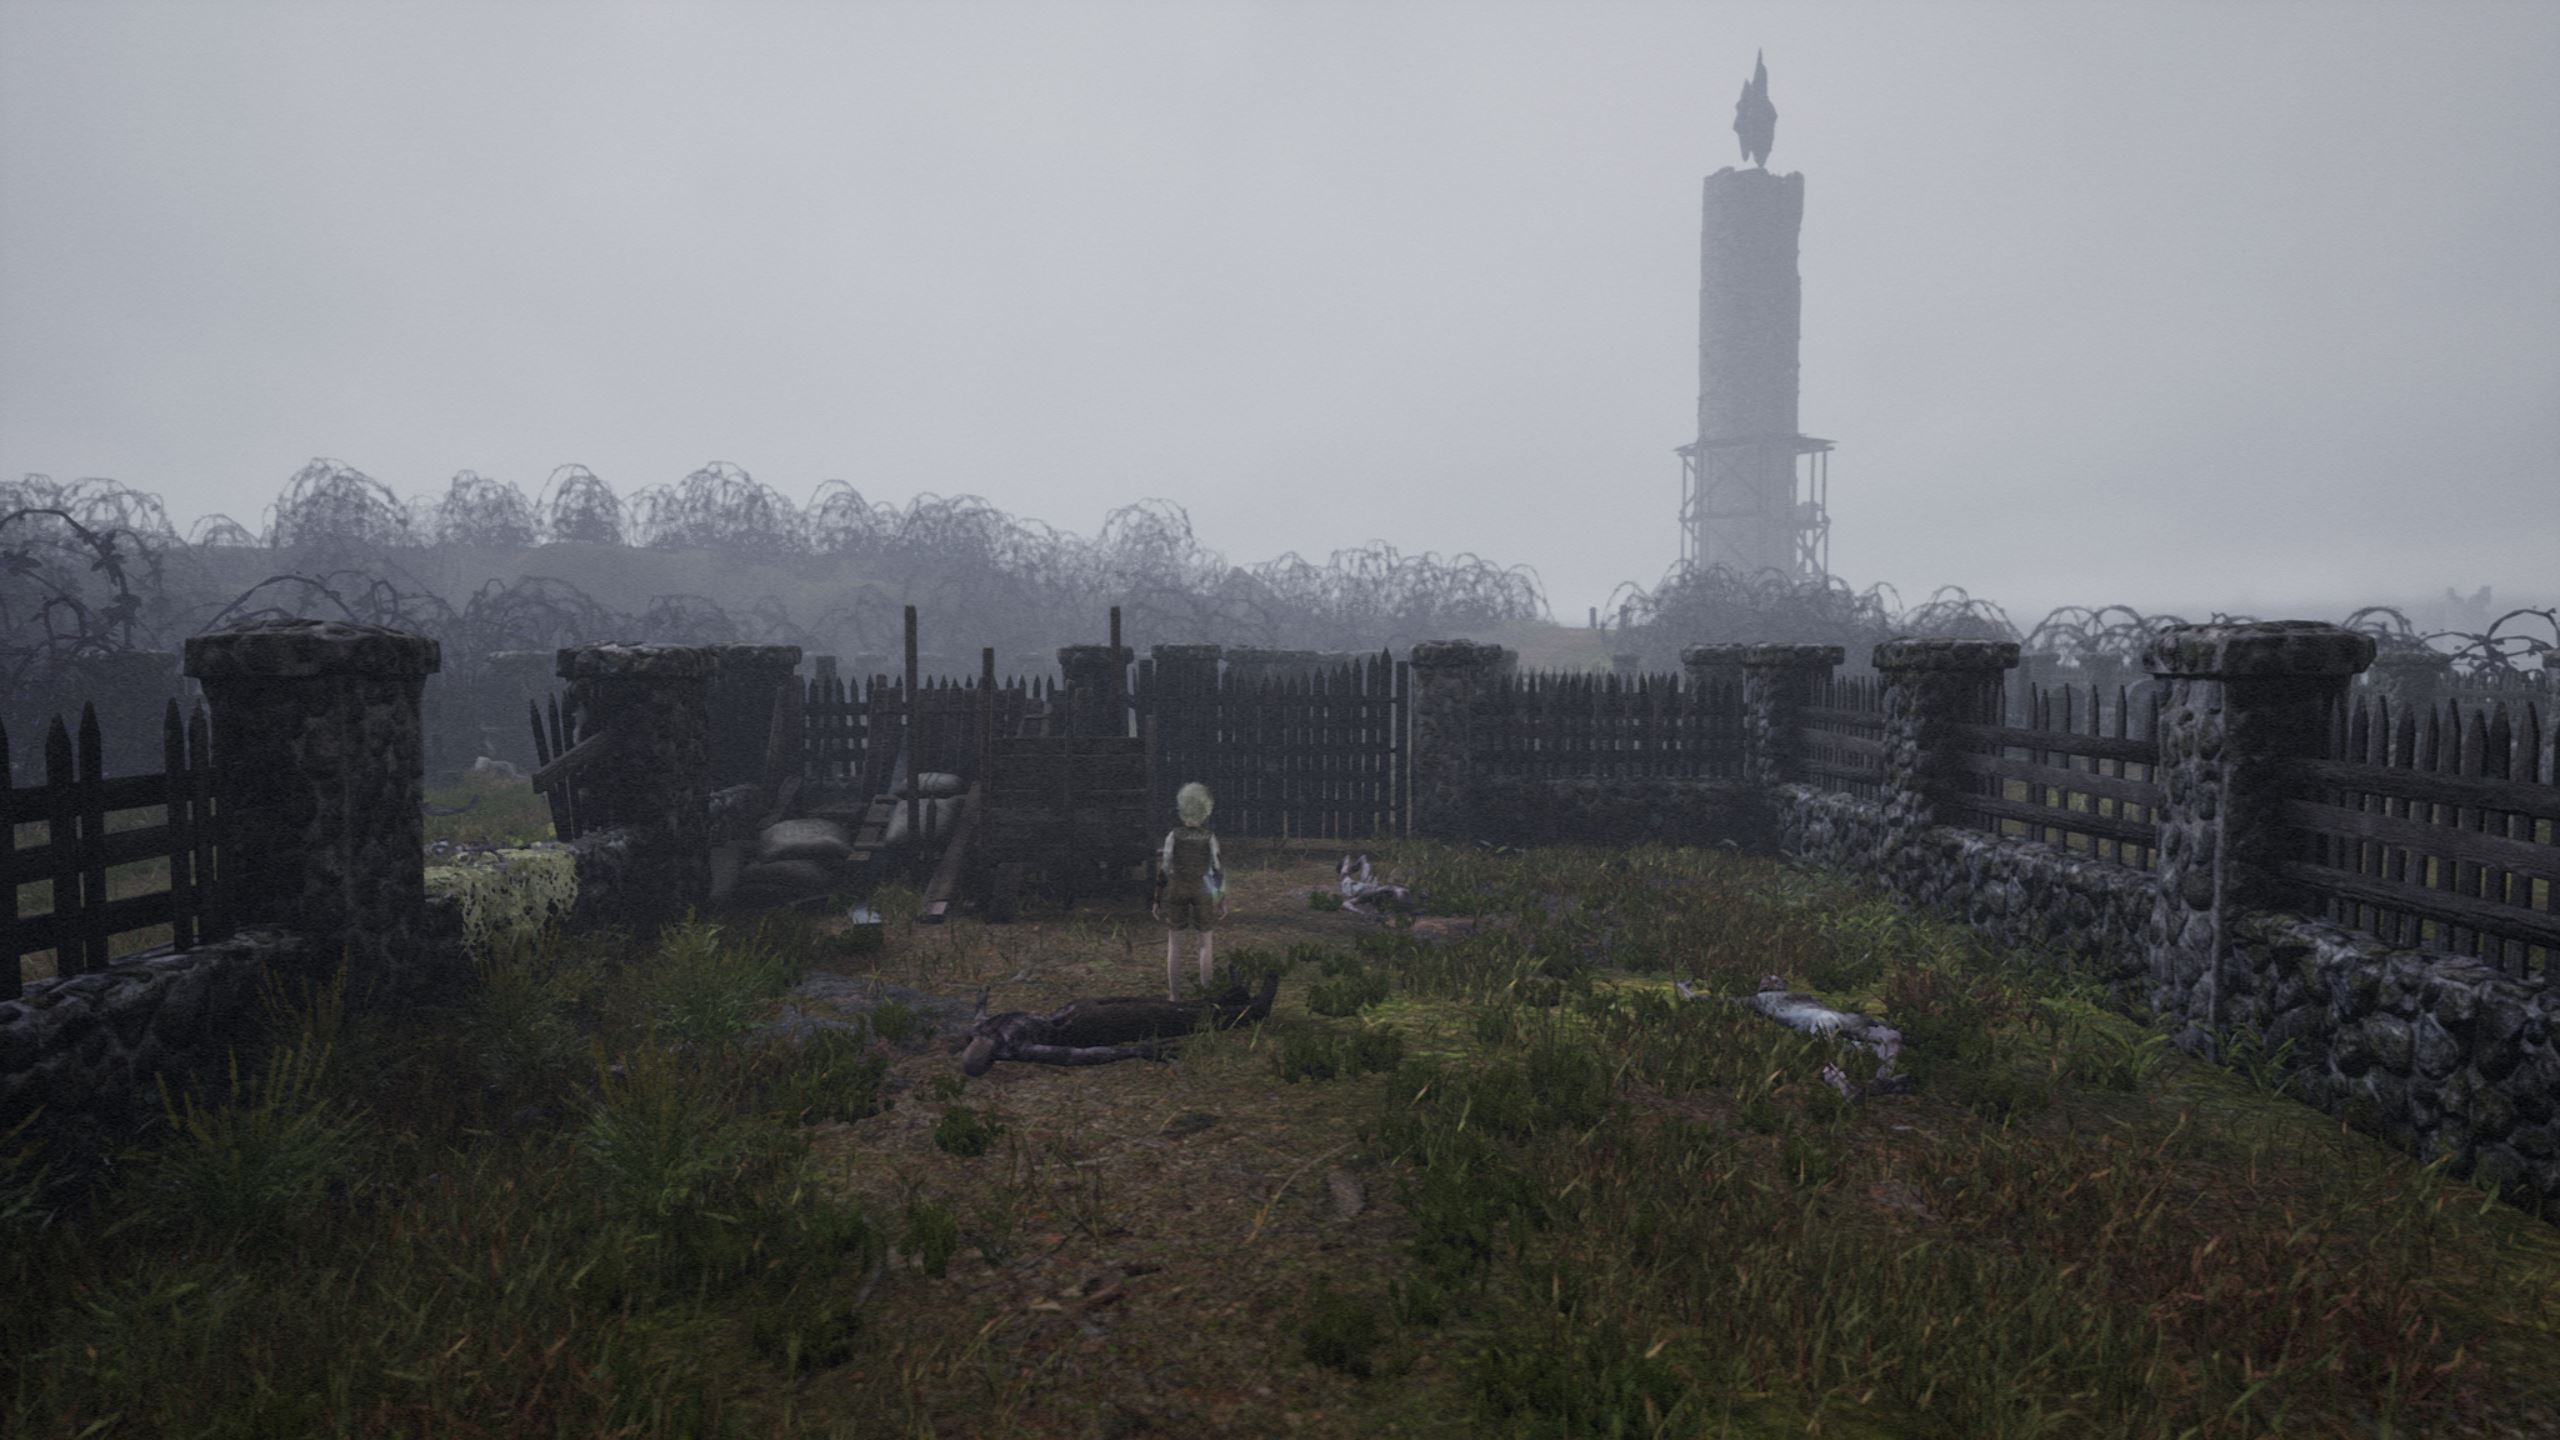
As the chapter starts, head right and drop to the lower area. Then, go forwards and continue running in this direction for a while, past the fallen tree and passing between the dead horse and its cart. Keep going until a cutscene is triggered.

After the cutscene, head down to the village. After scaring away some birds on your way there, crouch and go through the wooden barricade to enter a wooden church.
Here, approach the dead woman sitting on the torture chair and interact with the chair. Follow the on-screen prompts to uncover the crank handle and then turn the handle all the way it can go to reveal a key in a small compartment underneath. Take the key.

Use the key on the door up ahead and pass through to reach a stealth section with a number of flesh-eating zombies.
Begin by crouching through the barricade and then stay crouched. Continue crouched through the water to the right and enter the tall grass next to the two zombies. The zombies can’t see you if you’re hidden in tall grass, or if you’re crouching behind them. Continue through the tall grass to the wooden platform.


Wooden platforms like these leave you immune to the zombies. Go a little further to make the birds fly away, and then quickly run back onto the platform. Wait for the zombies to return to their posts, and then pass through between the two groups of zombies, onto the next wooden platform. Needless to say, you should be crouching as you do this.

You can enter the house in the next section for a breather and some lore, but otherwise, press on to the next wooden platform.
This is a very tricky section with several flocks of birds and groups of zombies. Begin by going into the clump of grass to the right, which will you protect you from the zombie immediately to your left. From here, go diagonally to the upper-left area, where you’ll be protected from the zombies by a barricade of coffins. Enter the grass here for a breather.

Now reveal yourself to the zombies by stepping out of the grass and wait for the zombies to clear the way to the wooden platform for you. They will rush to enter your side of the barricade through the same way you entered. But you, nimble as you are, can climb up over the coffin barricade and make a run for the wooden platform. Get there to clear this area.
If you timed it right, you’ll be on the wooden platform while the zombies fall into the water behind you.

Head forwards and move towards the camera, approaching a water body. Go left on the boardwalk and climb the netting all the way to the left and then into the window. Inside, it’s dark, and you’ll hear the growl of a zombie, which means that it’s risky to shine your light for a better look.
Go all the way to the left avoiding the zombie in the area, and climb up the barely-lit wooden crates. Climb onto the wooden crate on the upper platform and then pass through the window. Cross the beam to enter a new house, and drop in to the lower floor from here.

We have another alchemy puzzle here. You already know how this works from your adventures in the Swamp, but this time, the combinations are a touch more complex.
For the first combination, you require a pentagon, a large cross, and a small cross. Go to the cupboard to the left of the door, where you’ll find a bottle with the small cross. Then check the table to the right of the door to find a purple powder with the pentagon sigil. Now go to the cupboard opposite the fireplace and take the bottle on the middle shelf for the large cross sigil.

Mix these up at the cauldron to proceed to puzzle two.
The second puzzle requires: a square, a triangle, a diamond, and three small circles.
Go to the table to the right of the door. The diamond is the yellow powder and the square is the black powder. Then go to the cupboard opposite the fireplace and use the two bottles on the lower shelf, which are the three-circles sigil and the triangle.

Mix these up at the cauldron to proceed through this puzzle and head on through the door.
Go forwards and look left to find a house with an empty doorframe. Enter this house, go left, and examine the table. Notice that there’s a key stuck on a wooden post to the right of the model of the village. Pick up the key and exit the house.

Run back towards the camera to find a locked door opposite the house you had exited previously, i.e. the house that had the alchemy puzzle. This locked door can now be opened with the key you have acquired.
Enter this house to find some netting. Grab it and go all the way to the right. Then jump towards the camera and interact with the crank on the wooden beam to raise the cage as high as it’ll go. Jump onto the cage, align yourself so that Olle’s back is against the camera, and climb all the way up the cage. Jump opposite, i.e. towards the camera, to reach the attic.

Crouch under the wooden beam here and proceed through the gap in the roof.
Climb the netting on the next house to get to the roof, and then run all the way right onto the next roof. Proceed to yet another roof to the right and then get down.
Enter the next house and interact with the chair, then pull it to the left. Interact with the hand here to reveal a key, which you can take to unlock the door and exit this house.

After this, you can enter the next house for some backstory. Otherwise, head for the barricade and stand on the wooden platform. As soon as you step down here, a pair of zombies will rush you from the right (you might notice their shadows as they spawn when you climb up onto the platform).
Sprint straight forwards and jump onto the next wooden platform to avoid these zombies.

Proceed forwards, and then left on the next screen to find a vertically-placed table. Climb up to the table and interact with it to push it down.
Proceed down to the openish area and then go to the green double-doors. Interact with them to enter. Run towards the camera and then on the next screen, run away from the camera to go up a flight of stairs. On the upper floor, you’ll hear some growling, which is a sign that Olle is alone in the dark with some evil residents.
Go a little to the left and shine your light here to bait one of the zombies. It’ll fall into the hole in the floor, and its dark descent will mean that you don’t have to worry about it.

Go to the left of the screen taking a detour around the hole (keep your light up) and climb the crates. With your light raised, go forwards slowly to get a better view of the situation. Stand on the crate to the right without dropping down. If your light is raised, the zombie will get to your position, but won’t be able to climb up. Do so, as we can trap the zombie here and clear the way.

Once the zombie is in position, lower your light and and run forwards, dropping down the crates and go to the right of the hole in the floor ahead. Passing just by the zombie, climb onto the crates by the window. The zombie won’t get you if you keep your light down.

Here, there’s a crank next to the window, but no handle to use. Run to the left, dropping down the crates, and you’ll find a handle on a table. Pick it up. Using your light, climb up the crates again and return to the window to install the handle in the crank.

Raise the barrels and go through the window to cross the beam. In this new dark room, you can avoid the zombie by going directly right, then directly forwards, climbing the crate and running forwards again. Go right from here to go down the stairs.
Downstairs, it’s safe to raise your light, so do so and run left to find a door. Go through the door to breathe some fresh air.

Run left, crossing over the low wall, and head through the next door. Proceed right and forwards until you reach the hole in the wall. Crouch through this hole and go to the church ahead.
Here, we have yet another book-platform to build.The first book to pick up is located right in the middle of the church, so pick it up and take it to the upper-left area to place it on another book. A second book can be found on the church pulpit. A third book is located to the far right of the pulpit, next to a man’s corpse.


Climb this stack of four books and then jump onto the lattice in front of you. Climb the lattice all the way up and go forwards, then run right to go down a flight of stairs and fall down.
Head out of the church from here and go past the low wall on the left.

Here, you will have to be quick on your feet as you’re about to enter a chase sequence. Run forwards and then run right over the low wall with the vine on it.
In the next screen, run left and then down. Run right as soon as you’re clear of the broken gate and keep running right for the next low wall with vine on it. Jump over the wall to the right, and then on the next screen, keep running towards the camera. Run onto the bridge and proceed to the other side of the bridge.


Once you’re in the clear, climb the tower using the sequence of walkways, ladders, and beams. After the final ladder, a few cutscenes will play.
When you have control again, run straight left through the water and get on the boat. Row the boat and keep going to reach the next level, which is a boss fight – Pesta’s Nightmare.
Head on to the next part of our walkthrough of Bramble: The Mountain King here!