Jan
Prince of Persia: The Lost Crown – 100% Walkthrough – Part 14
Prince of Persia: The Lost Crown Walkthrough - Table of Contents
- Part 1 - Prologue - The Battle of Perseoplis
- Part 2 - Lost in Mount Qaf - Lower City
- Part 3 - Lost in Mount Qaf - Hyrcanian Forest
- Part 4 - Lost in Mount Qaf - Path to the Citadel
- Part 5 - The Abducted Prince - Sacred Archives
- Part 6 - The Abducted Prince - Upper City
- Part 7 - The Tiger and the Rat - The Depths
- Part 8 - The Path to the Sand Prison - The Depths
- Part 9 - The Path to the Sand Prison - Sunken Harbor and Soma Tree
- Part 10 - The Path to the Sand Prison - Temple of Knowledge
- Part 11 - The Darkest of Souls - Pit of Eternal Sands
- Part 12 - The Celestial Guardians - The Sunken Harbor and Raging Sea
- Part 13 - The Celestial Guardians - Upper City West
- Part 14 - The Celestial Guardians - Upper City East
- Part 15 - Return to the Past - Upper City Day/Night
- Part 16 - Father and Son - Soma Tree
- Part 17 - Father and Son - Tower of Silence - Part 1
- Part 18 - Father and Son - Tower of Silence - Part 2
- Part 19 - Crossroads of Time - Darius' Palace
Check out our walkthrough of Prince of Persia: The Lost Crown to progress through the final part of the Quest: The Celestial Guardians in Upper City: East.
Welcome to the Into Indie Games walkthrough for Prince of Persia: The Lost Crown walkthrough.
For more information on Prince of Persia: The Lost Crown beyond this walkthrough, check out the official website here.
Head to the right after summoning the 3rd Celestial Guardian. We are going towards the Wak-Wak tree and the fast travel point on the right. Exit the room past the switch and you will be in an area with two bull statues in the background. Drop down and run towards the waterfall arches and drop down in front of them.

Keep falling to the very right and exit this area. Drop down the ledge in the next area and take out the enemies with the spinning spears. You should be here on the map.

Get back up on the ledge and shoot your chakram up to the higher ledge and teleport there.

Jump across and then teleport through the gates to the other side.

Once you are through, teleport through the gate here to the switch on the other side. Pick up all the time crystals. Go to the right and drop down. Next, teleport through the grate here.

In the next room teleport through the spinning death wheels.

Dash through the next set and double jump and over.

Jump up and drop the next set of spinning logs. Grab on the handhold. Drop down, dash to the left and double jump over.

Teleport through the next set of gates and you can pick up a Soma Tree Petal (9/24) for the Elixir of Gods Achievement. Go to the right, use your Chakram to aim downwards here and go down and head to the right to exit this area.

In the next room, aim straight up and go to the right. Careful of the archer here, take him out and move on to the spinning platform.

Keep going up and over to the other side. Once you are on to the highest ledge and you can see Wak-Wak leaves, aim straight up and you will find another Wak-Wak tree with Kazra, a head you need for the Tree of Life Achievement.

The location is as below on the map.

Jump on to the spinning platform on the left or right and head up and out. You will be ambushed by two giants (this might be a miniboss fight) as soon as you enter the next area. They block almost all attacks and have range with their scythes. Get behind them and hit them with Athra Surges. Keep your distance and watch for the astral arrows they summon.

Go through the right door here to find Fariba to get the map for the Upper City. You can pick up time crystals on the chandelier and roof on top, if you are so inclined. Go out and to the left till you reach the large waterfall area on the left. Aim upwards and teleport up their to the ledge.

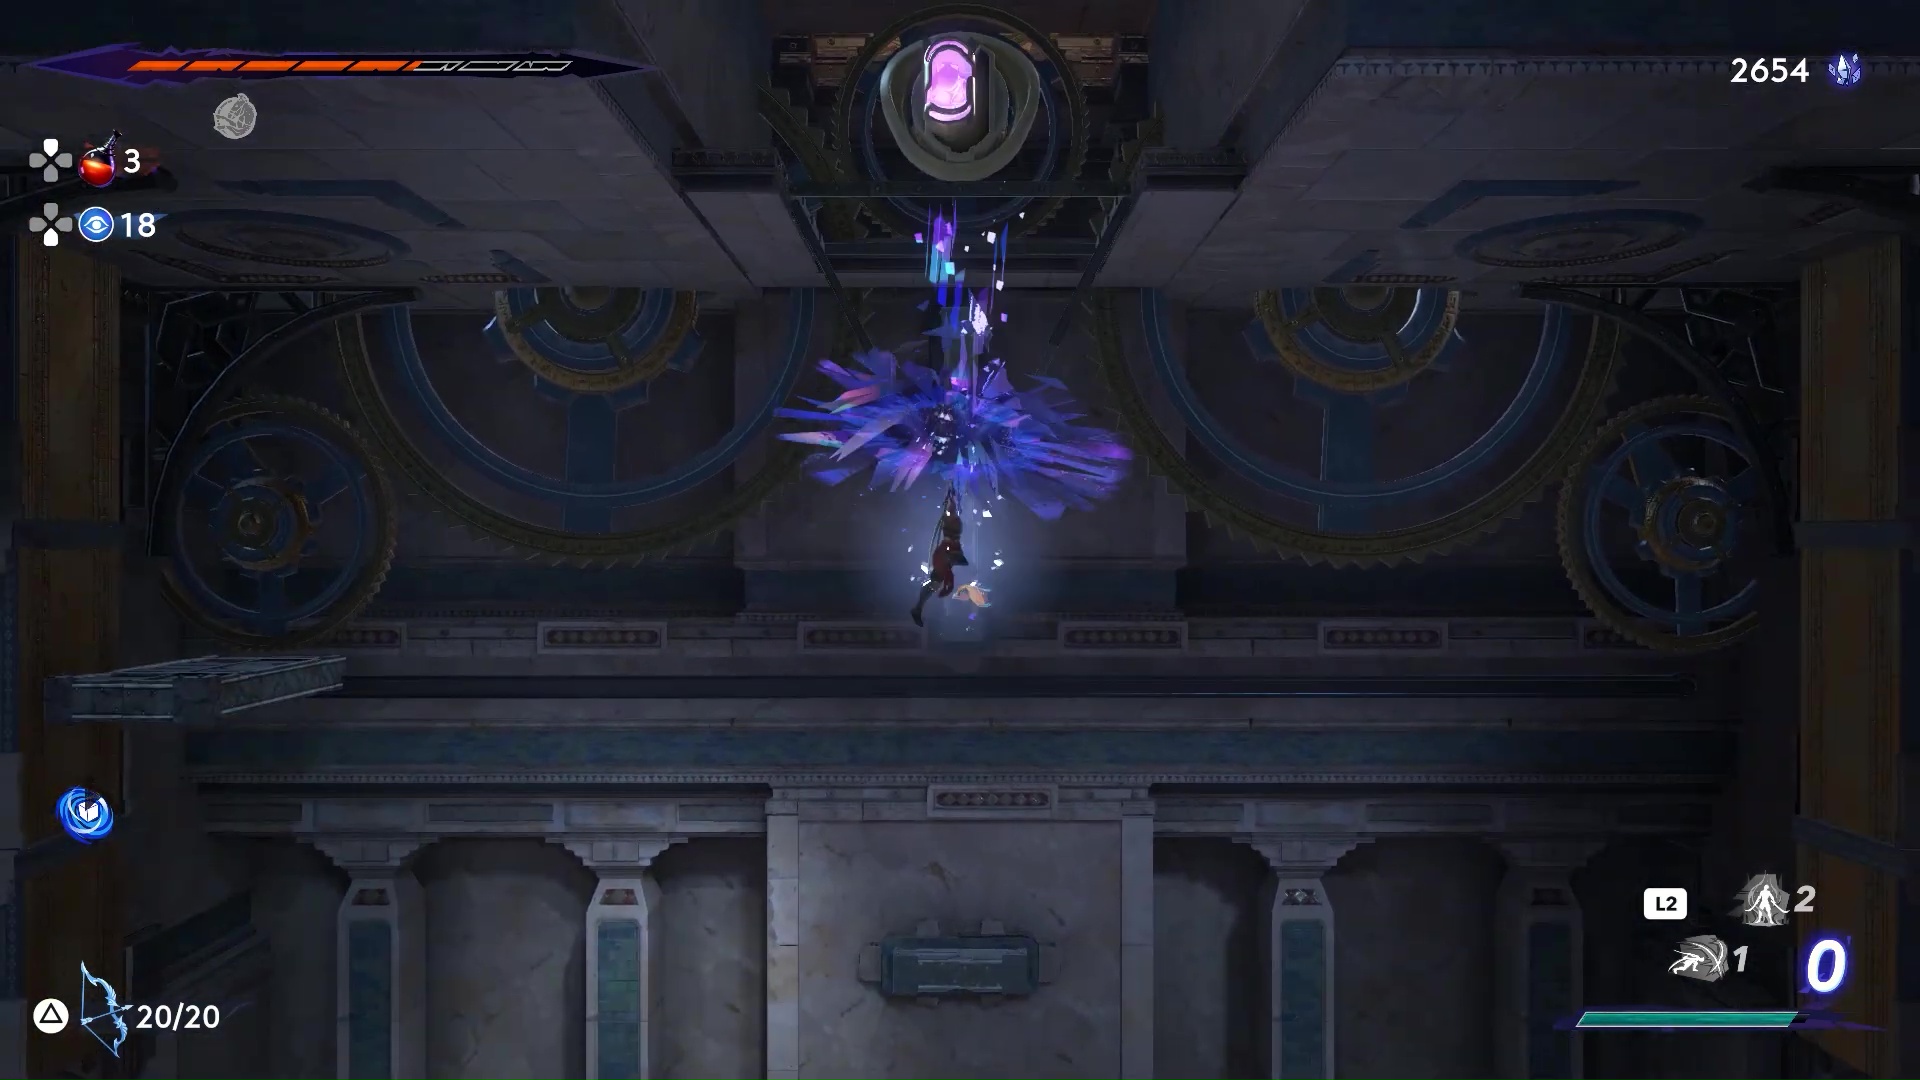
Get up to the courtyard and head to the right to meet Alkara once more. Talk to him and then head to the right, it will be night now in the Upper City. One of the statues will ambush you now. Keep going and you will discover Upper City – East. Engage the Wak-Wak tree and store the glowing purple rock to the right with your Dimensional Claw.

Go to the left and use it on the archway here.

Drop down and kill the two statues. Head to the right and wall jump up to the chandelier for another purple rock.

Use it on the archway right below and drop down. Kill the enemies with the spinning spears. Jump on the huge cylinder going downwards and jump off on to the lower platform.

Go to the right and jump on to the first cylinder here.

Hang on to it as it goes up and then dash to the next one on the right.

Hang on to it as it goes up and then dash to the platform on the other side when it does.

Use the switch and then go through the door to exit this area. In the next area, dash to the right platform before the huge cylinder comes down.

Then dash and grab on to the next cylinder – you will have to jump off and dash back to it, to keep holding on to it as it goes up.

Jump to the cylinder that drops on your left and over the one that you just left.

Grab on to the cylinder on the other side of the one that you just jumped over. Drop down and pick up the Xerxes coin dash to the right to grab on to the next cylinder – then drop down and dash to the next one to the right.

From here, wait till the gap between the next two cylinders align so you can jump through.

Once you are clear exit the area. Go through the doorway in the next area and then shoot your chakram to the top left and teleport up there to grab the purple rock.

Use it on the socket at the bottom to activate a ledge to get up.

After this jump up and double jump over the platform you just extended and set a teleport point.

Pick up the purple rock with dimensional claw again and the platform with go back in. Teleport up and shoot the stone into the socket above

Go to the right and wall jump on to the pole. Keep heading up from here – up the platforms on the right of the giant clockwork mechanism – till you reach the central platform and then stand on the middle switch to align the inner circle that is lit white with the corresponding star. This is a preview of what we have to do later.

For now, drop down and head to the left and up the stairs. Pick up the purple stone in the next room and slam it on the socket. This will activate two walls on either side. Jump off them at set a teleport point above the higher socket.

Pick up the purple stone from its socket, shoot it to socket it in the higher holder.

Now teleport up there, pick up the stone and shoot it towards the holder through the now open gate.

Go across to the room on the far right now. Pick up the glowing stone here, and socket it on the holder right above. Jump on to the platform that extends. Pick the purple rock up again, and jump off the walls on either side and set a teleport point on top.


Teleport up to the location from the bottom and shoot the purple rock upwards.

All three wheels on the main clockwork mechanism should have activated. Head to the central platform and time the rotations of the wheels by stepping on the corresponding switches- till all 3 are aligned to their stars.

Two elevators will drop on either side and one in the middle. Teleport up there with your chakram and head up. On the left is a fast travel point and a chest with an Amulet Holder. Head to the right and you will run into Anahita. Keep going and you can summon the fourth and final Celestial Guardian. This will complete the Quest: The Celestial Guardians and start the Quest: Return to the Past.
This concludes Part 14 of our Prince of Persia: The Lost Crown walkthrough. You can find Part 15 of our walkthrough for the Price of Persia: The Lost Crown here. And you can find Part 13 of our Prince of Persia: The Lost Crown walkthrough here.