Jan
Prince of Persia: The Lost Crown – 100% Walkthrough – Part 10
Prince of Persia: The Lost Crown Walkthrough - Table of Contents
- Part 1 - Prologue - The Battle of Perseoplis
- Part 2 - Lost in Mount Qaf - Lower City
- Part 3 - Lost in Mount Qaf - Hyrcanian Forest
- Part 4 - Lost in Mount Qaf - Path to the Citadel
- Part 5 - The Abducted Prince - Sacred Archives
- Part 6 - The Abducted Prince - Upper City
- Part 7 - The Tiger and the Rat - The Depths
- Part 8 - The Path to the Sand Prison - The Depths
- Part 9 - The Path to the Sand Prison - Sunken Harbor and Soma Tree
- Part 10 - The Path to the Sand Prison - Temple of Knowledge
- Part 11 - The Darkest of Souls - Pit of Eternal Sands
- Part 12 - The Celestial Guardians - The Sunken Harbor and Raging Sea
- Part 13 - The Celestial Guardians - Upper City West
- Part 14 - The Celestial Guardians - Upper City East
- Part 15 - Return to the Past - Upper City Day/Night
- Part 16 - Father and Son - Soma Tree
- Part 17 - Father and Son - Tower of Silence - Part 1
- Part 18 - Father and Son - Tower of Silence - Part 2
- Part 19 - Crossroads of Time - Darius' Palace
Check out our walkthrough of Prince of Persia: The Lost Crown to progress through the Temple of Knowledge and how to solve the puzzles to get Clairvoyance.
Welcome to the Into Indie Games walkthrough for Prince of Persia: The Lost Crown walkthrough.
For more information on Prince of Persia: The Lost Crown beyond this walkthrough, check out the official website here.
From the Wak-wak tree we ended at in the previous part, move to the right past the fast travel point and exit the area. In the next room, turn around go up the handholds and head up till you reach this location which we couldn’t get past before and crystalize yourself. And when the slab passes your crystalized form, teleport there to get past.

You will find the Lore Item: Note Pinned to a rock shaped like an eye just up ahead. Exit the area after. In the new area – Temple of Knowledge, go up the elevator and exit this area through the door on the left. Keep going left through the two unformed sound pillars and into the next area. In this room, pick up the arrows and hit the bell to form the platforms. Jump on the lowest on and then the middle one as the lowest one disappears. Then jump and hit the bell on the left of the middle platform, this will solidify the topmost platform. Jump across to the left and dash through the block trap. Kill the wraith enemy that floats in. Jump across the spikes and hit the wall over the spikes for a secret room.

As you enter this secret room, rush through the block traps as the blocks come rushing in to crush you to death. At the end of the tunnel is a chest with 200 Time Crystals. Drop down the opening and drop down again, avoiding the blocks as they rush in. Head to the right of the arrows and more blocks will rush in.

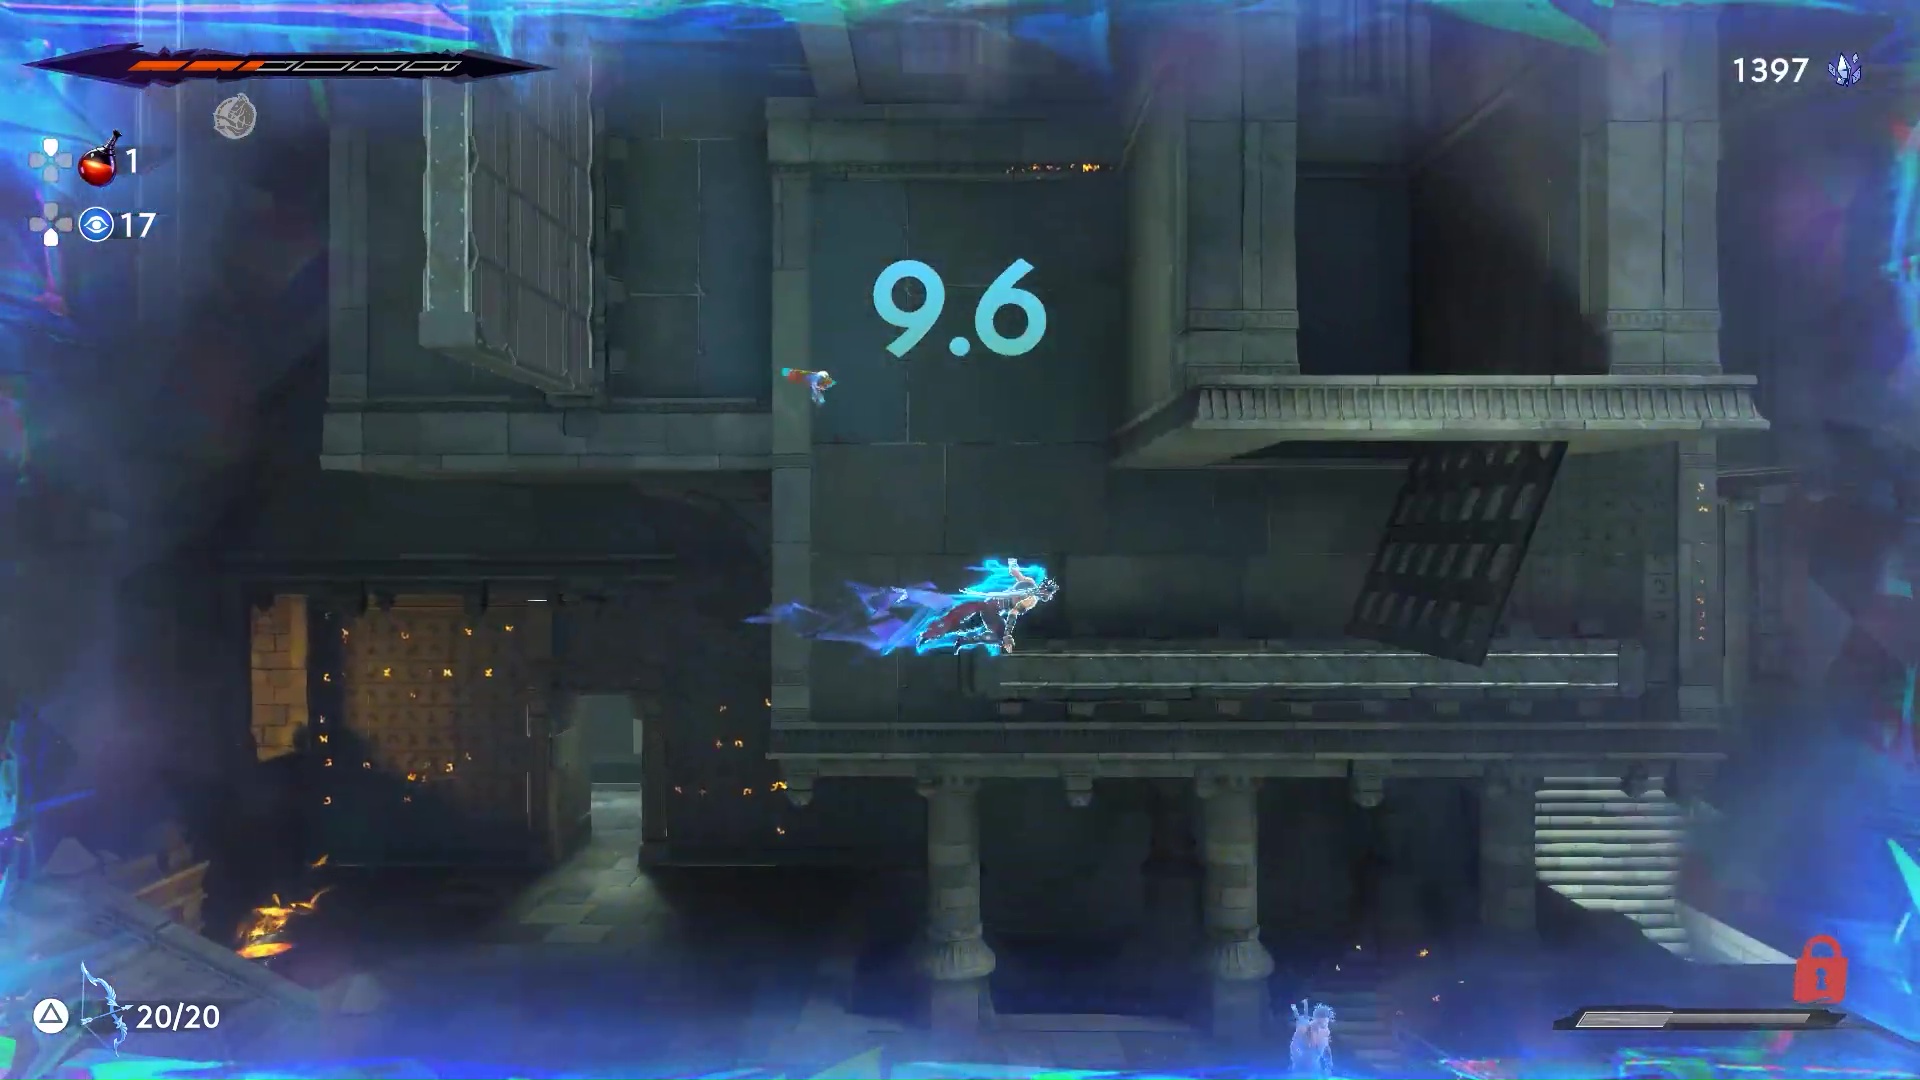
At the end of this tunnel, there is a bell in a cage, hit it to make the sound platform disappear so you can drop down below. Before doing that air dash to the right as you fall to pick up some time crystals on the other side. (Check location below)

Then fall below. There is a wraith down there, so take him out. Then run to the right and rush through the block trap, run straight through the intersection, do not go up as it loops around. Exit the area and in the new area go to the left and jump on the platform.

Head up and to the left to find a Wak-Wak tree. Drop down the platform next to the tree and head to the left. You will drop in to a gauntlet in a bit. Take out the enemies and the exit will open up. Get up and drop down to find a chest with an Azure Damascus Ingot. Exit the room and drop down. Get up on the higher platform on the left, and rush through the block trap. Jump up and across to the other side and then on to the platform in the middle.

Go to the right once at the top to find the Lore Item: Alchemist Diary Entry 1. Now drop down and at the bottom head to the right and drop down again through the moving platforms and dash to the left, bouncing between the retracting platforms. Keep going to the left, kill the mad alchemist ahead, and use the elevator to head down.

Replenish your arrows and head down again, to pick up the Lore Item: Last Day at Work. Head to the right, by jumping on the elevator and through to the broken ones from before. Pick up the time crystals and keep going. (Check location below)

Grab on to the hand hold and get up to the upper ledge and use your chakram on the lever on top – you cant see the lever from down here, just go by assumption. This will unlock the gate in front of you.

Take out the enemy here and run through the exit. In the next area, jump over the gap and through the block trap and on the other side hit the bell with an arrow to solidify the ledges. Jump on them to reach the top and then dash to the right, avoiding the blocks rushing in. Avoid the two mad alchemists as they are being powered up by the enemy on top and jump on to the sound blocks by hitting the bell.

Air dash to the hand hold on the right and then up again. Use your arrows to break the secret wall on top.

Inside you can pick up a Xerxes coin, if you rush through the block trap fast enough. Go back out and back on top of the ledge again. Slide through the gap on the right and head that way. Drop down, turn around and slide through the wall to kill this enemy here and drop through the opening in the room.

Kill the two mad alchemists we didn’t kill earlier. Go back through the left side, rushing through the blocks and drop down. Once you reach the opening where we came up from, drop down again.

Run to the right and kill the two enemies in the next room. Jump off the ledge on the right and crystalize yourself right above the block trap and teleport there when the block rushes in and jump up.


Jump off to the right and break the door and run through. Crystalize yourself and jump off the ledge, air dash under the block and hit the bell on the other side and teleport back and rush through.

Wall jump through and get up on the highest handhold, crystalize yourself, drop and hit the bell on the other side and teleport back up to the handhold.


Once you have teleported back, air dash through and exit the area. In the next area, run down the stairs and go down the retracting platforms till you reach the bottom. Kill the floating head enemies. Then go to the left across the retracting platforms and pick up the time crystals. Move back across to the right and drop down the opening to pick up a Xerxes coin. The platforming puzzle is simple, just hit the bell when you are coming back up to remove the sound wall so you can dash through.

Go back to the left and up through the retracting platforms we came down on. Once you get up run to the right and up these platforms.

In the next area, go up and then to the left – we are here on the map for reference.

Go through the yellow portal on the left and you will be faced with a puzzle. Stand on the pressure plate and hang on the left side handhold switch till the timer runs out.

Timer will reset and now jump to the right side handhold switch and hang on to it till the timer runs out.

This time just run to the left when your shadows hang from the switches and opens the door.

You will be teleported out and a new portal will open above you and to the right. Go up and enter the portal on top. In this puzzle start the timer and move as fast as possible through the platforms and go as far as possible and crystalize yourself there.

Start the timer again and teleport over to crystalized self and swing over to the other side to stand on the pressure plate.

On the third reset, just run through and wait till your former self is standing on the pressure plate and just air dash through.

You will be teleported back out to the main area again. Drop down and go to the right to enter the portal over there. In the next puzzle, start the time and run through to the hand hold switch and hang on to it till the timer has 6-7 ish seconds left to go and run to the pressure switch on the platform in the middle and run the timer out while standing on it.

On the second run, jump up to the handhold switch on the left and hang on to it till the timer runs out.

On the third run, jump off the wall infront of the handhold switch when your first iteration stands on the pressure switch below – that triggers the platform marked in the picture below. You can stay afloat if you need to by jumping and air dashing to and off the wall.

Once you go up you will be sent back outside and another portal above you will be activated. Go through and start the puzzle. Stand on the timer and drop down and stand on the pressure plate till there are 4-6 seconds left on the time and move off it.

On the second run, fall down slower by grabbing the wall so that your previous self can stand on the switch and you can run on the platform and go through the grate that the switch triggers.

Go up the grate and activate the switch there, drop down and move to the right to crystalize a copy of yourself on the other side of the grate.

On the next run, just teleport to where you crystalized yourself and wait for your second iteration to pull the switch on the top and jump up to complete the puzzle.

The main door in the middle will be unlocked now, so run through it. Jump over the platforms to pick up Simurgh Power – Clairvoyance. You can now alternate between dimensions, make you way back out, switching between dimensions to open up your paths. Go up from the main door where we entered and you will see the Jailer once again.

Exit the area on the right. Keep going and take the elevator down and switch elevators till you reach the bottom floor. Hit the switch to open the door and exit through the right.

Save at the Wak-Wak tree and get up to where the fast travel point is and teleport to the Pirate Village in the Sunken Harbor.

This concludes Part 10 of our Prince of Persia: The Lost Crown walkthrough. You can find Part 11 of our walkthrough for the Price of Persia: The Lost Crown here. And you can find Part 9 of our Prince of Persia: The Lost Crown walkthrough here.