Jan
Prince of Persia: The Lost Crown – 100% Walkthrough – Part 6
Prince of Persia: The Lost Crown Walkthrough - Table of Contents
- Part 1 - Prologue - The Battle of Perseoplis
- Part 2 - Lost in Mount Qaf - Lower City
- Part 3 - Lost in Mount Qaf - Hyrcanian Forest
- Part 4 - Lost in Mount Qaf - Path to the Citadel
- Part 5 - The Abducted Prince - Sacred Archives
- Part 6 - The Abducted Prince - Upper City
- Part 7 - The Tiger and the Rat - The Depths
- Part 8 - The Path to the Sand Prison - The Depths
- Part 9 - The Path to the Sand Prison - Sunken Harbor and Soma Tree
- Part 10 - The Path to the Sand Prison - Temple of Knowledge
- Part 11 - The Darkest of Souls - Pit of Eternal Sands
- Part 12 - The Celestial Guardians - The Sunken Harbor and Raging Sea
- Part 13 - The Celestial Guardians - Upper City West
- Part 14 - The Celestial Guardians - Upper City East
- Part 15 - Return to the Past - Upper City Day/Night
- Part 16 - Father and Son - Soma Tree
- Part 17 - Father and Son - Tower of Silence - Part 1
- Part 18 - Father and Son - Tower of Silence - Part 2
- Part 19 - Crossroads of Time - Darius' Palace
Check out our walkthrough of Prince of Persia: The Lost Crown to progress through the Upper City and fight Alternate Sargon and Vahram.
Welcome to the Into Indie Games walkthrough for Prince of Persia: The Lost Crown walkthrough.
For more information on Prince of Persia: The Lost Crown beyond this walkthrough, check out the official website here.
As we pick back up from the Wak-Wak tree at the below location –

Run to the left and exit the area, drop down the opening you see right after you enter the area, grab the left wall and slow fall, then air dash and hit the bell to solidify the platform underneath.

This will net you Time Crystals but you can’t progress any further this way, so mark it off on your map and go back up. There is an archway right of you as you come up, wall jump and get on the higher platform and then wall jump again. There are 3 floating head enemies here that you need take out. Get up on the very top and head to the left up the stairs.

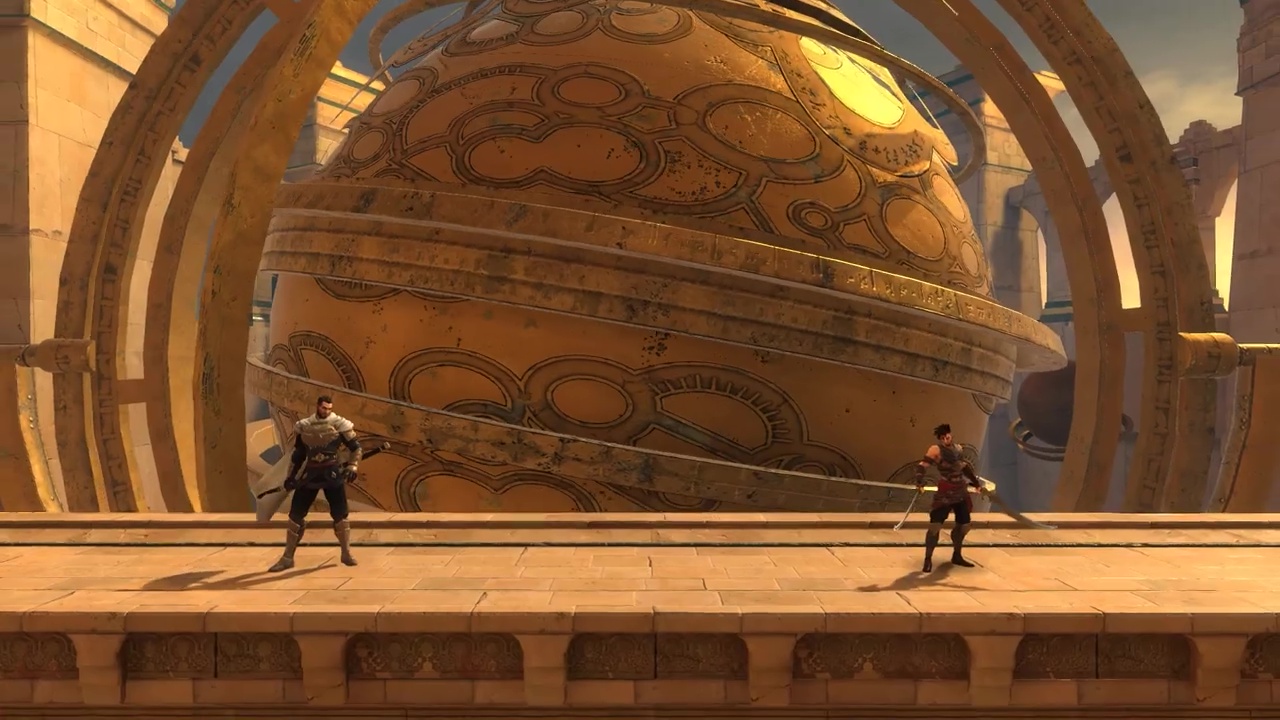
At the end of this run you will find a boss. Alternate Sargon.
Boss: Alternate Sargon

He has your basic moves and he parries a lot. Keep him off balance and rush him. He has an unique Athra Surge that you don’t have yet. He should go down pretty easily if you keep parrying and using your Athra Surges. Defeating him will get you the Athra Surge: Shahbaz’s Spirit
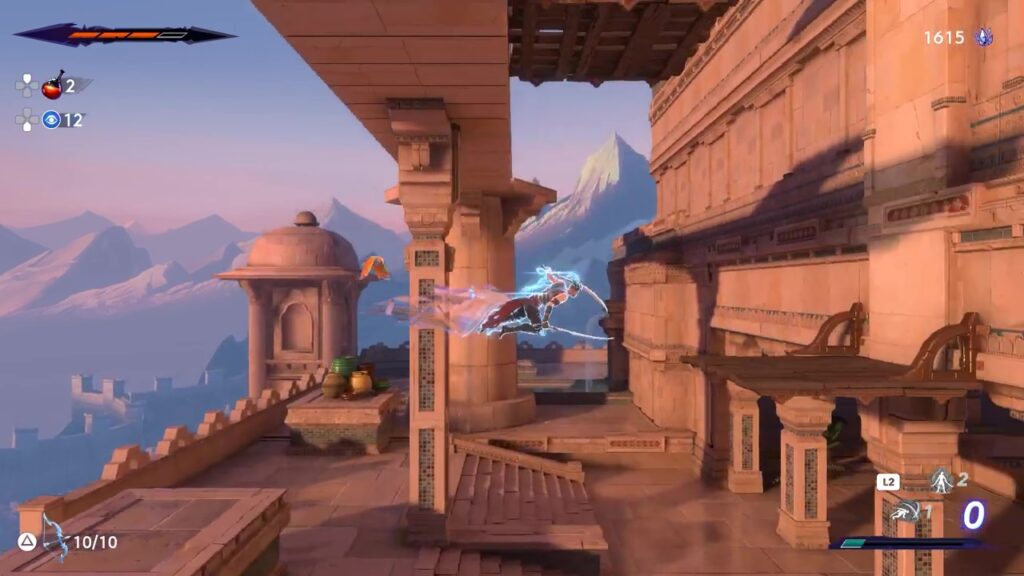
After killing him, head out and run to the right and drop back down to make your way back to the Wak-Wak tree. Exit the area via the door on the right. In the next area, jump over the spikes and read the sign. Continue to the right and exit this area to discover the new location Upper City – West. Prepare to face off against harpies.

They shoot snake shaped projectiles. Just dodge or parry the projectiles and keep pressing them. They don’t have much health and will die pretty quick. Keep heading to the right and you will see a Xerxes coin you can’t reach yet and another harpy. Take it out. Head to the top most platform on the left to pick up some time crystals.

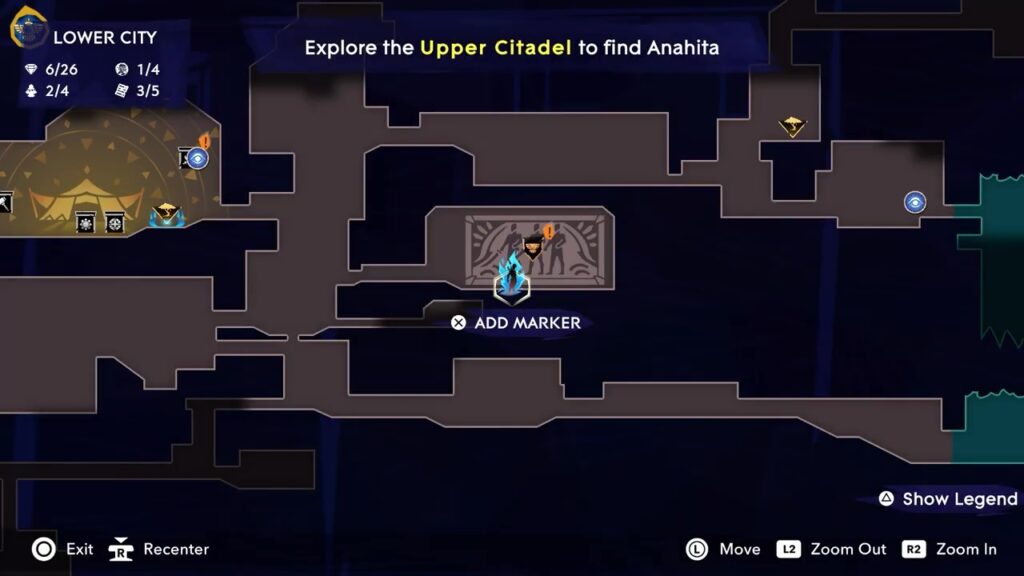
Keep to the upper levels and head to the right to pick up more time crystals and take out the other harpy here. Drop down and keep going and kill Anahita’s men and move on. In the next area, run through the swinging pendulums of death and over the spikes. Air Dash iframes are your friend here. In the next area read the sign and drop down under the rotating platforms and you can pick up Lore Item : Architectural Drawings. Drop down again and head left, you general location should be around here –

Keep going to the left, avoiding the pendulums and you will find a chest containing the Amulet: Four Royal Stars, which slightly increases all melee attacks in the air.

Make your way back and drop down the opening with the hand holds and swing down the poles to open the gate connecting back to the Lower City. Go back up and on top now head to the right, be careful there is an enemy with a dual-tipped spear here, who you can avoid as there is no benefit to fighting him. Keep going to the right, past the pendulums and drop down.

At the bottom head left and exit the area. Use the switch to call the elevator which will connect the Lower City and Upper City. Head back up, all the way to the rotating platforms. Get up on the platform and take out both the archers. Then ride it up and dash to the right at the very top.

Jump across to the left side and exit the area. In the next area, keep doing till you reach a wall of gears and pole. Swing straight up from the pole and air dash left. Drop down the platform and air dash left again to swing on the pole.

Swing straight up from the pole and grab the next pole, swing up and over the gears from here.

You are standing on an elevator, use your Chakram to activate this elevator upwards. Use your chakram on the next gear to split the statues in the back, apart.

Swing on the left side pole but don’t let go and as the statues start to come together, jump off to the right corner platform.

Hit the gear again with the Chakram.

And as the right statue moves to the right drop down and grab on to the pole and don’t let go till it gets to the other side, and jump up on to the platform.

Wall jump over the gears and use the lever to activate the elevator and leave it down.

Now go back to the main gear and split the statues again and as soon as they start moving head to the left and get up on the platform and jump off the wall and swing on the pole to go straight up.

Wall jump over to the top and you will find another gear that you can use your Chakram on. This will drop the other elevator next to the one we left in the down position.

Now drop down and air dash to grab the pole below on the statue and swing over to the elevator we left down.

Take the elevator up and you can go read a sign on the right and a switch activates a grate. Ignore that and use chakram on the gear in the middle and ride the elevator up.

At the top go to the right to find a Wak-Wak tree. Head to the left and exit this area. In the next area, there is a shield and sword enemy. Watch for his lunge and parry his other attacks, he take a while to go down. Keep going left and exit the area and you will find an Old Man.
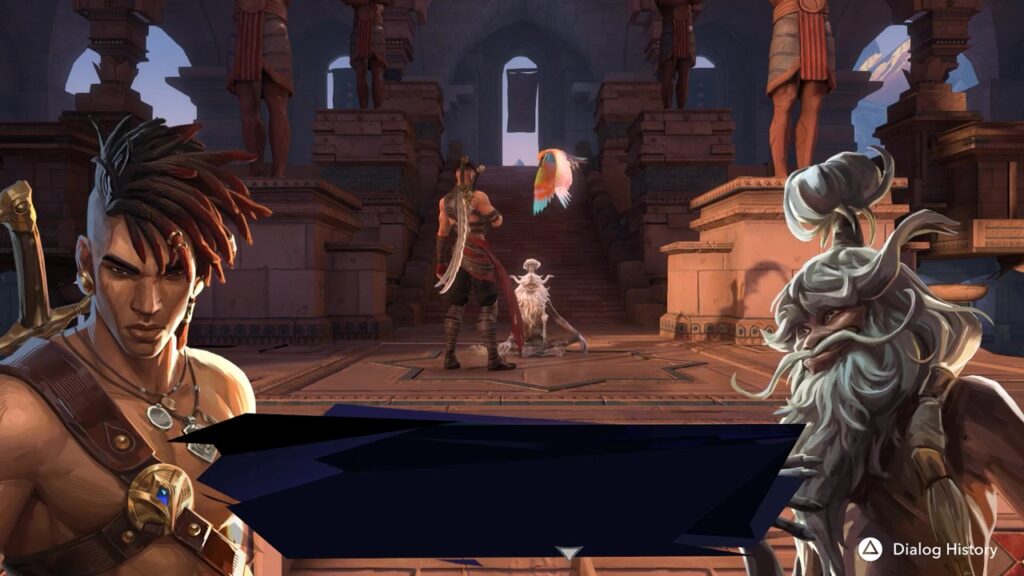
Talk to him and move to the right. Grab the pole right before the exit and swing up. Then wall jump on to the chandelier and make your way to the larger central chandelier. Wall jump up the inside of the chandelier and jump on the platforms above. Go to the left and then jump on the platforms and head up.
On the top floor, you will be jumped by three of Anahita’s goons. Take them out. The switch does seemingly nothing, so head up by swinging on the platform and smash the purple time anomaly on top to reconstruct the fast travel point. You can choose to fast travel back to the Haven and go to the main Sand Jar room and update the quest Prophecy of Mount Qaf. If you have followed this guide, you should be on 4/5 Sand Jars now. You might also want to upgrade your equipment and get a hint from Fariba and/or buy Amulets from the Mage or Kaheva. I would suggest you do upgrade since you a boss fight coming up.
If not, go to the left from the fast travel point on the roof and drop down. Use the switch and then the lift to head up.

In the next area, head to the right till you hit the dropping chains, drop down the chains and jump off to the left and activate a Wak-Wak tree.
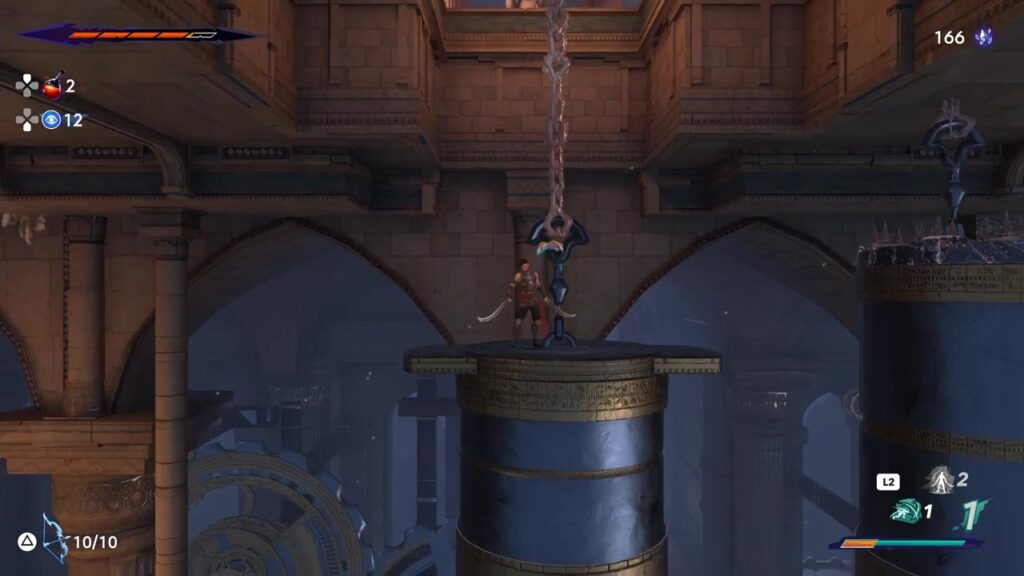
Head back up the chain/cylinder combo we came down on and head to the right once at the top and a cutscene will start. Following this you will be in a boss fight.
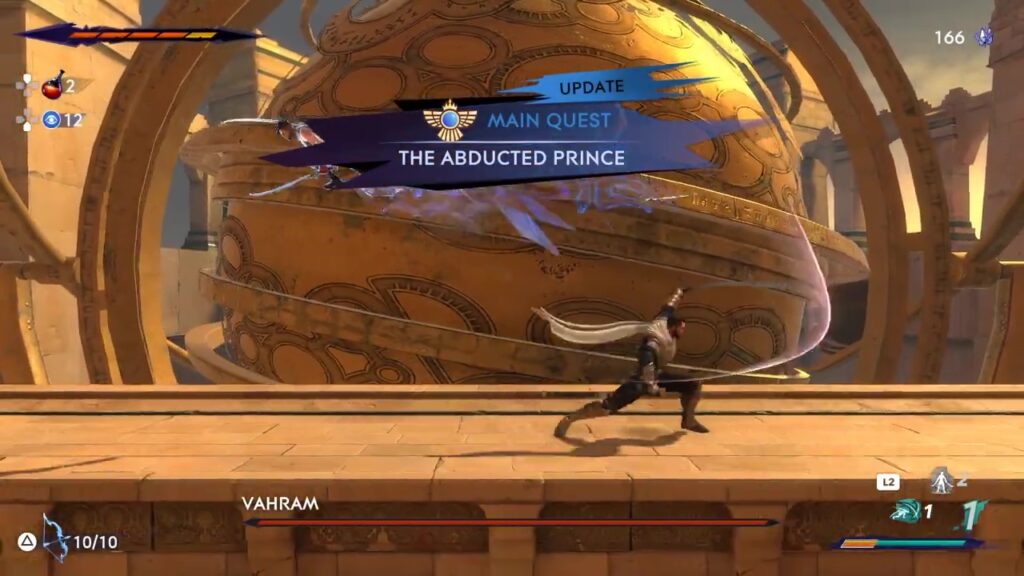
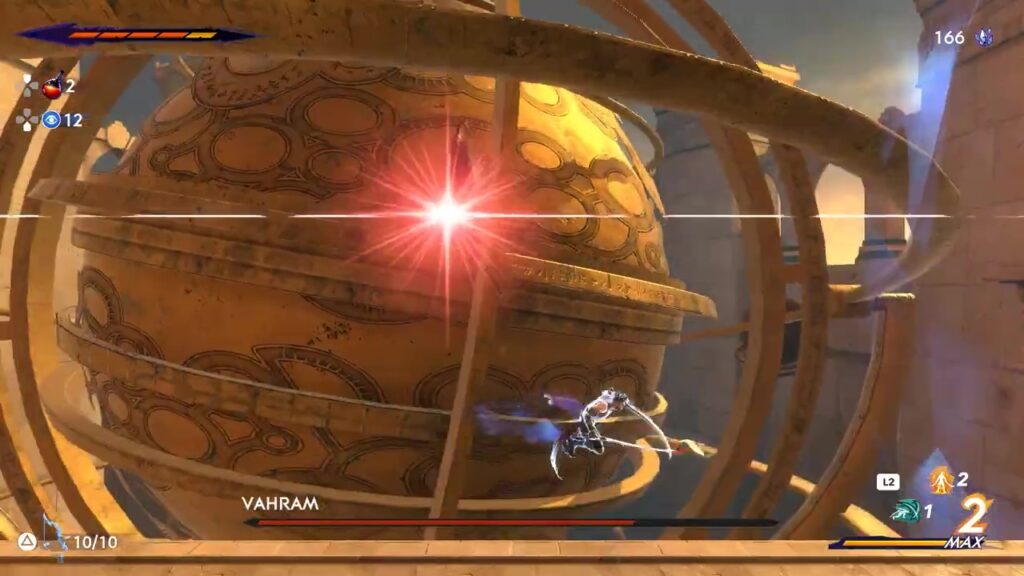
Boss: Vahram

Vahram does a quick swipe that can be parried or jumped over, giving you an opening.
He does a ground fireball that can be jumped over.
He does a jump up spin and slam that cannot be parried.
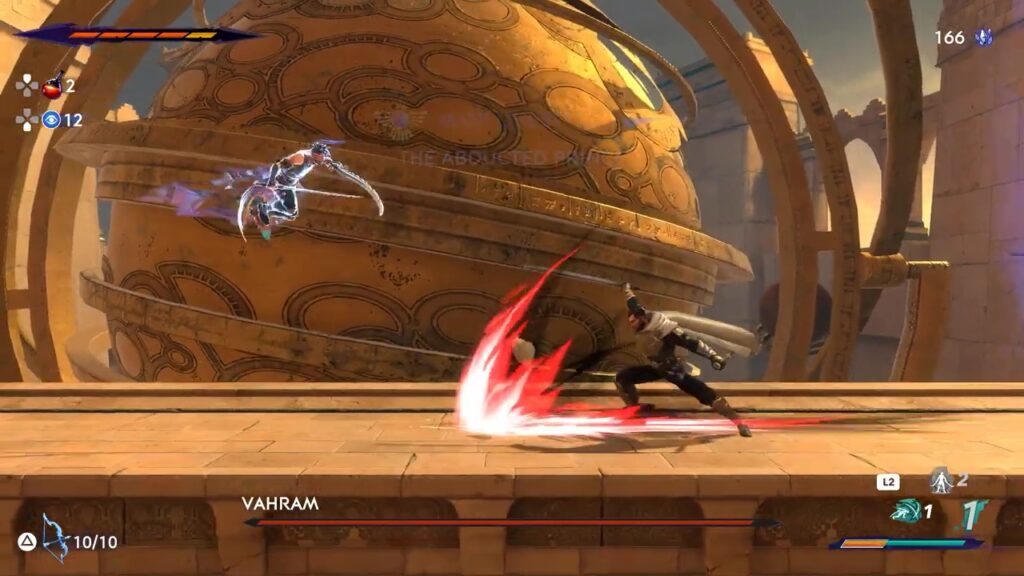
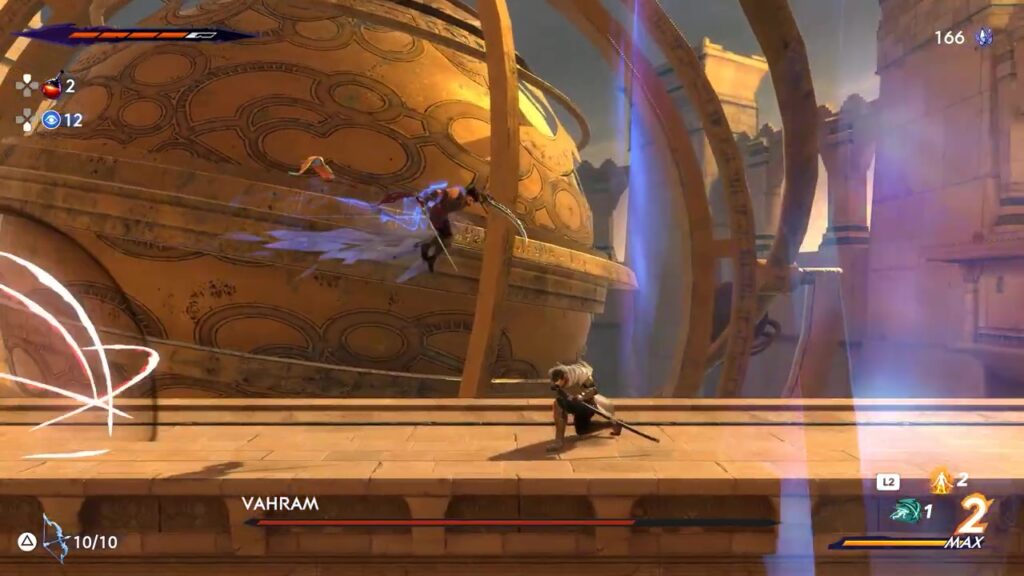
At 75% HP Vahram starts phase 2. He can teleport now. He teleports up diagonally and shoots down straight, an un parry able attack and immediately teleports to where you are to swing at you.
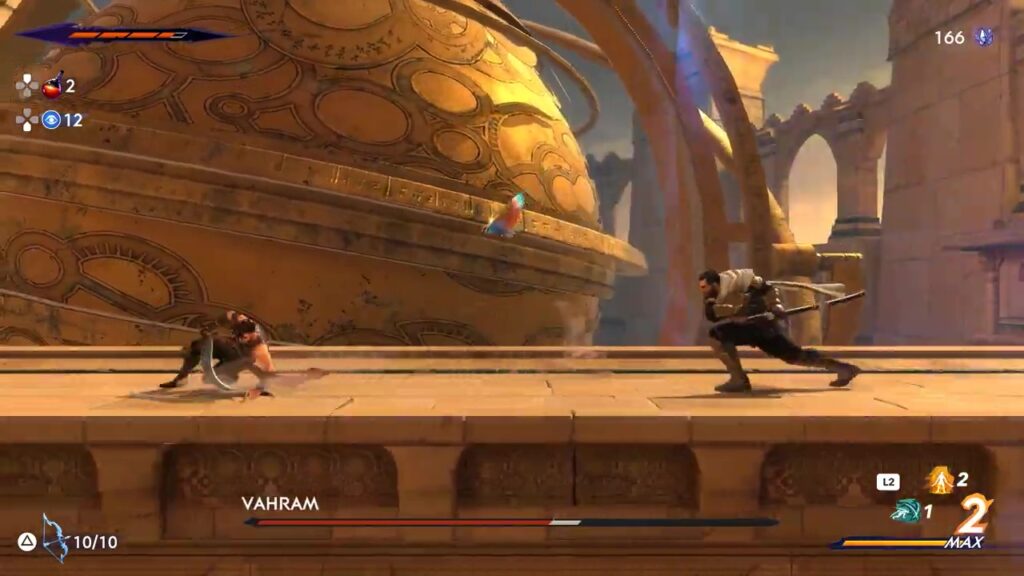
He yells “Bear Witness” and sits down to attack, giving you an opening.
He starts a 5 hit combo from the frame below – 2 up and down slashes, two 360 degree swings with aoe and jump up spin drop. Avoid this whole ass combo.
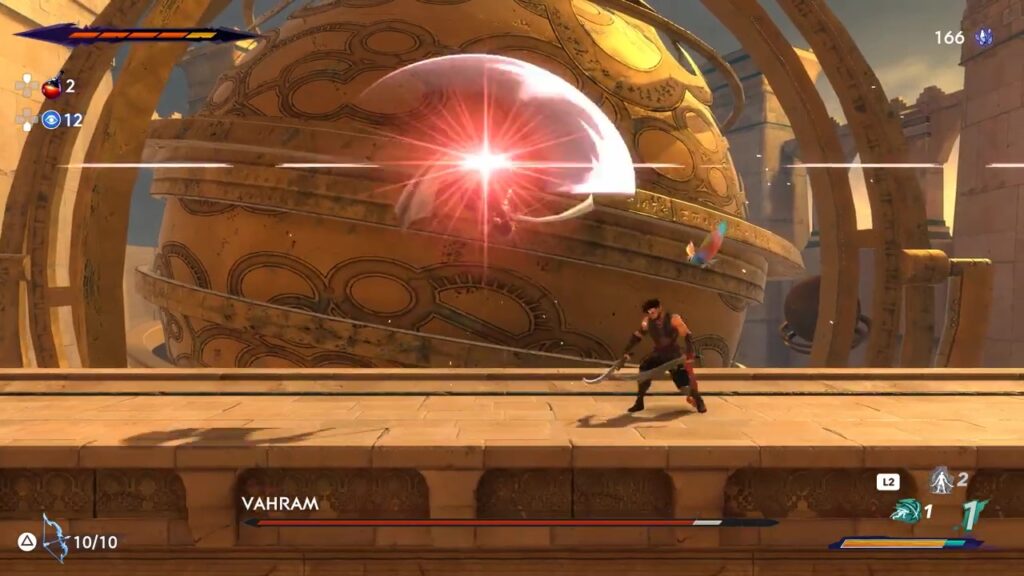
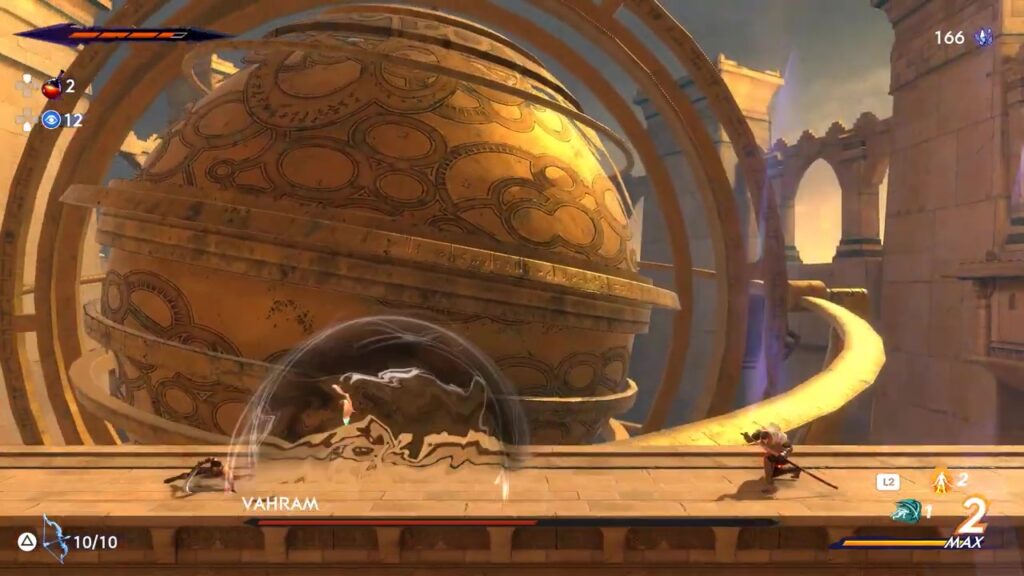
He says “My Turn” and creates this ball of sword slashes that needs to be avoided but also provides you with an opening to rush him.
He does a stage wide thrust/slash.
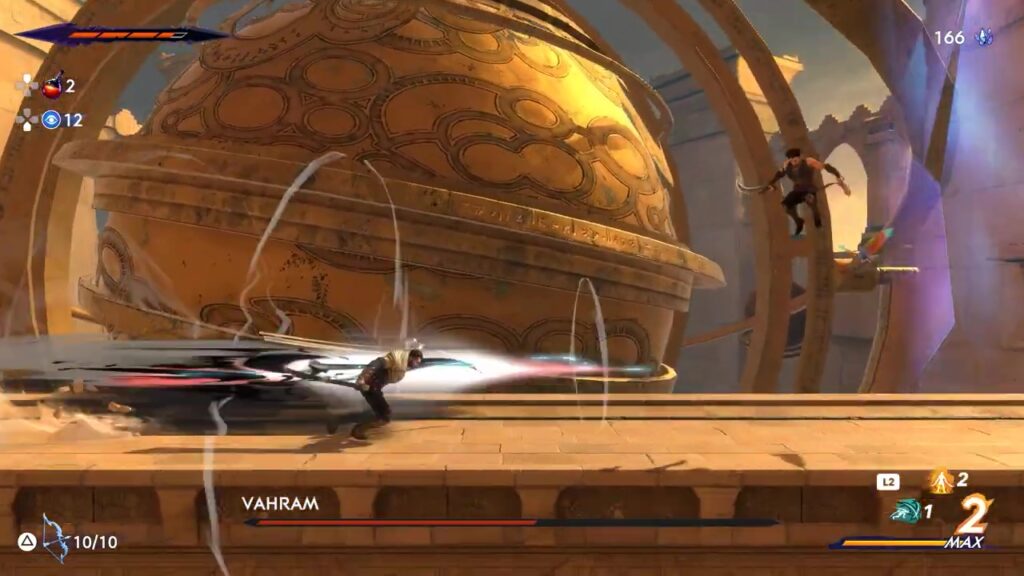
He will special parry a lot of your attacks.

He does a full stage wide slash attack that ends the fight at 25% HP left.

Watch the anime inspired cutscene which ngl is pretty awesome. After this, the Quest: The Abducted Prince will end and the Quest: The Tiger and The Rat will start.
This concludes Part 6 of our Prince of Persia: The Lost Crown walkthrough. You can find Part 7 of our walkthrough for the Price of Persia: The Lost Crown here. (Coming Soon!) And you can find Part 5 of our Prince of Persia: The Lost Crown walkthrough here.