Jan
Prince of Persia: The Lost Crown – 100% Walkthrough – Part 2
Prince of Persia: The Lost Crown Walkthrough - Table of Contents
- Part 1 - Prologue - The Battle of Perseoplis
- Part 2 - Lost in Mount Qaf - Lower City
- Part 3 - Lost in Mount Qaf - Hyrcanian Forest
- Part 4 - Lost in Mount Qaf - Path to the Citadel
- Part 5 - The Abducted Prince - Sacred Archives
- Part 6 - The Abducted Prince - Upper City
- Part 7 - The Tiger and the Rat - The Depths
- Part 8 - The Path to the Sand Prison - The Depths
- Part 9 - The Path to the Sand Prison - Sunken Harbor and Soma Tree
- Part 10 - The Path to the Sand Prison - Temple of Knowledge
- Part 11 - The Darkest of Souls - Pit of Eternal Sands
- Part 12 - The Celestial Guardians - The Sunken Harbor and Raging Sea
- Part 13 - The Celestial Guardians - Upper City West
- Part 14 - The Celestial Guardians - Upper City East
- Part 15 - Return to the Past - Upper City Day/Night
- Part 16 - Father and Son - Soma Tree
- Part 17 - Father and Son - Tower of Silence - Part 1
- Part 18 - Father and Son - Tower of Silence - Part 2
- Part 19 - Crossroads of Time - Darius' Palace
Check out our walkthrough of Prince of Persia: The Lost Crown to progress the main quest Lost in Mount Qaf and how to fight the boss Undead Prisoner.
Welcome to the Into Indie Games walkthrough for Prince of Persia: The Lost Crown walkthrough.
For more information on Prince of Persia: The Lost Crown beyond this walkthrough, check out the official website here.
Run to the right from the Wak-wak tree. There will be an enemy with a shield, try to overwhelm him with attacks to guard break and take him out. Slide under the pillar and do the same for the next one. Jump up the platforms here and go to the upper right platform – be mindful of the archer.

Slide under the wall and go up the spiked wall. Time your wall jumps with the spikes to avoid taking damage. Once you are up, move to the left and at the end jump up the platforms and take out the enemies here. At the top most floor, on the left is a secret room. Break the wall down to enter the secret area.

Once you are in, drop down and go to the right to pick up the time crystals. Know that there is a big cat enemy here that take a lot of hits but most of its hits are parry-able. Take it out as fast as possible. Use the lever to open the door to open a shortcut from the earlier area.

You can’t go back the way you came, so drop down the platforms in front of you with the pile of leaves. Run past the Wak-wak tree, interacting with it will respawn the enemies. Jump past the water wheel this time, be careful that platform falls away when you jump on it.

At the end of this path, jump up the walls minding the spikes and take the Time Crystal on top. There is an archer and a spike trap underneath so you can avoid it if you want. Back to the spiked walls in the middle of the area, we are going to head up again. Time your jumps and get up to where the secret door was. We are going right now. Hit the lever to drop the drawbridge and cross over and on the other side, hit the lever on that side to create a wall to jump up on.

Take the time crystal on the right and take the enemy out before heading up. Once you make it to the top go to the left to find a time anomaly that you can smash.

Doing so will restore the level and the platforms, as well as spawn new enemies. After that go to the left and jump up on the platform and now start moving right. Take out the next time anomaly in front of you and you will hear Prince Ghassan call out to you. This will spawn in two flying enemies, that rush you. Dodge the attacks and use jump attacks to take them out.

Go to the left now and jump up the scales.

Go to the right once you are at the top and a cutscene with Anahita will start. After the cutscene the Lost in Mount Qaf will be updated and you are off to find Menolias. Head to the right and exit this area. In the next area run across the statues and enter the next room. Interact with the lever and an elevator will drop down. Ignore the way up for now and exit this room to enter The Haven. Go to the right to find the Mage.

She will give you the Amulet, Blessing, which increases your max health. If you have the cash you can buy a Soma Tree Petal, an Amulet Holder, a Xerxes coin and a Horned Viper amulet. She can also upgrade your healing potion number or its efficiency. You can buy the Xerxes coin but it will not count towards your collectible count. Go slightly to the left and jump up the platforms – on the left is the Haven fast travel point which we cant access yet so go to the right and you will run in to Artaban.

He will provide Challenges and training. There is a collectible on the top here, commit this location to memory if you feel like it. You can try the challenges for Time Crystals – they are fairly basic and the crystals are nice to have. I highly suggest you go through them for it will unlock Athra Surge: Vayu’s Wave. You can also spend your cash to upgrade your potions at the Mage below. Go up the stairs and you will find another Wak-wak tree.

If you have ordered the deluxe edition of the game, you can equip the Prosperity Bird amulet – it chirps when you are near treasure, as well as the Blessing amulet here. Exit the area through the right. You will run in to an axe wielder here, dodge his attacks as they hit hard and have a huge knockback effect. He will glow yellow for a special parry attack so take advantage of that. After you dispose of him, drop down the platform.

Drop down from the wheel – there is a flying enemy and an archer here, till you reach the door way on the bottom left. Get up on the bottom most waterwheel and jump off the platform to grab the handle and head up for a time crystal.

Now, drop down and head through the door on the left. In this room, jump over the spinning saw.

Slide down the wall after and wall jump on to the places on the wall not covered in spikes and over to the other side. On the next swinging saw, wait till the blades are on the top of their swing and just slide through as it is coming down.

Wall jump on the right wall and over the spikes. Grab the wall and drop down and jump on to the other side where its safe to grab on to.

Repeat this move till you reach the bottom ledge on the right. Head slightly to the right and jump up to find a Sand Vial on top.

Drop down and head to the right and jump on the platform with the swinging saws, time it so that when the first one is at the top of its swing, the second one is at the bottom.

Wall jump on the far wall and get up on top and slide down the ledge, careful to jump over the spikes to vault on to the other side. Exit this area and hit the switch in the new area. This will open up a grate on top that you can jump through.

Ignore it for now and head to the right and go down. As you drop down hit the switch on the ceiling at the bottom floor to open the gate and eventually you will come across Nojan. This will start the Quest: The Lost Warriors.

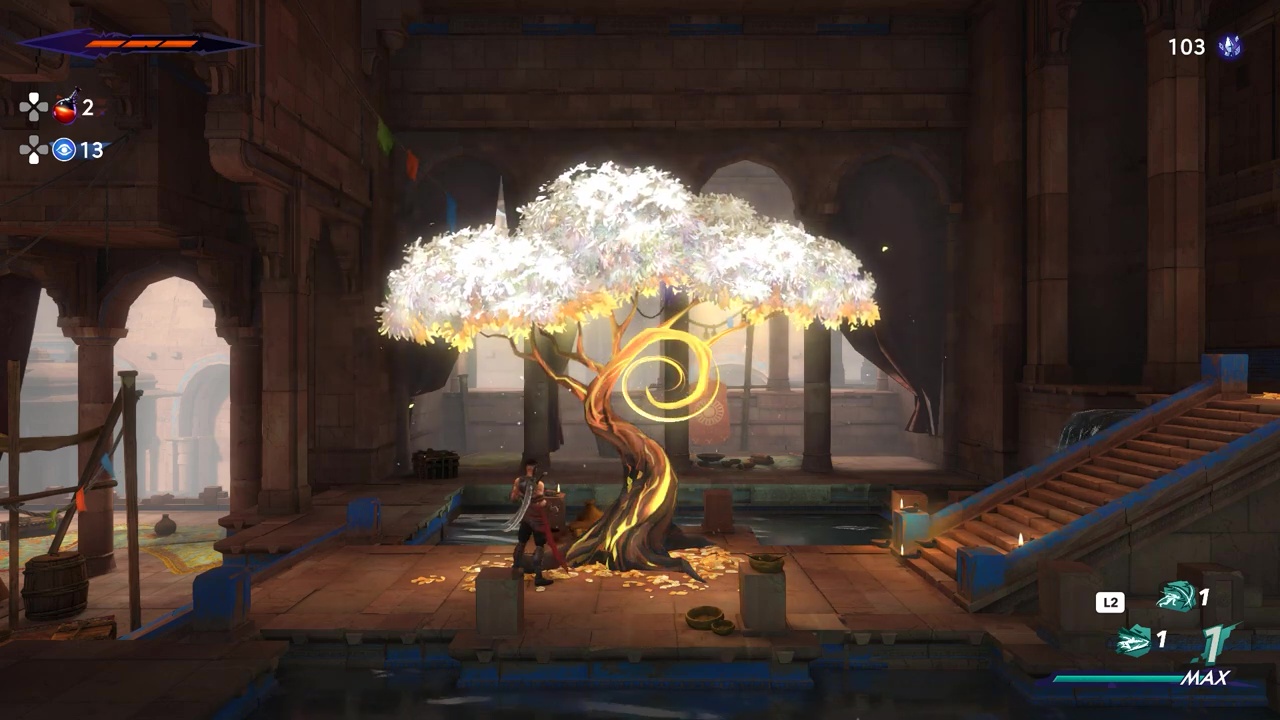
After Nojan dies, pick up the Insignia of Persepolis. Head back up now and up the grate we opened earlier. We are back at the water wheels, so make your way back up to the top. All the enemies have respawned so be wary. Make your way up to the top but don’t go up the water wheel as the path up there is closed instead go right from the middle water wheel into the doorway with light shining through. Check picture below.

In the next room, you will find a Prophecy Jar, 1 of 5 needed for the Quest: Prophecy of Mount Qaf. You will also receive the amulet, Arslan’s Glory – which increases melee attack power at full health.

Exit back the way you came and drop down the grate at the bottom, we opened up earlier.

Head down the stairs and right through the door where Nojan’s body is. In the next room is a water wheel puzzle. The solution is below –
Jump up on the lowest pole and then on to the pole above and grab the wall hold on the top left.

Jump off the hand hold and hit the switch on top.

Drop down and stand on the plate on the left till the water wheel rotates into the position seen below.

Jump up on the right most pole and then to the pole on the water wheel and then straight up to hit the other switch.

Now stand on the right plate to turn the water wheel in to this position to move the right most pole in the 12 o clock position.

Now stand on the left plate to turn the water wheel back into this position and jump on the switch to open the door.

Exit through the door and prepare for a boss fight.
Boss : Undead Prisoner

The boss does a rush charge that can be dodged under or over. It cannot be parried. He also does a stomp drop that also glows red and has to be dodged.

He does a full 360 swing that has to be dodged or parried.

He does a jump stomp that you should roll away from. He usually immediately rushes you after this.

Just dodge through his attacks and hit him from the back. All his attacks hit really hard, so employ a hit and run approach – while staying behind him. Once beaten, he will drop a Soma Tree Petal, 1 of 4. 4 of which will give you a health bar. Exit the area, watch the cutscene and you will enter Hyrcanian Forest.
This concludes Part 2 of our Prince of Persia: The Lost Crown walkthrough. You can find Part 3 of our walkthrough for the Price of Persia: The Lost Crown here. (Coming Soon!) And you can find Part 1 here.