Jan
Prince of Persia: The Lost Crown – 100% Walkthrough – Part 8
Prince of Persia: The Lost Crown Walkthrough - Table of Contents
- Part 1 - Prologue - The Battle of Perseoplis
- Part 2 - Lost in Mount Qaf - Lower City
- Part 3 - Lost in Mount Qaf - Hyrcanian Forest
- Part 4 - Lost in Mount Qaf - Path to the Citadel
- Part 5 - The Abducted Prince - Sacred Archives
- Part 6 - The Abducted Prince - Upper City
- Part 7 - The Tiger and the Rat - The Depths
- Part 8 - The Path to the Sand Prison - The Depths
- Part 9 - The Path to the Sand Prison - Sunken Harbor and Soma Tree
- Part 10 - The Path to the Sand Prison - Temple of Knowledge
- Part 11 - The Darkest of Souls - Pit of Eternal Sands
- Part 12 - The Celestial Guardians - The Sunken Harbor and Raging Sea
- Part 13 - The Celestial Guardians - Upper City West
- Part 14 - The Celestial Guardians - Upper City East
- Part 15 - Return to the Past - Upper City Day/Night
- Part 16 - Father and Son - Soma Tree
- Part 17 - Father and Son - Tower of Silence - Part 1
- Part 18 - Father and Son - Tower of Silence - Part 2
- Part 19 - Crossroads of Time - Darius' Palace
Check out our walkthrough of Prince of Persia: The Lost Crown to progress through the Quest “The Path to the Sand Prison” and reach the Sunken Harbor.
Welcome to the Into Indie Games walkthrough for Prince of Persia: The Lost Crown walkthrough.
For more information on Prince of Persia: The Lost Crown beyond this walkthrough, check out the official website here.
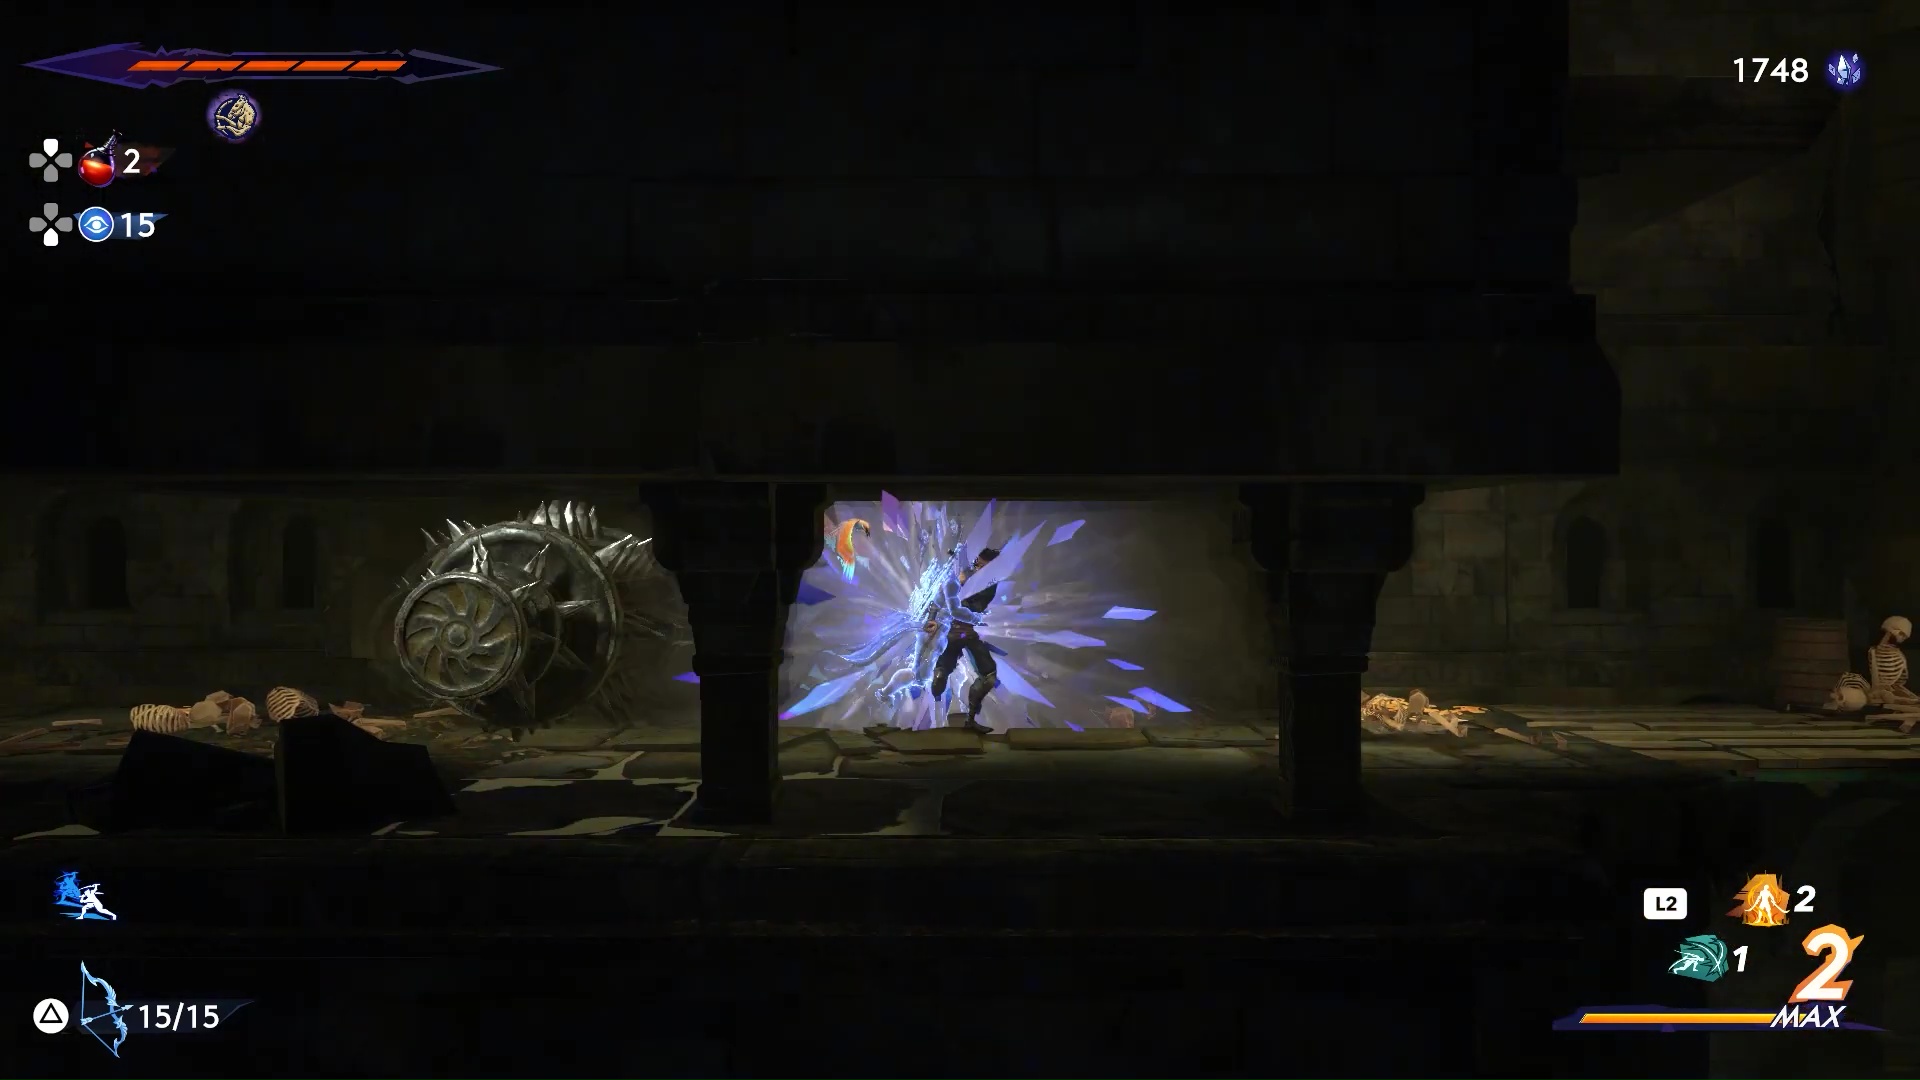
Continuing from the Wak-Wak tree we stopped at last time, go to the left, and jump up on the platform. You have to engage the Shadow of the Simurgh’s powers here now. First, crystalize your position when the spike roller moves to the left and run back out of range of the roller.

Now return to this mark, when the roller moves to the right.

Keep running to the left, past the platforms and grab on to the wall hold switch and as it dropping jump up and crystalize your position above the platform that drops when you pull the switch down. Once the platform drops below your crystalized position, teleport over there to stand on top of the platform.

Move to the right to exit this area. Keep running to the right till you hit a dead end, and then wall jump off to the left and exit this area. A short cutscene will start in the next area. Keep running to the left to find another Wak-wak tree. And go to the left and up.

Go to the right and through the two rollers and wall jump off and dash to the left and grab the hand hold and jump up and to the platform on the right to exit the area. In the next area pull the lever to call down an elevator. Fariba is below the elevator and the way to get to her is to crystalize your location as soon you get on the elevator.

As the elevator rises and the lower part of the elevator passes your crystalized from, teleport over there.

Drop down and you will find Fariba down there. She will give you the map for the Depths. If you move to the right and stand on the pressure plate, the door will open. In the next room, jump up the handholds and air dash between the gaps to get up and you will hear a Moon Gatherer yelling. There is also a Xerxes coin here. Standing on the edge of the platform, grab the first handhold, drop down and air dash for the second hand hold, do the same thing for the third.

Drop down and air dash to the hand hold switch now and hold on to it to drop the water level down, and once the water has gone down jump on to the pole to swing up to get the Xerxes coin – which will follow you around till you complete the traversal puzzle.

Jump over to the other poles till you reach the next hand hold switch and hold on to it to drop the water level even further and retract the spinning blades.

Swing to the right now and you will find a landing spot. The Moon gatherer will roll out of a covered sewer opening. He will leave a bunch of time crystals and disappear. Make your way to the top the same way we came down. Go past the spinning blades and jump to the top where we stood on the pressure plate before.

Use the lever to call the elevator down. Go inside the elevator but as its going up crystalize your position here –

When the roof of the elevator now is below your crystalized form, move your body over there.

Now take the elevator up again. You can now access two tunnels on either side. Go to the left first.

Drop down and airdash your way across to find a Sand Vial at the bottom. Location on the map below –

Jump up on to the sliding hand hold switch and pull it to open the retractable platform up and air dash over to it and make your way out of here, back to the top. Head up from there.

In the next area, just dash through to the other side – you will have to jump air dash up the ramp at the far end, then make your way back to the right and towards the top to find Lore Item: Persian Childern’s Playtime Verse.

Exit the area to the left after. In the next area, keep moving left and there is an enemy that you can’t hit head on, so use Shadow of the Simurgh to get behind him when he rushes you.


Go to the left and drop down to find 200 Time Crystals in a chest below. Now make your way back to the elevator where we came from and head right from there.

Keep moving to the right till you reach this location in the picture below and hit the switch to drop the bottom spikes away.

Grab on to the wall and move down with it. Crystalize your position as in the picture below and move back up and hit the switch.

As the spikes come back up, move your body to the crystalized position and drop down to grab on to the pole. Swing to the right and exit the area to discover a new location Catacombs. Keep moving to the right till you find the Wak-Wak tree.

You will find Kalux here, one of the heads needed for the Achievement: Tree of Life. Head to the right to exit the area and rush through with Kalux lighting your way. Keep moving through the sewers, there isn’t much chance of deviating from the path. Kill the enemies along the way.

Move towards the bottom left corner of this area to find another Sand Vial.

Grab the hand hold switch to drop the grate down and move up and keep moving right then up then right then up and then right again. Up from here and right again till the floor gives way and you can drop down here to pick up the Lore Item: Tiara. Keep moving to the right and exit the area.

In the next room, you have to jump off the wall on the right side and crystalize your position in front of the right-side sun mural to light it up and do the same on the other side – this will open up a chest below with the Amulet: Shockwave.

Exit the room through the door on the left and keep running left till you get to the position in the picture below and drop down.

Drop down again and you will see a creature blocking your way. Hit it a few times to open it up and go through.

Keep going to the right till you hit a dead end and crystalize your position infront the grate, wall jump on to the switch and teleport back.

Go through the grate and follow the path till you reach the giant face enemy that you need to teleport behind to kill.

Set a marker, wait it till rushes you, teleport behind it when it passes your marker. Keep moving to the right after it dies. Keep following this path to find a chest with 200 Time Crystals. Keep following the path till you come across the next Wak-Wak tree in the new location: Sunken Harbor.
This concludes Part 8 of our Prince of Persia: The Lost Crown walkthrough. You can find Part 9 of our walkthrough for the Price of Persia: The Lost Crown here. And you can find Part 7 of our Prince of Persia: The Lost Crown walkthrough here.