Jan
Prince of Persia: The Lost Crown – 100% Walkthrough – Part 3
Prince of Persia: The Lost Crown Walkthrough - Table of Contents
- Part 1 - Prologue - The Battle of Perseoplis
- Part 2 - Lost in Mount Qaf - Lower City
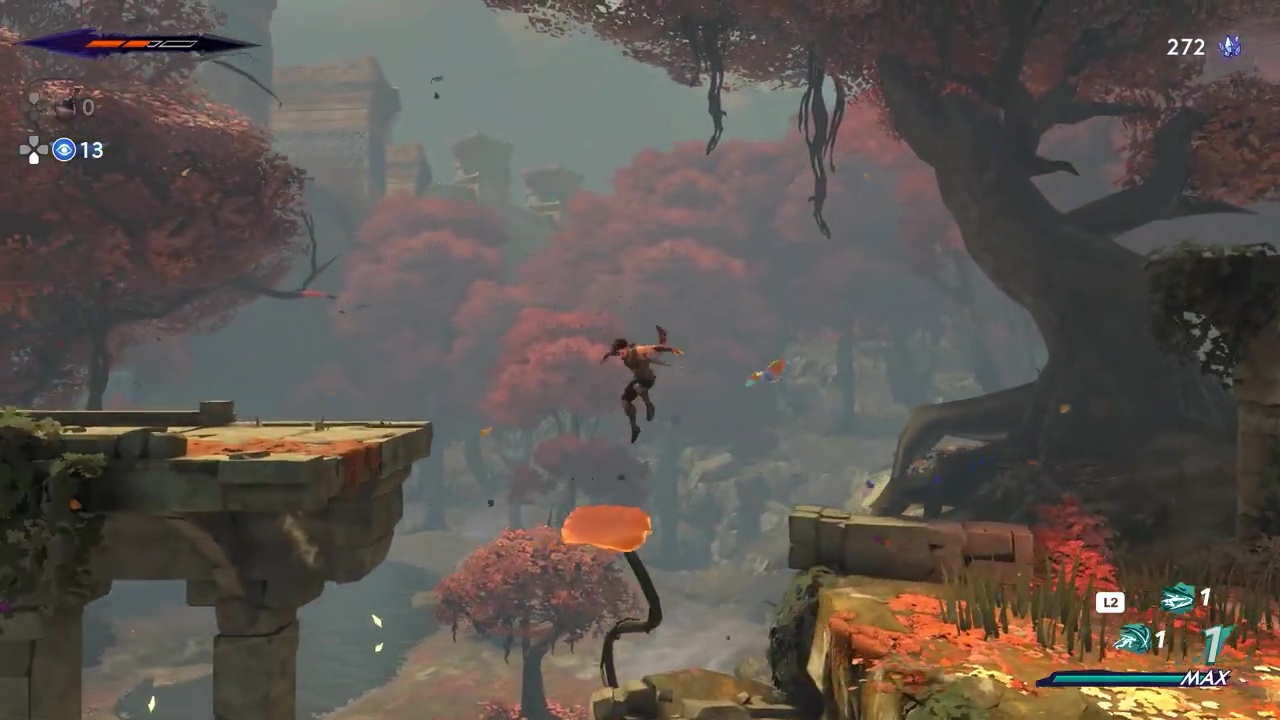
- Part 3 - Lost in Mount Qaf - Hyrcanian Forest
- Part 4 - Lost in Mount Qaf - Path to the Citadel
- Part 5 - The Abducted Prince - Sacred Archives
- Part 6 - The Abducted Prince - Upper City
- Part 7 - The Tiger and the Rat - The Depths
- Part 8 - The Path to the Sand Prison - The Depths
- Part 9 - The Path to the Sand Prison - Sunken Harbor and Soma Tree
- Part 10 - The Path to the Sand Prison - Temple of Knowledge
- Part 11 - The Darkest of Souls - Pit of Eternal Sands
- Part 12 - The Celestial Guardians - The Sunken Harbor and Raging Sea
- Part 13 - The Celestial Guardians - Upper City West
- Part 14 - The Celestial Guardians - Upper City East
- Part 15 - Return to the Past - Upper City Day/Night
- Part 16 - Father and Son - Soma Tree
- Part 17 - Father and Son - Tower of Silence - Part 1
- Part 18 - Father and Son - Tower of Silence - Part 2
- Part 19 - Crossroads of Time - Darius' Palace
Check out our walkthrough of Prince of Persia: The Lost Crown to progress through Hyrcanian Forest and how to fight the boss Elrik.
Welcome to the Into Indie Games walkthrough for Prince of Persia: The Lost Crown walkthrough.
For more information on Prince of Persia: The Lost Crown beyond this walkthrough, check out the official website here.
After entering the Hyrcanian Forest, our goal is to find Menolias in the Forest. So, move right and jump down to keep heading right. You will run into a spear-wielding enemy, so take him out. Keep going to find a Time Crystal on the roof of the ledge.

Another double bladed spear wielder will appear behind you, so take him out and head up the leaf platforms and head left on top to get the time crystals.

After that, beeline to the right to exit the area. In the next area, head right up the stairs and use a Charged Attack and a dash to get through the locked pathway. You will immediately come to a Wak-Wak tree. Kamil will appear and after talking to him you will receive the 3rd Athra Surge – Bahman’s Breath. Drop down the ledge right in front of you now and at the bottom, hit the wall on the left to open a secret room. Inside will be the first Sand Vial (1/2) for the Hyrcanian Forest area.

Inside the secret area, drop down and head right and drop down again. Go right again and jump off the wall to gain elevation and the Sand Vial will be sitting there on the ledge. Slide through the gap in the wall in front and you will have to wall jump up the leaf platform. When you reach the exit an enemy will drop in from above so be careful. Exit the area after taking him out. You will now three three archways, take out the enemy that appears. Stay under the flower bud here and wall jump off the left wall to hit it, this will open a platform you can jump off of.

Jump across the archways to talk to a soldier to start the Quest: The Deserter. Slide back out and drop down and go right. You will find another bud to hit to open up a platform to jump off of.

Head right and exit the area. In the next area, jump over the leaf platform and on to the other side. The bud for the platform is unreachable at the moment, go to the right and activate the Wak-Wak tree and come back to this area. Drop down and head to the left where you will find the Canonball for the Quest: Deserter. You will find it after cutting down the hanged soldier.Activate the flower bud to open up three leaf platforms, just head back the way we came to bring the canon ball to the Soldier through the three archways location. Talking with him will reward you with a Soma Tree Petal (2/4) and complete the Quest: Deserter. Return to where you picked up the Canonball for a conversation with the Soldier for more lore. Head left from here to find a door that can unlocked with a charged attack.

Inside you will find the first of Ardashir’s Soldiers (1/8) for the Quest: The Lost Warriors.

This guy hits hard and blocks almost all your attacks. He also does an arrow volley when he gets enough distance between you and him. Be patient and parry his attacks to create openings. Killing him will net you a Xerxes coin (1/2) for this area. You will also pick up an Insignia of Persepolis. Slide back out and head up the three-platform situation.

In the next area, jump down with a smash to take out the first bug. Take out the other one while picking up the time crystals. We will be going to the left and down. At the bottom is a door that has to be unlocked with a charged attack. Inside that room you will find the first Tusk of Erlik (1/3) for this area .

After picking up the collectible, wall jump off the right wall and get above ground. There will be an enemy the second you get up there. Take him out and move to the right, taking out the spear guy and a bird.

Drop down the gap in the floor and head left and down. At the bottom, take the right path and use a charged attack to open the path and head out. Drop down in the next room and take out the enemy and keep heading right. After taking out three more enemies, slide under the wall at the final wall and you will find three time crystals.

Go back out and head back the other way to the left till you reach a door that only be unlocked with a charged attack. Enter this area and head to the left and drop down to discover the Sunken Harbor area. We will explore this area further later so head back up and out to the right – check the location on the map below.

You will find Fariba here and you should buy the Hyrcanian Forest map off her. Go back down and exit this area by using a charge attack on the door and head to the right. At the far right, jump on the small ledge and head up and to the right. Slide through and drop down the incline, slide through again and prepare for a boss fight.
Boss : Erlik

He does a rush right off the rip, that is slow and should be dodged through, jumping doesn’t give you enough elevation. Alternatively you can parry it.

He does a telegraphed upward swing that cannot be parried.

When you dodge roll through, he does an unblock able back heel kick.

He chucks up three poison balls, which you should avoid since there are unblockable.

Parry the rush and avoid all of his other attacks and stay behind him. You got this. Killing him will net you the 3rd Amulet: Wolf Bride. Exit the area and keep going right to find Melonias or rather his bow. Go back out and use the bow on the bud to activate the three platforms.

Go up and right to the next Wak-Wak tree.

This concludes Part 3 of our Prince of Persia: The Lost Crown walkthrough. You can find Part 4 of our walkthrough for the Price of Persia: The Lost Crown here. And you can find Part 2 here.