Jan
Prince of Persia: The Lost Crown – 100% Walkthrough – Part 9
Prince of Persia: The Lost Crown Walkthrough - Table of Contents
- Part 1 - Prologue - The Battle of Perseoplis
- Part 2 - Lost in Mount Qaf - Lower City
- Part 3 - Lost in Mount Qaf - Hyrcanian Forest
- Part 4 - Lost in Mount Qaf - Path to the Citadel
- Part 5 - The Abducted Prince - Sacred Archives
- Part 6 - The Abducted Prince - Upper City
- Part 7 - The Tiger and the Rat - The Depths
- Part 8 - The Path to the Sand Prison - The Depths
- Part 9 - The Path to the Sand Prison - Sunken Harbor and Soma Tree
- Part 10 - The Path to the Sand Prison - Temple of Knowledge
- Part 11 - The Darkest of Souls - Pit of Eternal Sands
- Part 12 - The Celestial Guardians - The Sunken Harbor and Raging Sea
- Part 13 - The Celestial Guardians - Upper City West
- Part 14 - The Celestial Guardians - Upper City East
- Part 15 - Return to the Past - Upper City Day/Night
- Part 16 - Father and Son - Soma Tree
- Part 17 - Father and Son - Tower of Silence - Part 1
- Part 18 - Father and Son - Tower of Silence - Part 2
- Part 19 - Crossroads of Time - Darius' Palace
Check out our walkthrough of Prince of Persia: The Lost Crown to progress through the Soma Tree and how to fight Kiana, The Forest Queen.
Welcome to the Into Indie Games walkthrough for Prince of Persia: The Lost Crown walkthrough.
For more information on Prince of Persia: The Lost Crown beyond this walkthrough, check out the official website here.
Picking up where we left off, make your way to the right from the Wak-Wak tree and exit the area. Keep heading right and you will meet the Old Man. He will ask you to redirect your efforts before being able to enter the Pit of Eternal Sands. After you are done with the chat, use a charged attack on the seal and head to the right and use your Chakram to take both the pulsating purple goop and the blocked door.

Keep going to the right and exit the area. In the next area, wall jump off the right wall and keep heading up. Jump across the spikes and use your chakram on the second elevator to go up and head right to exit this area.

In the next area, wall jump off the crate and get up on the platform. Take out the flying enemy and keep heading up. At the top head to the left.

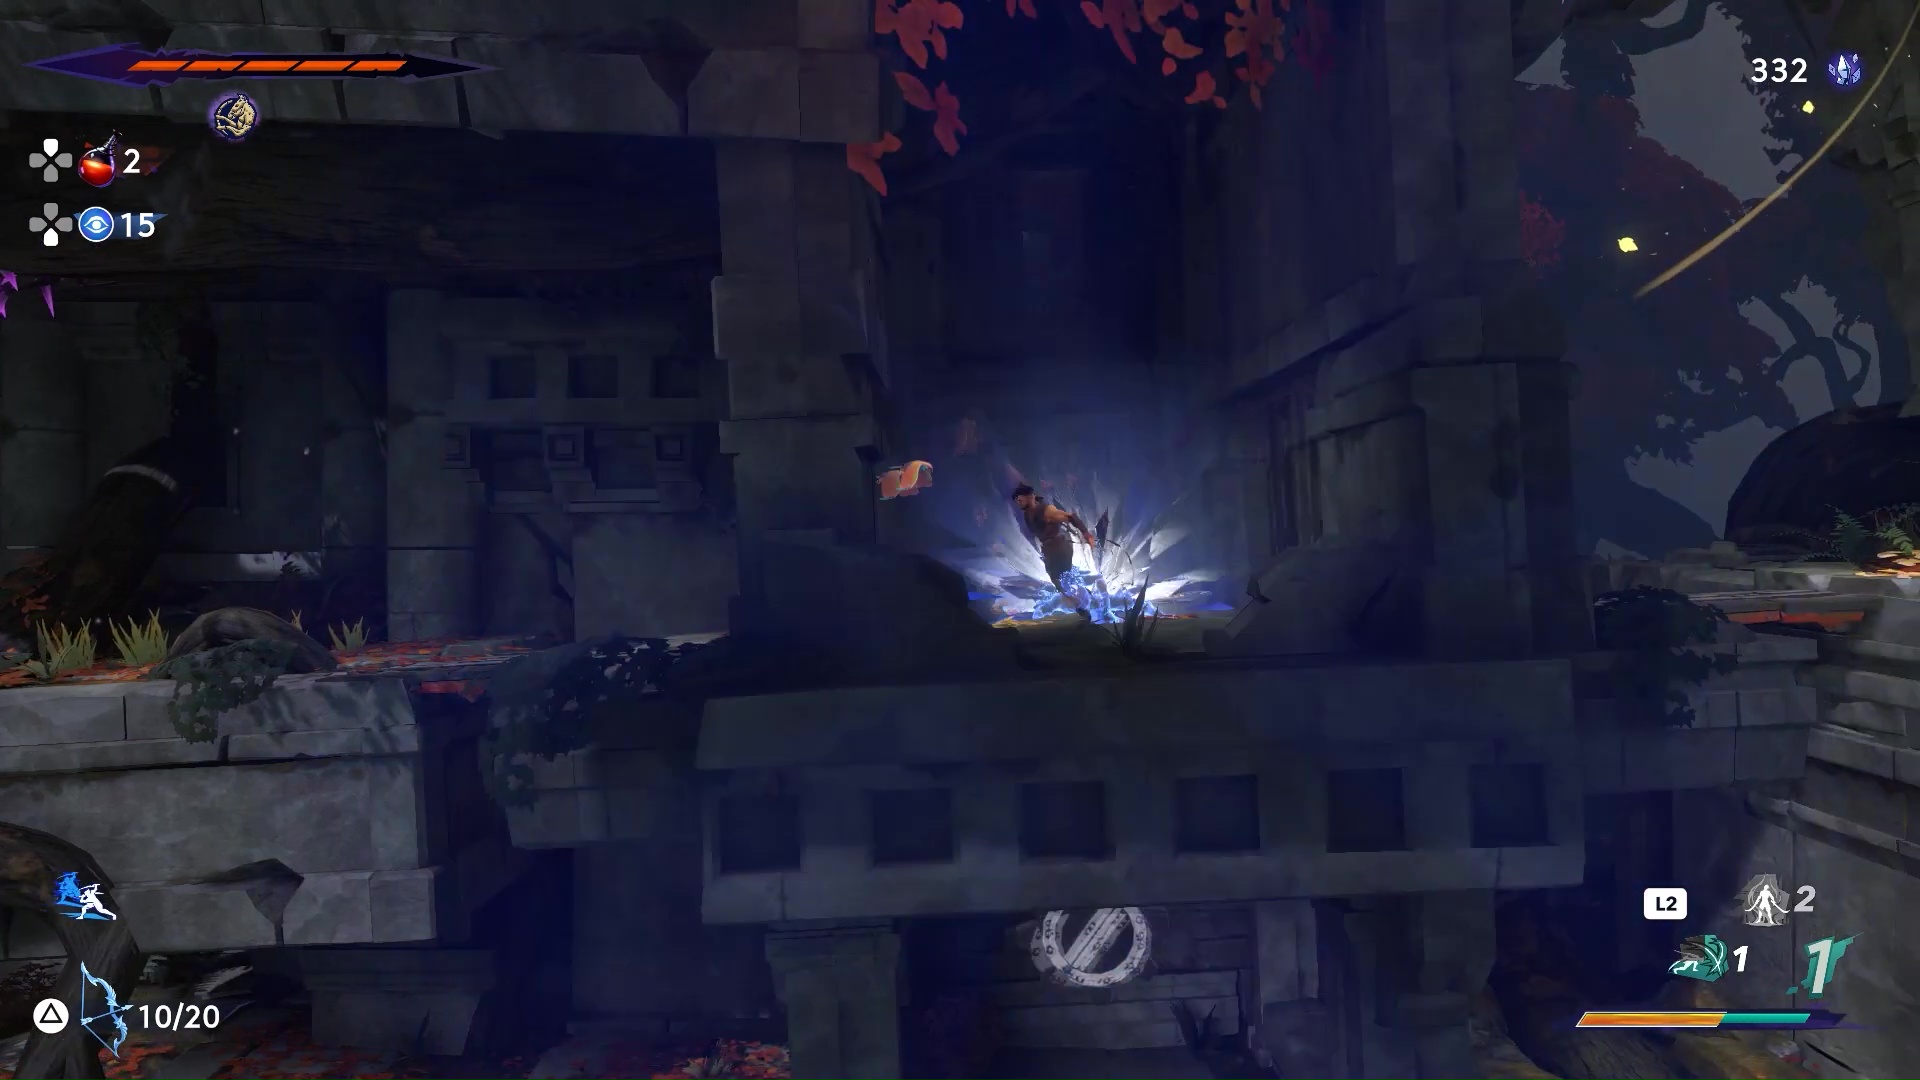
Take out the next flying enemy, avoid the mines and keep heading up and you will another one of the Chakram gears. Use Chakram to head up and talk to Fariba to get the Sunken Harbor Map. For clarity her location is on the map below.

Head back down and move to the right and then up through the crates, proximity mines and the flying enemies. Keep going till you reach the ledge on top. Refill your arrows at the top. Move to the left and break the door down to get to the next room.

In the next room jump up the hand hold on the wall and destroy the purple time anomaly to reconstruct the fast travel point and then jump down and head left to save at the Wak-Wak tree.

Head to the left to exit this area. In the next area, jump across the gap and on to the ledge. You will get jumped by a dual-wielding enemy, take him out and keep moving to the left. Avoid the arrow traps here and keep heading up.

Eventually you will reach the exit on the top right. In the next area go up the bridge, drop down and air dash to the left to find Time Crystals.

Go back up and take the Chakram elevator up. Jump off to the right mid-way and break the door down through to find another Sand Vial. Drop down and take the elevator again to get back up on top and exit the area through the left. In the next room, drop down the opening and head to the left. You will come across a very aggressive mini boss ogre and flying enemies.

He does a 360 degree swing that you have to avoid as it will send you shooting back across the room. He will stomp his hammer down and create openings on the ground that you need to avoid. He will do an un parry able forward slam that you need to dodge. Stay behind him as often as possible and he should go down. After taking out all the enemies, slide to the left to find 400 Time Crystals.

Head back the way you came and keep going right, refill your arrows next to the elevators and go right to exit this area. In the next area you will get jumped by another dual wielding enemy. Take him out and move upwards, taking out the other enemy on top. On the top left of this room there are some time crystals. Take your time and clear this room out. After that head up the center of the room, by wall jumping on the spiked walls.

On top, move slightly to the right for the spike trap to fall. Then get up on it to ride it up find a fast travel point and time crystals.

Keep going right to find the Wak-Wak tree. Go to the right now and dash past the two spike traps and head up. Exit the area on the left. There is a giant spiked log moving up and down in this room (map below).

Drop down the hand holds and wait on the platform on the left, because the right platform has a horizontally moving spike log. When the vertical one goes up, drop down and pick up the time crystals. Then wall jump up and head to the right hand hold and hang on while the horizontal log moves backwards. Run through and drop down the ledges. Head down the stairs and you will see a Xerxes coin between two moving logs. Jump through and at the bottom dash to the left.

Move to the left and up the stairs and you will be back up to where you jumped from. Jump off and get up the handholds and make your way up, past the moving logs.

Keep going up and to the right, till you find the exit. Head out that way. In the new area, you will come across an enemy with a spinning star, take him out. Go to the right, wall jump and get up on top. Another enemy will jump you, take him out – your location should be here on the map.

From the ledge jump to the right, head across the gap to stand on the hanging crates in the air. Take out all the enemies in this room and pick up the time crystals at the bottom. Then wall jump up to the top ledge to find another spinning star enemy. Take him out and keep moving up.

You will find a chest here with a Soma Tree Petal. You might need to fight the chest for it though.

Backtrack to where we came up from – the hanging crates and keep moving to the right and exit this area. In the next area, use the chakram to get the platform moving and jump over the swinging logs as you move through. Exit the area once you reach the other side. In the next room head up by grabbing the vines.

Once you reach the top you will find a Wak-Wak tree on the right and the quest The Path to the Sand Prison will be updated. When you go to the left from here you will discover a new location, the Soma Tree. Head up the vines in this area – if you keep to the left, you will find a time crystal on that side. Otherwise keep to the right and move up. Right before where you can exit this area if you go to the left you can pick up the Lore Item: The Fall of Hyrcanian Tribe. The wall next to the item is a hidden room and you can find time crystals inside.

Head up to the top and exit this area. Back in the open, if you go left you can find a giant sentient tree.

He is pretty easy to kill but he does summon adds. After you kill him head to the left and you will come across a dying Wak-Wak tree, interact with it to talk to Soma Tree, one of the heads needed for the Tree of Life Achievement. If you go left you can break a purple time anomaly to reconstruct a fast travel point. If you have the crystals, get your weapons upgraded now. The Blessing of Shamsir Achievement requires you to fully upgrade all your weapons – so if you are doing that now would be a good time. You can also upgrade your potions. If not, head to the left from the fast travel point to exit this area. In the next room, the exits will be closed off and a gauntlet will start.

After the gauntlet continue to the left and then up. Avoid the throbbing plants and refill your arrows if you need to. Keep heading upwards and you will come across a young Vahram. Keep heading to the right after that to exit the area. In the next area run to the right, read the sign and go up the vines.

Keep moving to the right and killing the enemies that spawn and exit the area. In the next area, get o the flower bud and head up.

Go around the platforms and enemies and you will find an Azure Damascus Ingot in the location below.

Head back out and move to the right and you will fight a spellcaster and multiple foes in a gauntlet that will have locked out all the exits till you defeat them all. Drop down after they are all dead, smash through the pathway and head to the right to exit the area. In the next area, get up on the platform and crystalize your form between the two gates.

Drop down and hit the chakram on the gear below and teleport to the crystalized location and run through. In the next area, head to the right and up and you will find another purple time anomaly. Restore the fast travel point. Then jump to the left to grab on to the pole and swing up and left.

Activate the Wak-Wak tree. Get back up on the poles and head up and to the right to climb on to the vines. Then jump off to the left and airdash to grab the vines on the left. Get up and go to the left to find a secret room.

Kill all the shadow hedgehogs in this room and pick up all the time crystals and a Lore Item: Botany Logs of the Cyrus 1. Exit the room the way you came and drop back down to the Wak-Wak tree and head to the left from there. Keep running left in the next area till you hit the boss.
Boss: Kiana, The Forest Queen

She moves offscreen and then teleports from under the floor. This move is unblockable so dodge it. When she emerges she spawns exploding plants as well.

She spins her spear and throws them in a low arc which returns back to her.

She teleports from behind the scenery. Easy to telegraph, easy to dodge. Whale on her when this happens.

She emerges from the side and then aims to throw her spear. Then she vaults away and her lion (?) mount rushes you in an attack that you cant parry. Jump over and hit him from behind.

At 75% HP, phase 2 starts. She flies away and the stage changes to a 2D side scrolling style. Avoid her thrusts – they come from the right, the left and the top. There will be multiple Kianas now in this stage. Dodge everything thrust.

After a bit the stage will change back and she will do a straight drop thrust wherever you are standing.

She will now do the spinning blade attack from mid air, the return arc be close to the ground. Her mount will do a beam attack at the bottom as well. Time your jumps in between the return path of the spear and the beam attack, to get close and beat her ass.

She will split up with her mount and throw her spear from the left to her mount on the right and he will throw it back to her.

The mount will do a screen wide beam attack in a 180-degree arc.

Defeating Kiana will give you the Achievement: The Forest Trespasser. You will receive a Soma Tree Flower which is part of the Achievement: Elixir of Gods. Exit the room to the left now and in the next room move to the top and right to pick up the Simurgh Power: Dimensional Claw. This will update the Quest: The Path to the Sand Prison. Use the Dimensional Claw to teleport the exploding flowers to open the blocked pathways and head to the left till you reach the vines and head up.

Use your new powers to open up a path on top. Jump up and go to the right to talk to Fariba for the Map of Soma Tree and to the left to for a Wak-Wak tree. Drop back down and grab the exploding flower with Dimensional Claw next to the vine through where we came up.

Go up the wall next to Fariba and around, grab on to the handhold on that side over the spikes and use the dimensional claw to unleash the exploding plant on the blocked door. Inside you will pick up a Memory Shard upgrade. Head to the left past the Wak-Wak tree and in the next area just fall below and head to the right to exit the area. Keep falling till you reach this location on the map and then go to the right to the fast travel point.

Fast travel to the Scholar’s Area in the Lower City. From here make your way to this point on the map.

Move to the left and activate the fast travel point and air dash to the left again to find a Wak-Wak Tree. Save here.
This concludes Part 9 of our Prince of Persia: The Lost Crown walkthrough. You can find Part 10 of our walkthrough for the Price of Persia: The Lost Crown here. And you can find Part 8 of our Prince of Persia: The Lost Crown walkthrough here.