Jan
Prince of Persia: The Lost Crown – 100% Walkthrough – Part 16
Prince of Persia: The Lost Crown Walkthrough - Table of Contents
- Part 1 - Prologue - The Battle of Perseoplis
- Part 2 - Lost in Mount Qaf - Lower City
- Part 3 - Lost in Mount Qaf - Hyrcanian Forest
- Part 4 - Lost in Mount Qaf - Path to the Citadel
- Part 5 - The Abducted Prince - Sacred Archives
- Part 6 - The Abducted Prince - Upper City
- Part 7 - The Tiger and the Rat - The Depths
- Part 8 - The Path to the Sand Prison - The Depths
- Part 9 - The Path to the Sand Prison - Sunken Harbor and Soma Tree
- Part 10 - The Path to the Sand Prison - Temple of Knowledge
- Part 11 - The Darkest of Souls - Pit of Eternal Sands
- Part 12 - The Celestial Guardians - The Sunken Harbor and Raging Sea
- Part 13 - The Celestial Guardians - Upper City West
- Part 14 - The Celestial Guardians - Upper City East
- Part 15 - Return to the Past - Upper City Day/Night
- Part 16 - Father and Son - Soma Tree
- Part 17 - Father and Son - Tower of Silence - Part 1
- Part 18 - Father and Son - Tower of Silence - Part 2
- Part 19 - Crossroads of Time - Darius' Palace
Check out our walkthrough of Prince of Persia: The Lost Crown on how to get to the Tower of Silence.
Welcome to the Into Indie Games walkthrough for Prince of Persia: The Lost Crown walkthrough.
For more information on Prince of Persia: The Lost Crown beyond this walkthrough, check out the official website here.
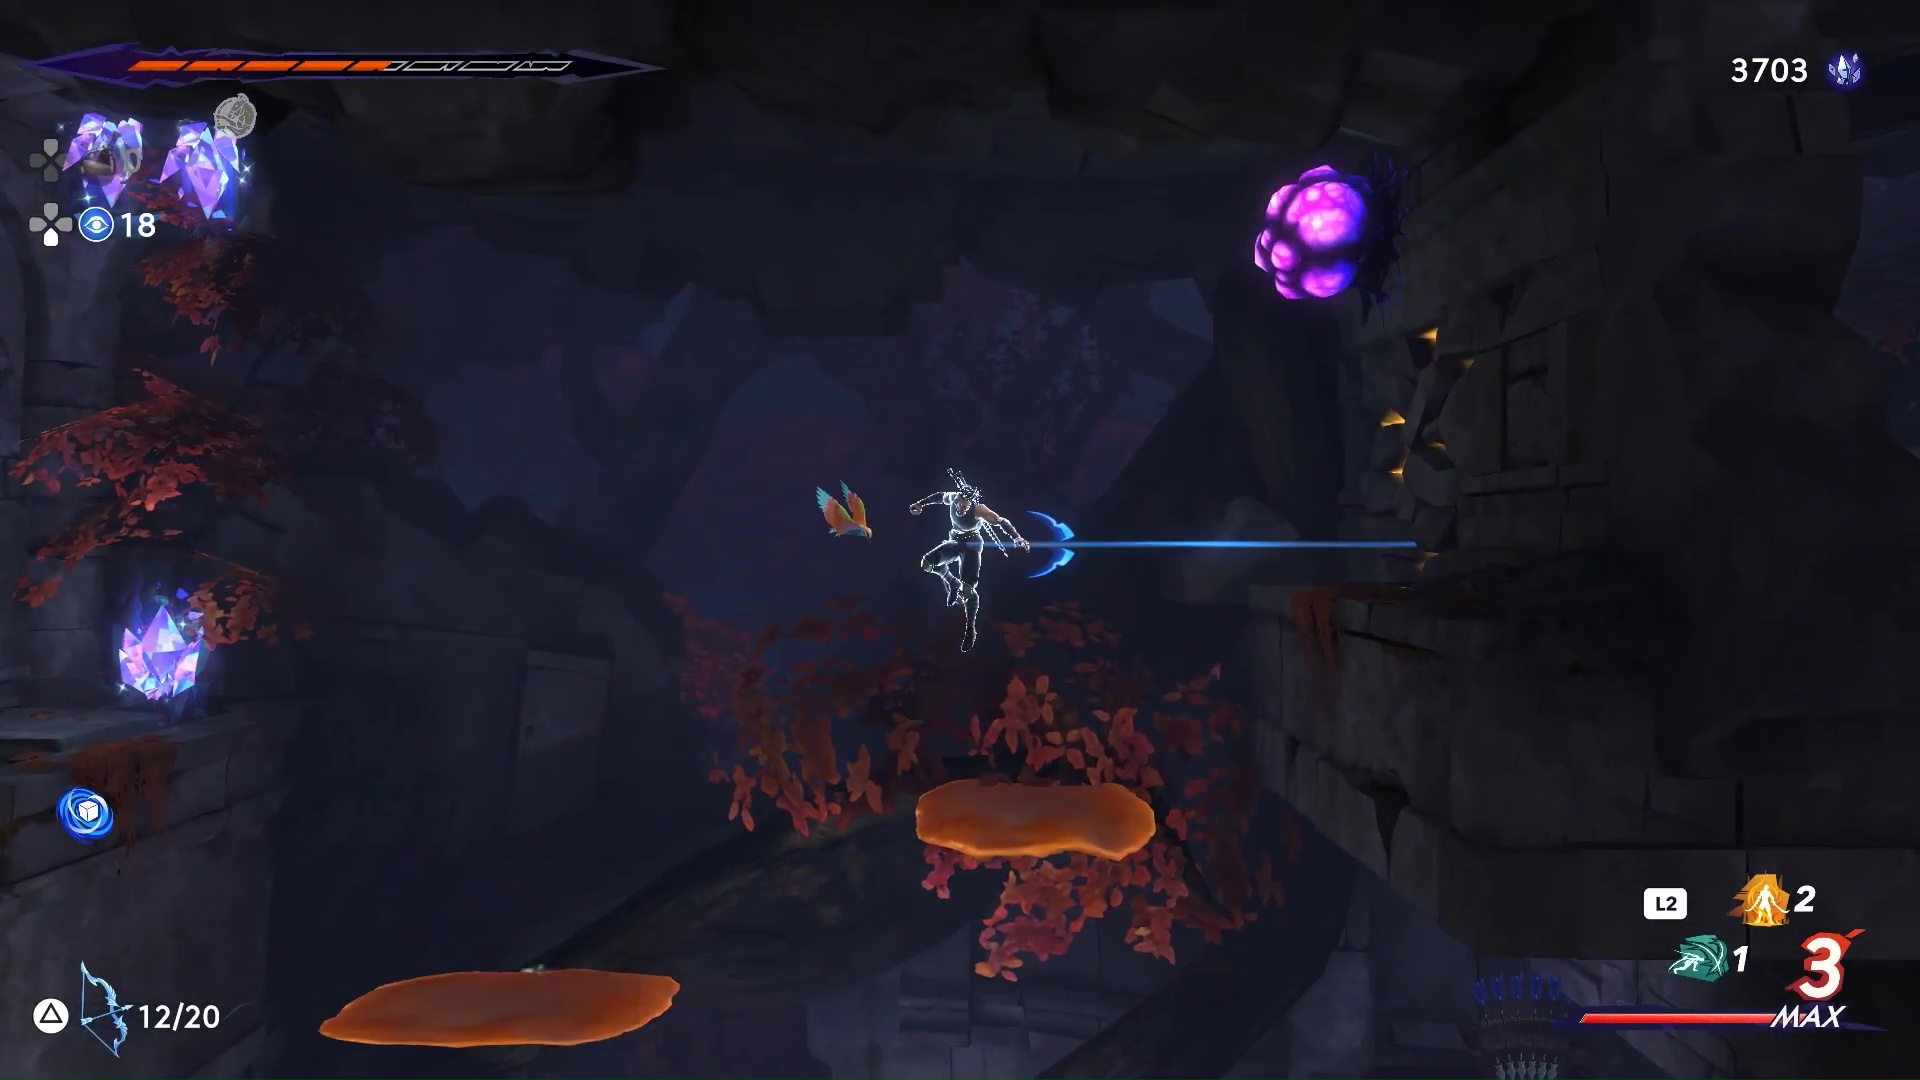
Starting at the Wak-Wak tree on the right of the location where you fought Vahram, head to the left.

Drop down the opening in the balcony and run to the left till you see a grapple point above a chandelier and go downwards. Clear out all the enemies here. Drop down to fight one of the soldiers for the Quest: The Lost Warriors. He will have a big cat fighting along with him.

Killing him and the lion will open the door to the left and spawn another lion. Inside the room on the right are 200 Time Crystals. There are 200 more in the room on the left. Keep going through the door on the left in the left hand room and you will come on to a courtyard. If you go a little bit further to the left, you can store a big statue enemy with your dimensional claw. Store him and move back to the right – right above where you enter the courtyard is a grapple point.

Jump up and grapple to it and then jump up and grapple up again to reach the upper floor. There is a harpy here, kill it or avoid it to keep gaining ground upwards. Once at the very top you fill find a fast travel point. Take this fast travel point to the Sentinel’s Road point in the Pit of Eternal Sands. Once there, go to the left drop down and keep going to the left till you reach this position on the map.

Here you will find a trap that summons two pillars from either side to smash into you. Just summon the big statue enemy we captured earlier in the middle of the room. When the two pillars slam into him this will summon a chest below where you can pick up a Soma Tree Petal.

Back track all the way back to the exploding rock we once stored and pick it up again. The location is up and to the right from the puzzle room.

Go back to the fast travel point and fast travel to the Night Temple in the Upper City. Once there, go to the right and kill the Harpy and head to the right. Your location should be here on the map.

Grapple jump over the spikes and run to the right. You will eventually meet up with Maryam The Architect and this will starts the Quest: The Architect. Exit the area to the left and then head upwards – back the way we came to the fast travel point. Fast travel to the Soma Tree point in the Soma Tree region. Head to the left and up from the fast travel point till you reach this position the map.

Use the stored explosive rock we bought with us or use the exploding plants here to open up the blocked pathway. Jump up the platforms and move to the right. Blow up the blocked pathway on top.

Head up and then left and jump on the right ledge to pick up the Amulet: Elusive Water.

Go to the right and up and kill the giant tree on top. Head to the left and exit the area. Jump up and store the exploding plant in the next area. If you go up the right hand side, you can pick up some time crystals. Otherwise keep going to the left and exit the area.

In the next area, you will find a giant boar – which looks like one of the earlier bosses. After you kill it, slide under the gate and head left. In the next area, shoot your chakram to the gear up above and jump up to restore a fast travel point.

Shoot your chakram towards the right top corner and teleport up to the ledge, there is an archer here, take him out. Keep heading up and to the left and you can pick up the Lore Item: The Crowning of a Divine King. Go back to the fast travel point and teleport to the top right corner ledge, besides the gear.

Teleport through and go up the platforms. Prepare for a boss fight.

It’s the final fight with an Alternate Sargon. Or rather, two Alternate Sargons. Kill them both to complete the Achievement: Parallel Universe. This will reward you with the Athra Surge: Hadhayan’s Might. Go back out and head downwards now, where the wind is blowing towards a Wak-Wak tree. Go to the bottom and head out of this area through the door on the left. Back outside in the forest, use your arrows on the floor ledges to cut the grass on all four ledges.

This will give you a Soma Petal. Head up and go to the left to find a Wak-Wak tree. Save and then head back inside the way we came. Keep heading right till you reach this location on the map.

Start moving upwards from here through the path on the left. Once on top keep moving to the left and head up through the path surrounded by exploding plants. Head to the right once on top, slide through the grate and head up.

Climb up the vines on top and this should be your location on the map.

Use the grapple point here to go up even further. At the very top when the path splits to the left, you can pick up a Xerxes coin on the right ledge. Pick it up and go to the left. Keep going till you discover the new Location: Tower of Silence.
This concludes Part 16 of our Prince of Persia: The Lost Crown walkthrough. You can find Part 17 of our walkthrough for the Price of Persia: The Lost Crown here. (Coming Soon!) And you can find Part 15 of our Prince of Persia: The Lost Crown walkthrough here.