Oct
Toem Stamps Walkthrough – Basto Stamps, Part 9
Stuck in Toem? Here’s how to acquire the task ‘Bitling Collector’ and take pictures of all four bitlings to get the stamp in Basto.
Toem Stamps Walkthrough Table of Contents
- Part 1 (Frames & Filters!, A Whistling Dilemma, Photo Challenge #3)
- Part 2 (A Good Spot with No Sun, Solve the Chaos)
- Part 3 (A Layered Melody, The King of Fishes)
- Part 4 (Supreme Deluxe Sandwich?!, Become a Farmer)
- Part 5 (Power Shortage?!, Make Someone Take a Bath, Scorching Flame?)
- Part 6 (Suspicious Activity - Harbor, A Lost Dog)
- Part 7 (Ocean Garbage, Queen of Paper Hats)
- Part 1 (Young and Inspiring, Super Hotbean Bros.)
- Part 2 (A Mouse Bakery, Punk Rocker Bread Crumbs, A Thieving Crow)
- Part 3 (Spooky Scary City, Photo Challenge #5)
- Part 4 (Press-ing News, A Design Problem)
- Part 5 (Hang in There, Buddy, Suspicious Activity - City, Always Tumbled Granny)
- Part 6 (Critical Confusion!, A Ghostly Date)
- Part 7 (Sewer Stumble!, Art Exhibition)
- Part 8 (Cleaning Away the Stress, Ratskullz Crew)
- Part 1 (Become a Yeti, Scarf, Snowball Memories)
- Part 2 (Military Suspicions, Photo Challenge #7)
- Part 3 (Yeti Cuteness, A Wall of Lights)
- Part 4 (Locating an Asteroid, Play Astronaut)
- Part 5 (Ski Goggles, Birthday in Distress)
- Part 6 (Listen to the Goat Choir, Assemble a Snowman)
- Part 7 (Ice Wizard’s Research)
- Part 1 (How to get to Basto, Jet-Ski Tricks)
- Part 2 (Take a Nap!, Dehydrated Muscles)
- Part 3 (Night-Time Cinema, Play a Carnival Game)
- Part 4 (Night Lights, Spooky Stories)
- Part 5 (Bad Hair Day, Painterly Portrait)
- Part 6 (Arthur Hunter)
- Part 7 (Fruit Shortage)
- Part 8 (In Your Face, Sand Castle Competition)
- Part 9 (Bitling Collector)
- Part 10 (Book of Bats, Sweet Tooth)
- Part 11 (Broken Dreams, Brain Freeze)
- Part 12 (Basto’s Hidden Balloons)
- Part 13 (Dry Season)
Welcome to the Into Indie Games guide to Toem! This guide focuses on collecting stamps only, and it does not currently cover compendium photos.
For more information on Toem, check out the official website here.
Stamp: Bitling Collector
You can get and complete this task by both day or night, but some pictures required for this stamp can only be taken by day.
To get this stamp, go to the bamboo grove area, which you can access through the cave or by taking the long ladder near the dinosaur skeleton.

Here, take the ramp down to the beach and talk to the blocky person standing there.
Your first bitling can be found in the same area as the guy. Go near the cave entrance and aim your camera at the bamboo shoots nearby.
There’s a Bitling Snail about halfway up the bamboo shoot. Take a picture of it to get a special compendium picture.

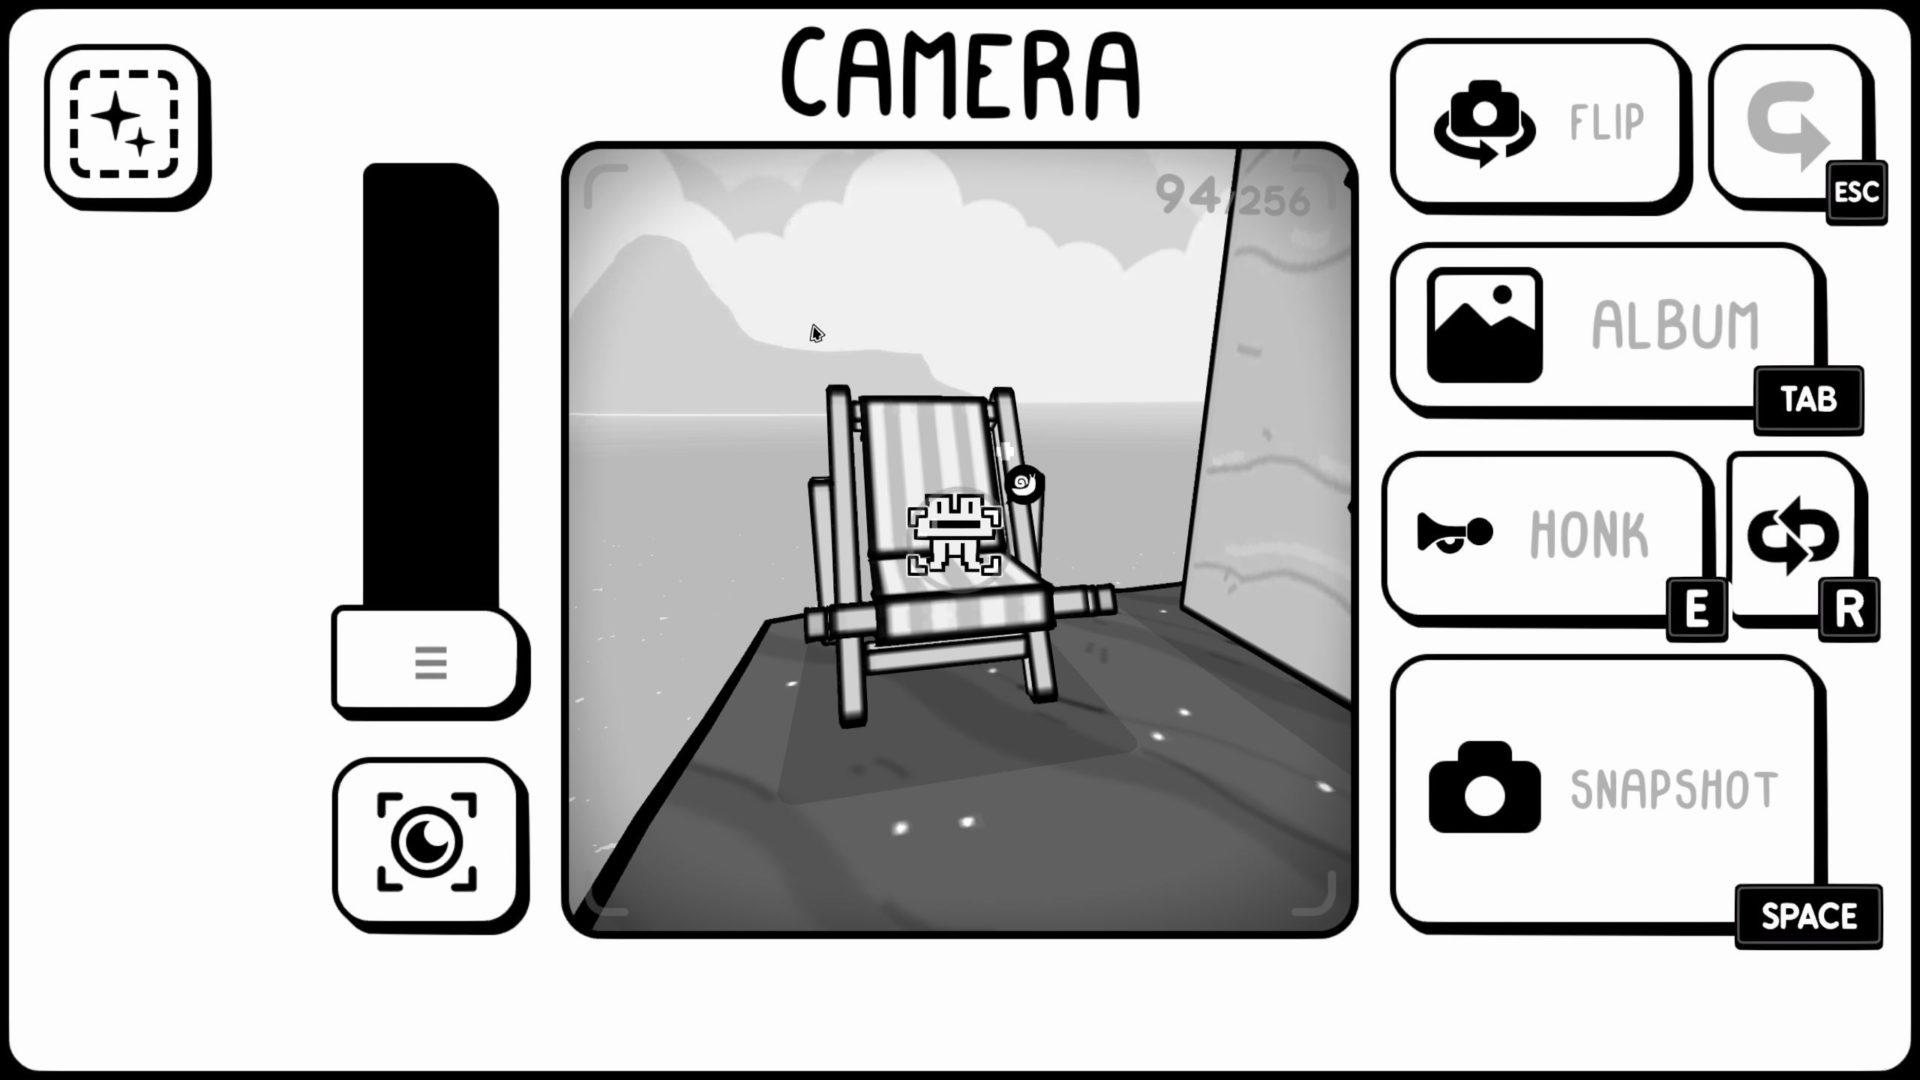
Your second bitling can be found during daytime in the movie area, near the circus tent that’s located across the bridge.
The Bitling Frog here is relaxing on a chair right next to a tower. Take a picture of it so that you get the compendium picture.

The third bitling can be found all the way back at the entrance to Basto.
It’s a Bitling Tato sitting on top of the ‘i’ sign above the information desk. You might have to zoom in for this picture.

The fourth bitling can be found in the Royal Palace.
Right after you enter, look at the rat in front of the big sandcastle in the middle. Note that you will have to complete the stamp “In Your Face” to successfully take a picture of the Bitling Rat.

After taking all four pictures, return to the blocky guy and show him all four of your Bitling pictures.
Note that they might be in your Compendium and not your general Album. This will complete the task and get you your stamp.
Head on to the next chapter of our walkthrough guide for the Basto region in Toem!